Learning to live well on a budget
Follow along while I learn new skills and get creative raising my kids on a limited budget.
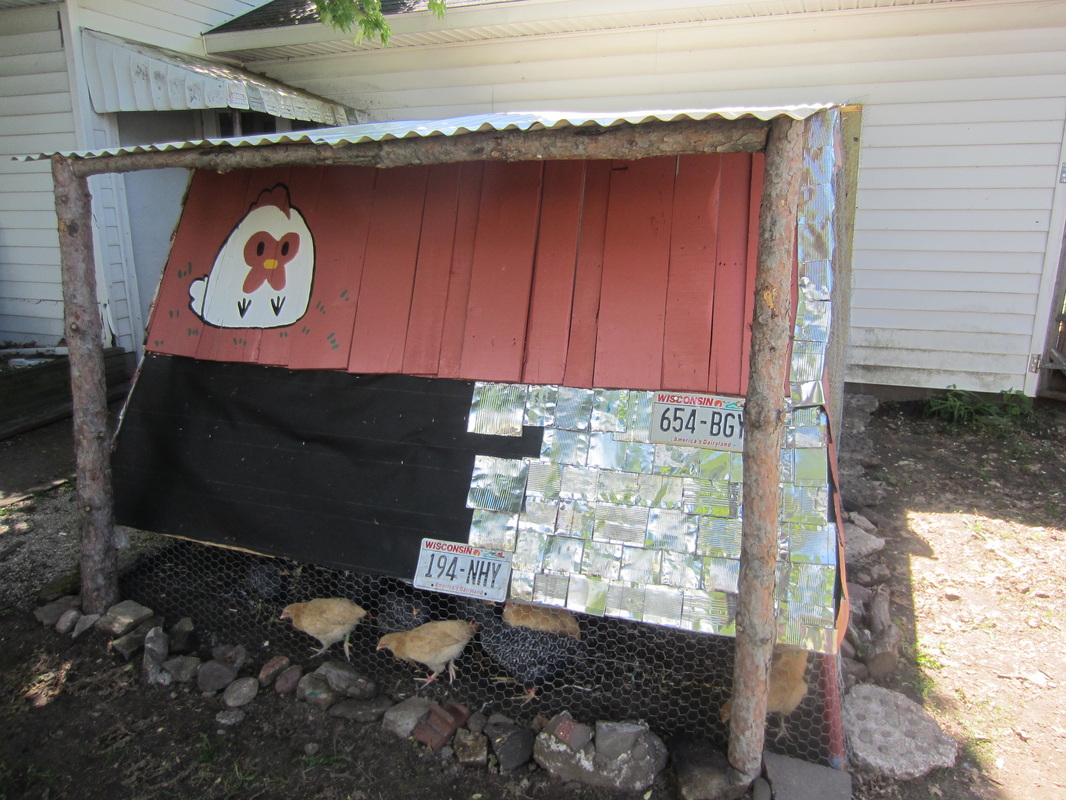
Made progress with enough tin cans to cover about half of the front panel and a couple old license plates too. Used a dead and fallen tree to make a rustic pine support for the overhang. We used some salvaged vinyl siding on the sides, and painted it the coral color from the front (not visible in the picture.) 
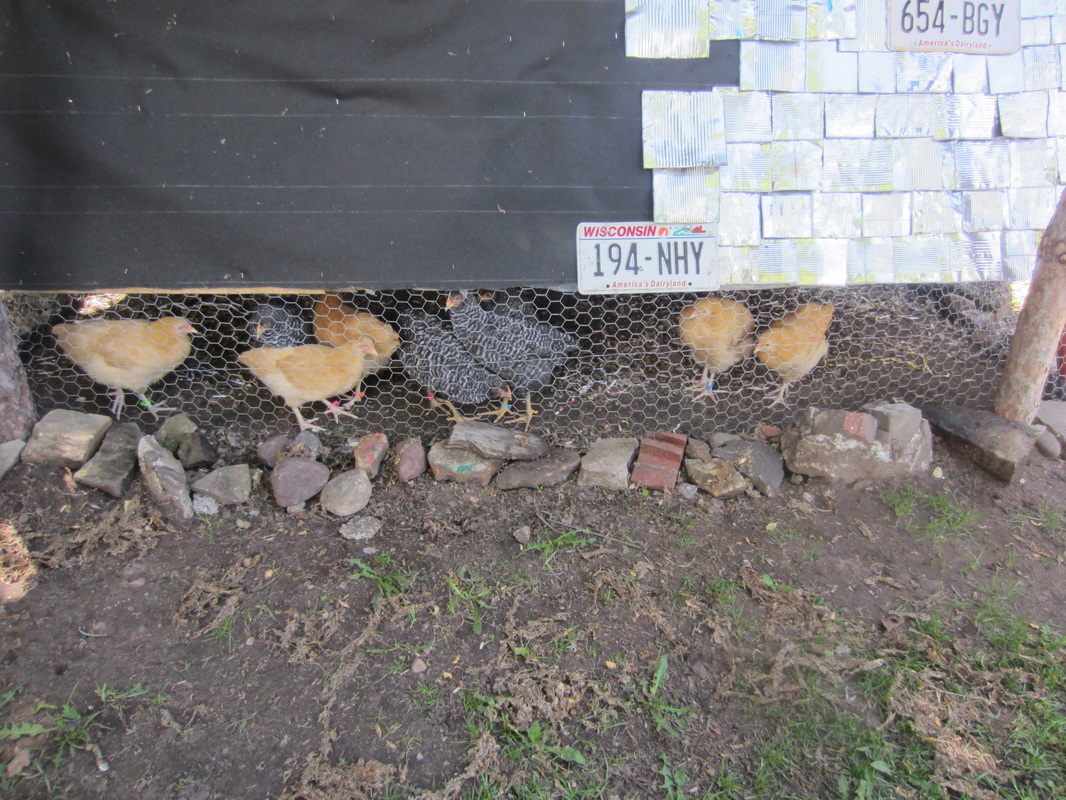
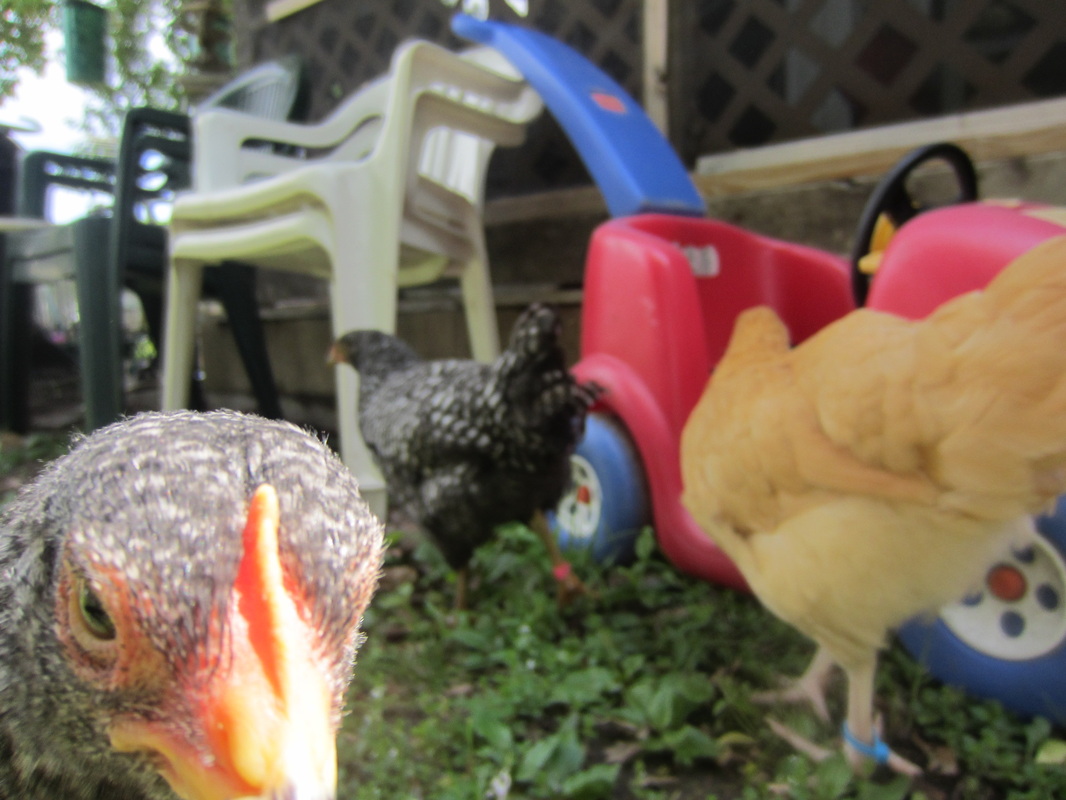
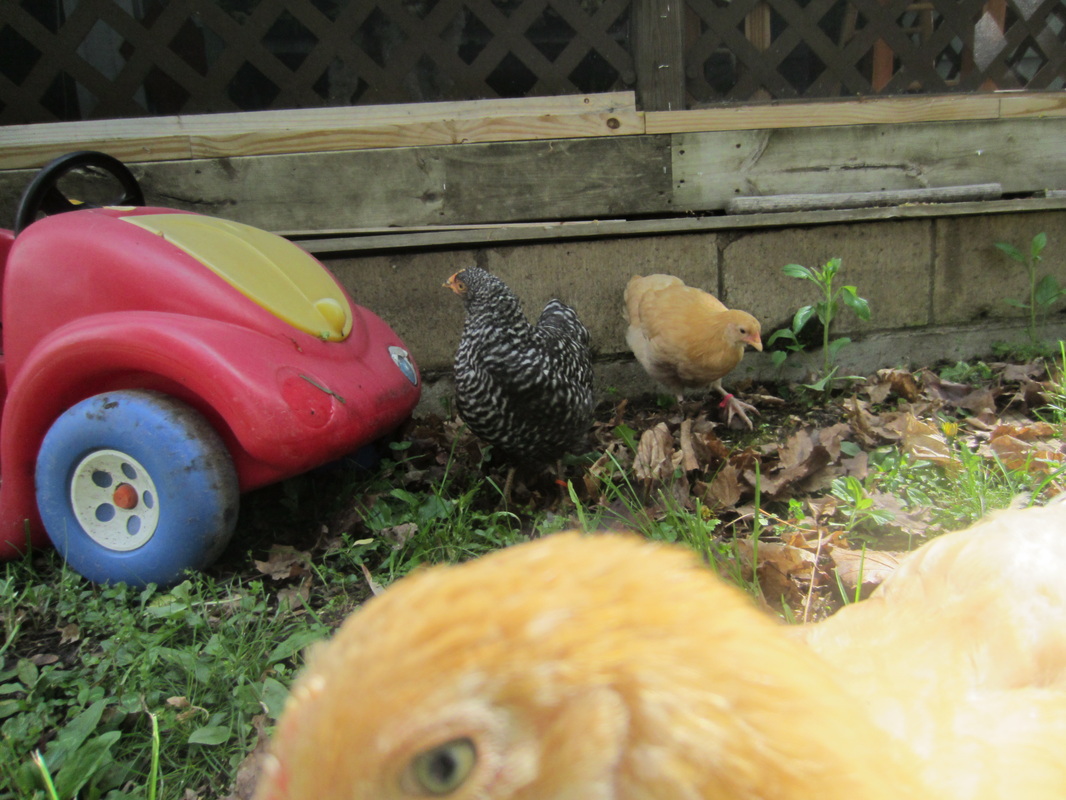
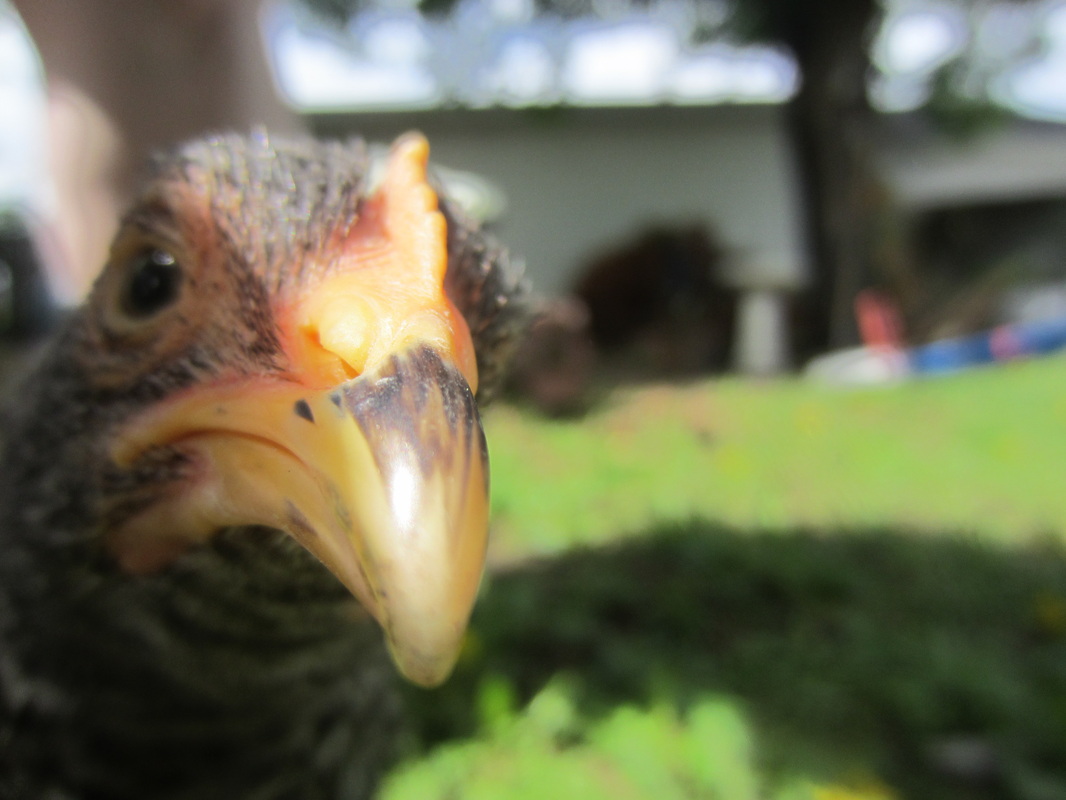
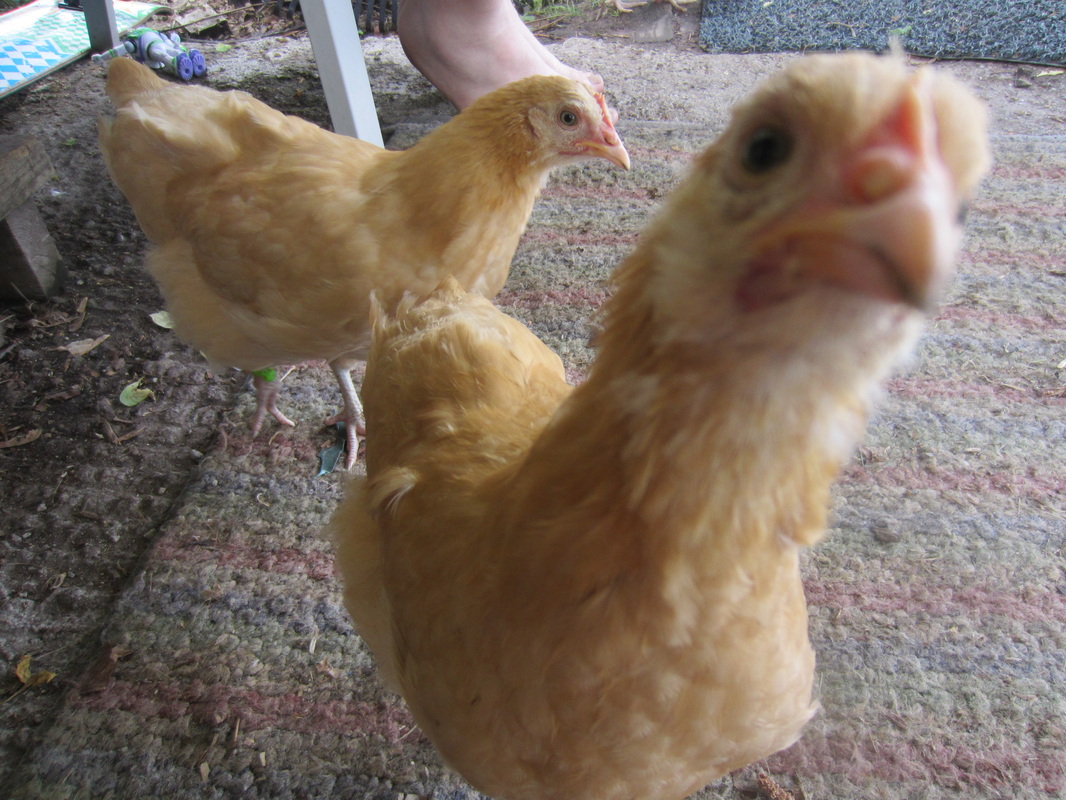
The girls begging to be let out. They just love people, and if we are out, they want to be out too. 
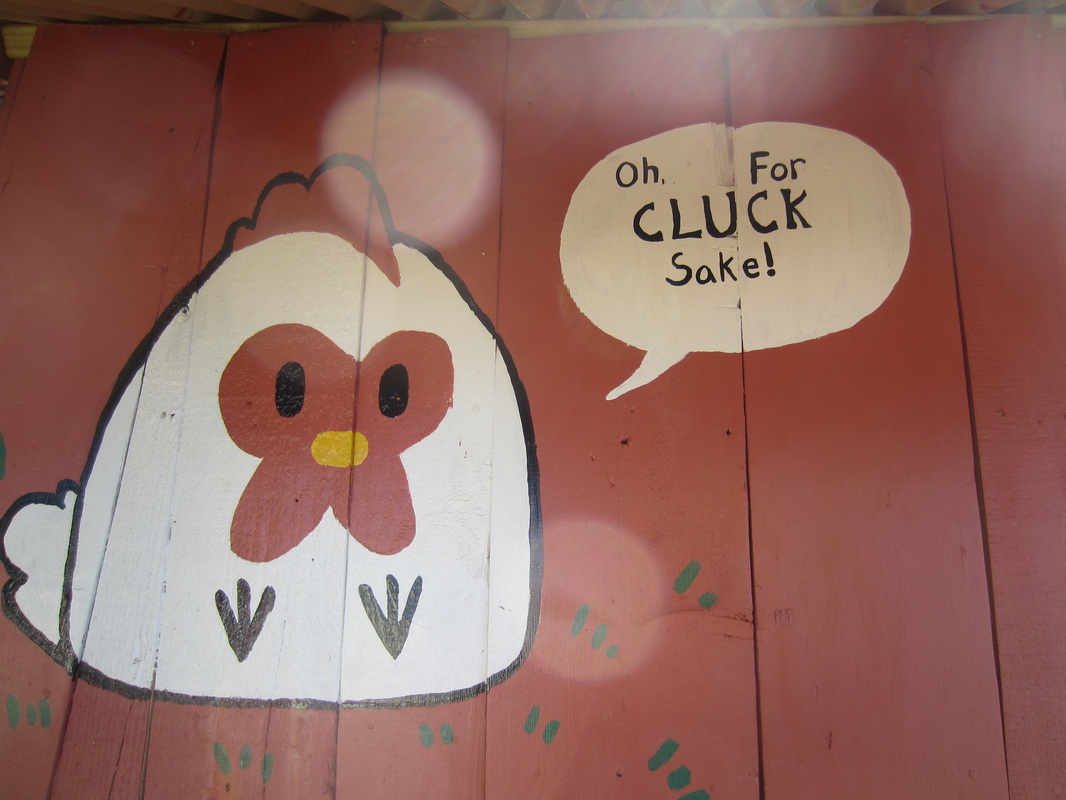
Added the speech bubble this afternoon. Sorry about the solar flares in the pic.
0 Comments
This easy dessert that I learned about online has me entranced because of how easy and fast it is. I first tried cherry, then apple, but I had to see what blueberry would be like, and this time I wanted to see if I could dress up the appearance a little so if I had to take it to a picnic or function of some kind it would look appealing (and give the illusion that I actually worked hard to make it, haha!) Ingredients are: Box of angel food cake (any brand) Can of pie filling (any kind or brand) -Simply mix the two together and bake in a buttered cake pan at 350 for about 30 min. Every time I make this recipe and mix the two together I don't think there will be enough liquid to saturate the cake mix, but it always works out and once it's stirred for a little while it blends just fine. Baked this at 350 for about 35 min. I made a glaze for the top to dress up it's appearance. It's a glaze I took from a cinnamon roll recipe. Ingredients: 4 T. butter (softened) 2 oz. cream cheese (softened) 1/2 t. vanilla 3/4 cup powdered sugar hand full of blueberries (optional) -blend butter and cream cheese -add vanilla -mix in powdered sugar, blend until smooth -drizzle over cake -sprinkle with blueberries if desired My family liked the glaze, but still insist that the cherry is so far the best. I will be experimenting more, and next time I am thinking raspberry, or maybe strawberry? We'll see what is on sale ;)
"Next to my sweet sweet ride" Playing hard to get. Sometimes they miss... "peek ;)" "what's up butter cup?" More missing... "CHEESE!" "Duck face? Chicken face is way better!" "Hanging with my peeps."
Sometimes a person just needs some comfort food, or wants to cook something nice for a dinner party. Pot roast is always a pleaser. It's good for every day meals, or for special occasions. Here is a pot roast 101 tutorial for you newbs! I used a rump roast. It was 3 1/2 Lbs and almost frozen solid. I have no qualms about throwing a frozen roast into the oven (although Gordon Ramsay may tell you otherwise!) Also, our butcher always puts an elastic mesh on the roasts, if yours has one, don't forget to remove it before cutting! Keep in mind I have a large family so you need to choose your portions accordingly and scale back the seasonings as you wish. Some people don't like their gravy as flavorful. For me, these amounts were great and I didn't need to add any salt before making gravy, the broth was perfect. I have tried other herbs, and rarely have I not been pleased, but for sake of ease, lets start here. 3 1/2 Lb. Rump Roast (or any roast, really) One onion 1 t. salt 1/2 t. pepper 1 t. basil flakes 3 nice sized cloves of garlic 2 T. butter 1/2 gal. water (adjust your seasonings and water to size of roast and size of pan. My pan is an oval pan about 20 in wide and 6 inches deep) On a rump roast there is a side with fat on it, and a side without. My husband was taught to put the fat side on top so the fat permeates the meat as it melts. While I understand this method (I think my mom did the same thing, sorry mom!) I prefer to put the spices directly on the meat so the flavor sinks in. This is how I do it: -Mince the garlic and put that across the top of the meat (fat side down, haters gonna hate!) -sprinkle the t. of basil on and around the roast. -place some of the cut onions on the roast, and some around it -put about 1/4 the t. of salt on the roast and the rest around the roast -do the same with the pepper -fill the bottom of the roasting pan with water until it covers about a third of the roast. I will guess I used at least half a gallon. -spread a little butter on top of the onions (same theory as the fat on top, it will carry the flavors down, only in my version, the seasonings are UNDER the fat) -bake covered at 325. (350 if you want it done more quickly, or 300 if you want to slow cook it.) -Here is how mine looked about 2 hours in. I basted it, and put it back in the oven. I like mine really tender, the longer it bakes, the more tender, but don't let it dry out. If the water evaporates out of the pan, add water. -about an hour or so before eating, cut up some clean potatoes. These are red, but any kind is good. -spray the bottom of the pan with cooking spray or butter the pan. -place some pats of butter around the top of the potatoes -sprinkle with salt and pepper. I added just a shake or two of rosemary. A little goes a long way. My cake pan has this lovely top. We call it the hot box, but tin foil would work too. -Bake potatoes with the roast until tender. We also started the carrots at the same time as the potatoes went in. -boil about 4 cups of water, 1 T. honey, and 1/2 t. salt with a bag of baby carrots. -reduce to a simmer and cook for about an hour. The roast is done. Mine was in for about 4 1/2 hours, the potatoes and carrots cooked for a little over an hour. To make gravy: -set the roast aside, covered to keep warm. -strain out the onions -taste and add salt or pepper to taste. If too salty, add water a little at a time until it tastes right -bring the drippings to boil on the stove -mix equal parts of corn starch to water in a glass and stir until lumps are gone (I used about a 1/4 cup of water and 1/4 cup of corn starch for this large amount of drippings.) You can use flour but it's lumps are harder to remove. Any lumps in the cup will become lumps in your gravy. -turn off heat once boiling and slowly stir in corn starch/water mixture while continuously whisking or stirring the drippings (or lumps will form.) It will thicken. If it doesn't thicken enough, you may need more corn starch/water. Bring broth back to a boil, remove from heat and add more cornstarch water until desired consistency. -Always slice the meat last so it stays hot as long as possible.
-If time got away from you and the roast is dry from over baking, pour a little juice or gravy over the meat after cutting. I hope this was helpful to someone. Sometimes cooking sites forget about the basics! I made peanut butter cookies with my little man today. It was really fun! Peanut Butter Chip Cookies 1 1/2 Cups Flour 1/2 cup butter (softened) 3/4 cup peanut butter1/2 cup sugar 1/2 cup brown sugar 2 eggs 1 1/2 t. vanilla 1/8 t. salt 1 cup peanut butter or chocolate chips (optional) -creme butter and peanut butter together. -add sugar and brown sugar. -add eggs, salt, vanilla and baking powder. -mix in flour. -Stir in peanut butter or chocolate chips if desired -Roll the dough into balls about the size of a walnut. Flatten with a fork as shown. I went once in each direction (so I could say #peanutbuttercookies!) -Bake at 350 degrees for 15 minutes. Allow to sit on the cookie sheet for 2 minutes before removing. MMMMMMmmmmmmmmmmmmmmmmm. This recipe was adapted from this recipe http://lovintheoven.com/2009/04/creamy-peanut-butter-cookies.html
Cucumbers love to climb so I built this rugged trellis for them and I plan to make one for the peas as well. I like the look of natural materials, and sticks are a free and a renewable resource. The funny part is that it starts out looking like this! Wild stuff! I just took the sticks and pushed them in along the sides of the pallet raised bed. With a little twine and some bending and shaping, the arches were formed. It will be so nice to see the little cucumbers hanging down. Last year they hid under foliage and got way too large for pickling. Think of this as bare bones, and how much more beautiful it will look when the plants start to climb. I am praying the cucumbers make it. They were looking awfully sickly after transplant this morning, but weren't doing well in the house anymore so I thought sink or swim. It's just a waiting game now. I may need to replace them all and take a trip to the nursery, but I'm trying to keep the faith!
My husband is a genius of the Tom Sawyer persuasion. He talked my son and his friends into tilling up part of the garden to look for worms to feed to the chickens. The boys had fun, the chickens were thrilled, and the garden got tilled. I knew I married him for a reason!
See, reading does pay off! While I am not quite ready to believe there won't be another frost this spring, we are doing all we can to prepare for planting. The soil in the existing garden has been tilled, and we are adding 5 pallet beds to the equation this year. There will be more pumpkins and squash than last year, as well as more cucumbers and potatoes. I'm praying my garlic and onions take off as they flopped last year. There will be peas and melons, strawberries and raspberries, carrots and lettuce. My sage is already leafing out and my thyme survived the frigid winter. I'm looking forward to watching it all come to fruition. I so cherish my morning strolls through the garden looking for blooms and watching the fruits of our labor grow, and this year I will have 10 cluckers following me, keeping patrol as pest control.
|
-About Luna-
|