Learning to live well on a budget
Follow along while I learn new skills and get creative raising my kids on a limited budget.
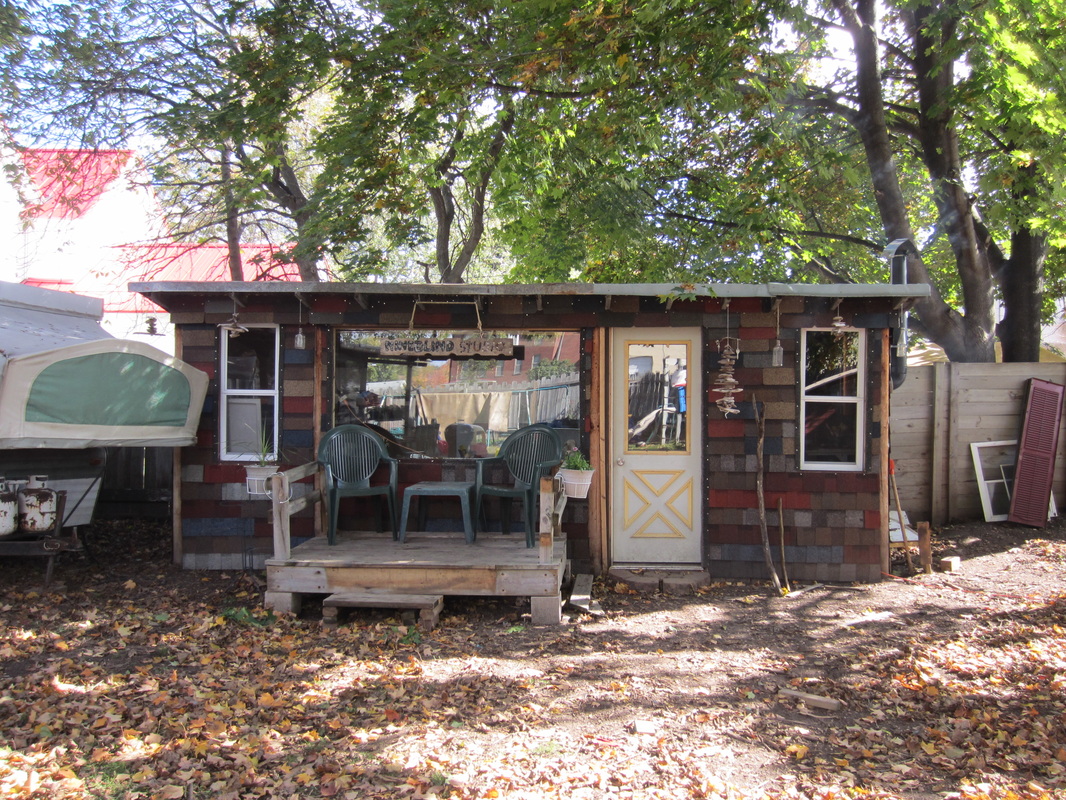
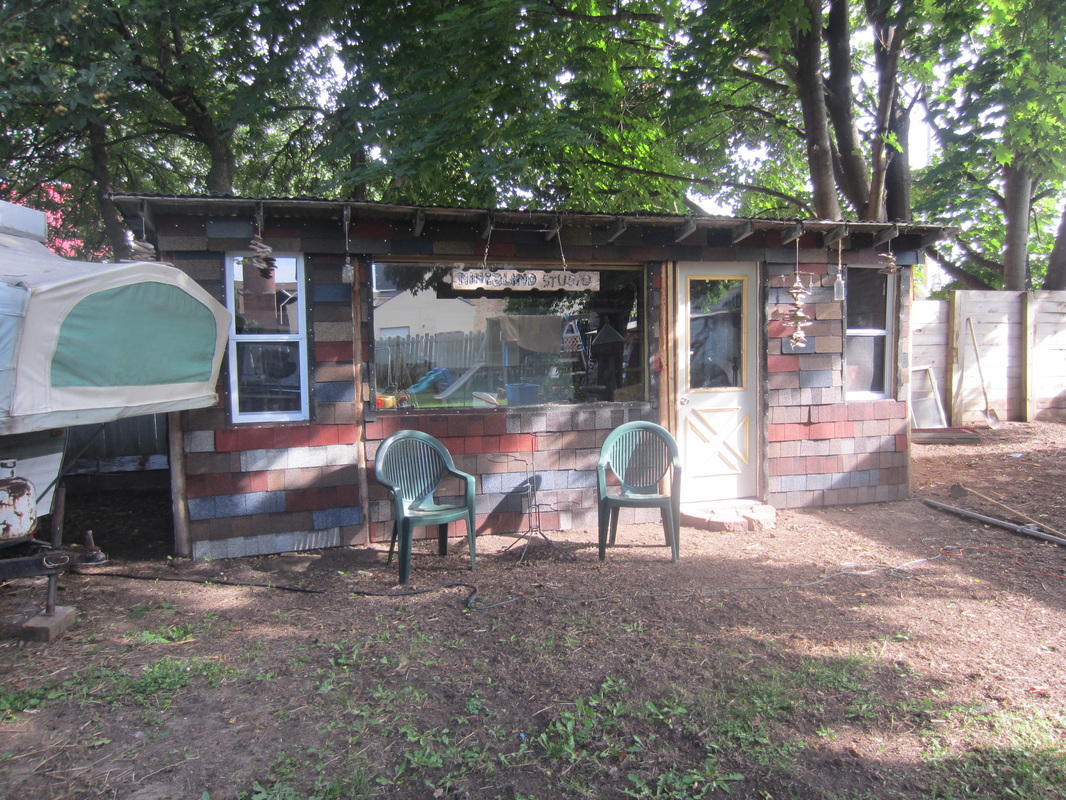
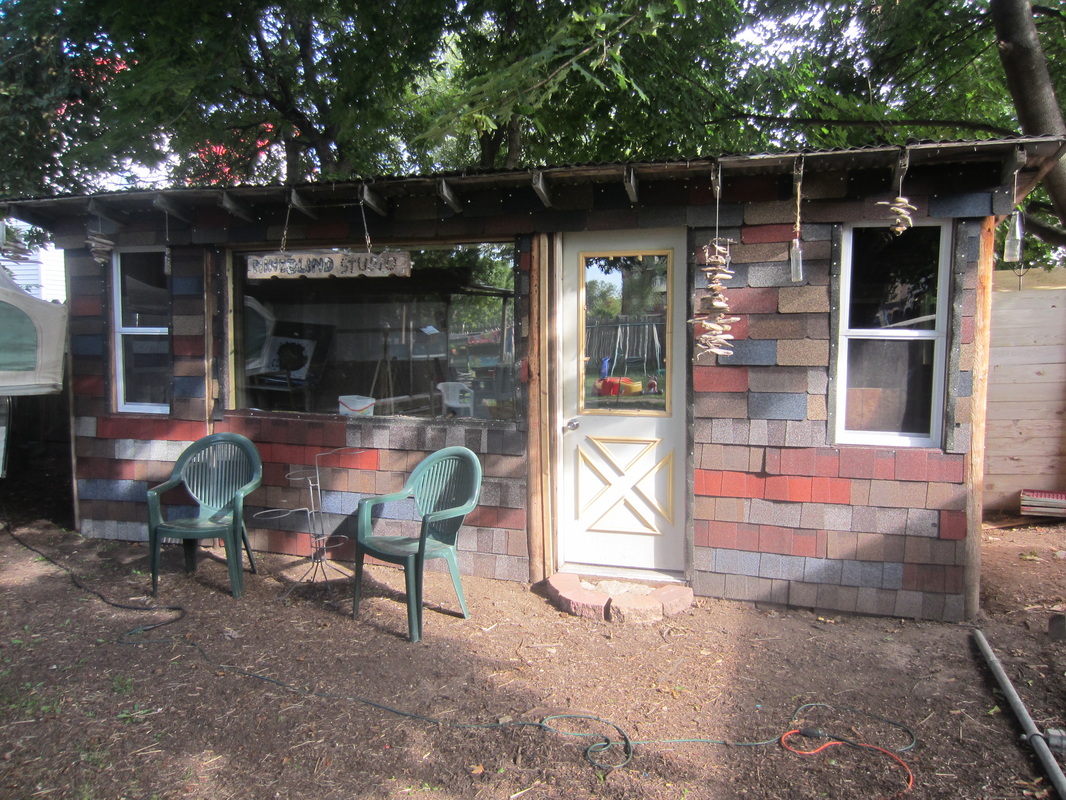
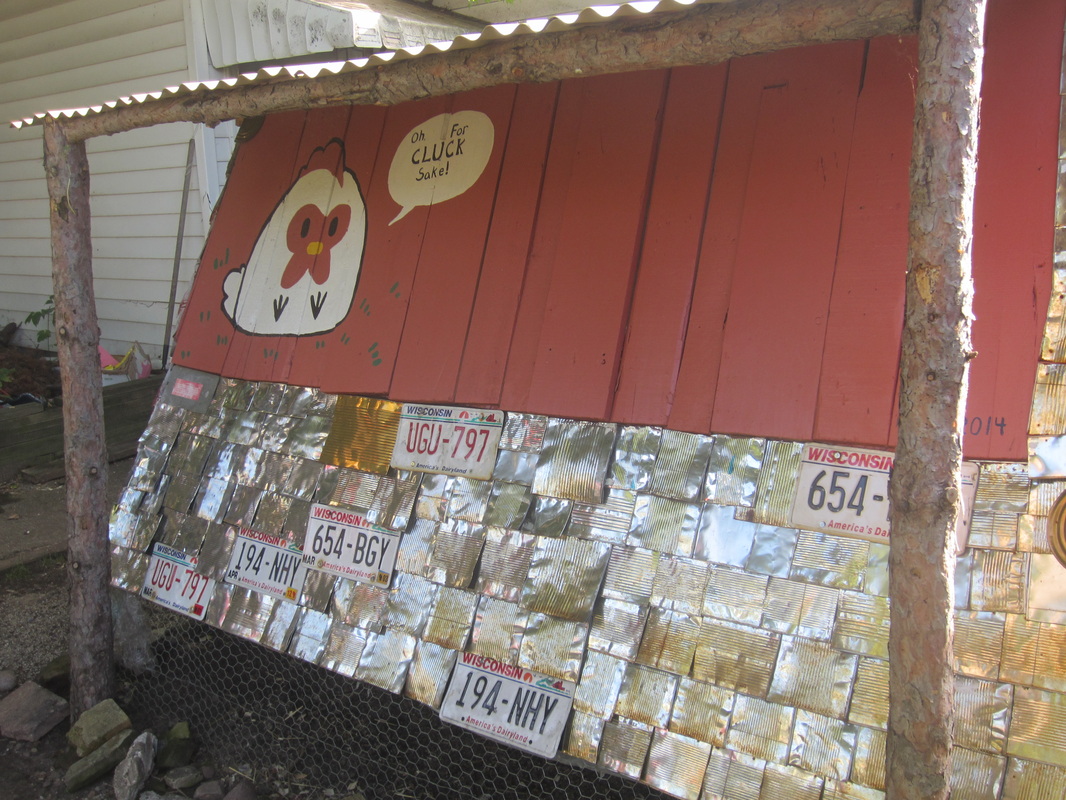
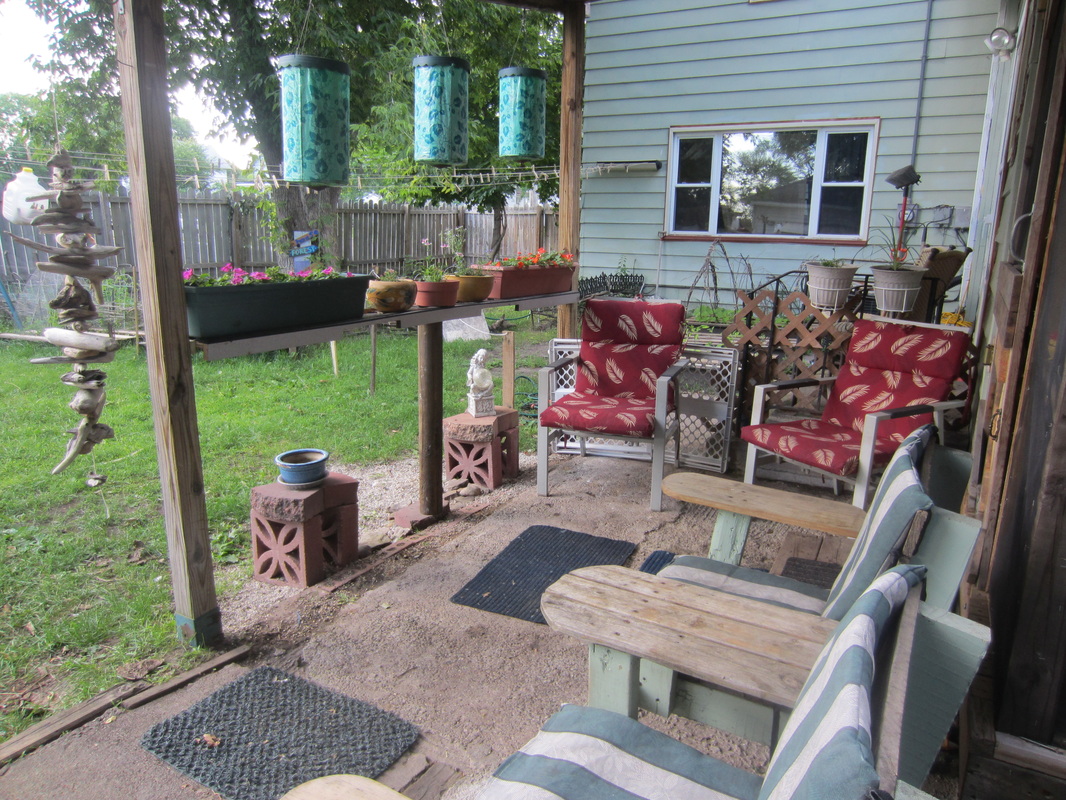
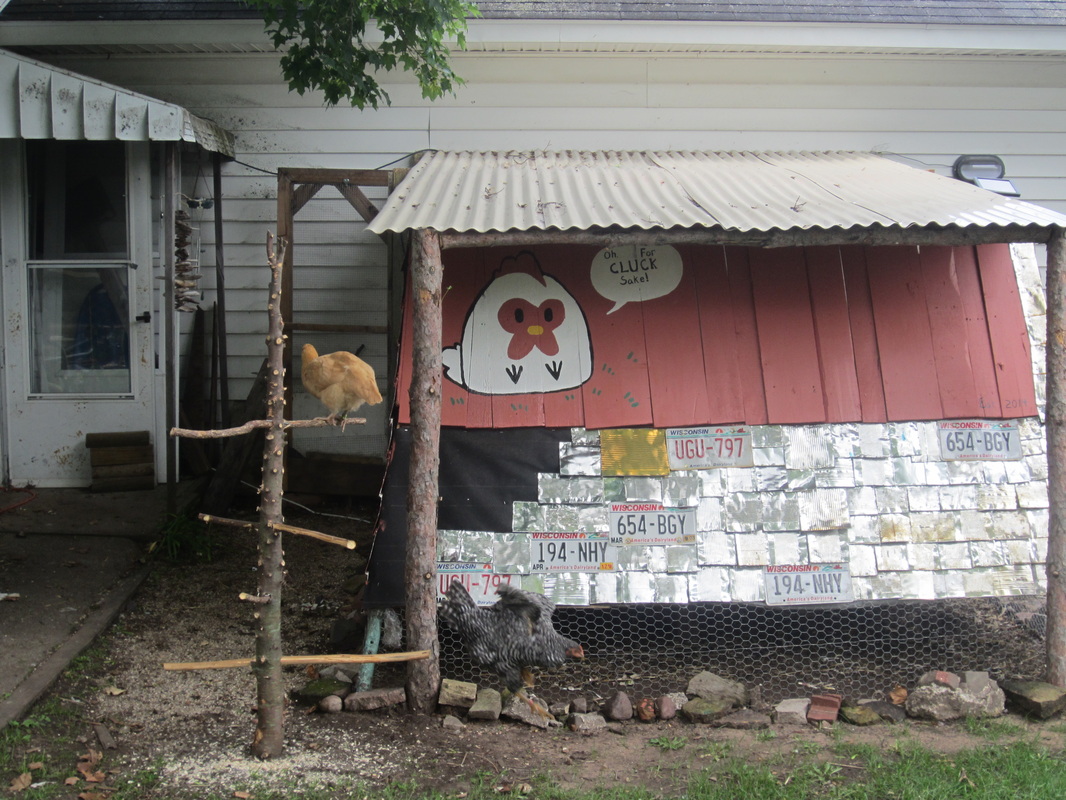
We got a little deck from the neighbors that they took off their house, I think it makes a cute addition to the studio. 
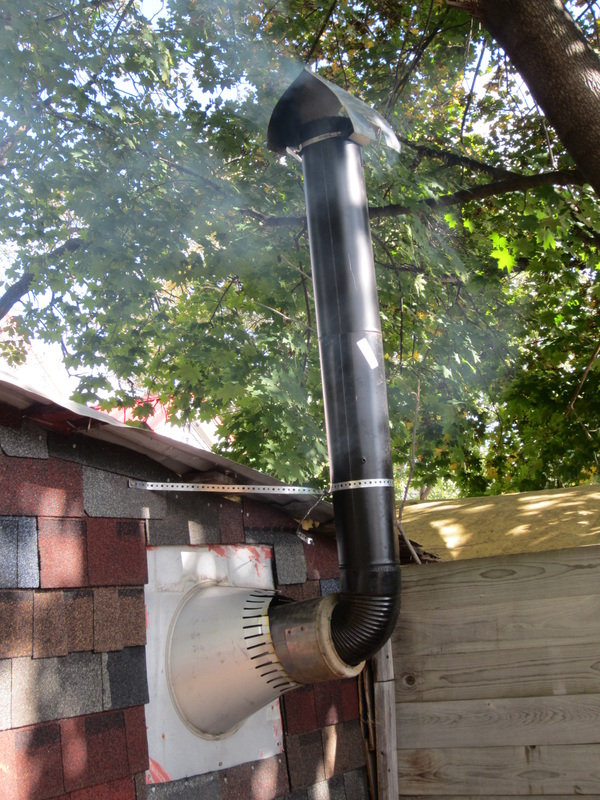
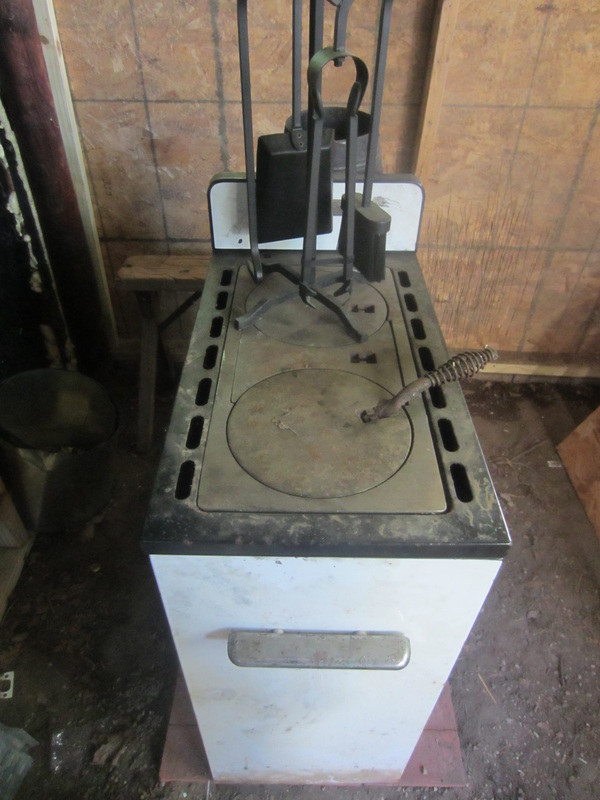
Got the wood stove hooked up (except for the storm collar, which they were out of, waiting on that one piece.) 
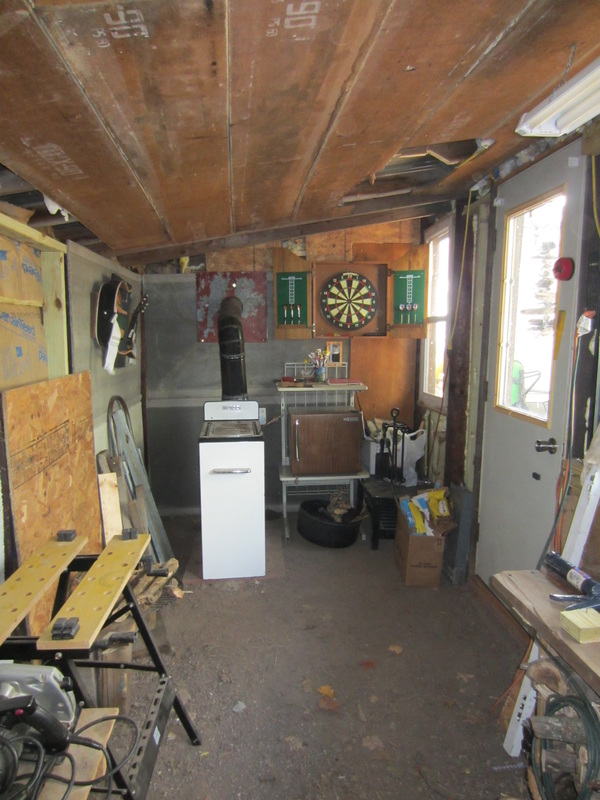
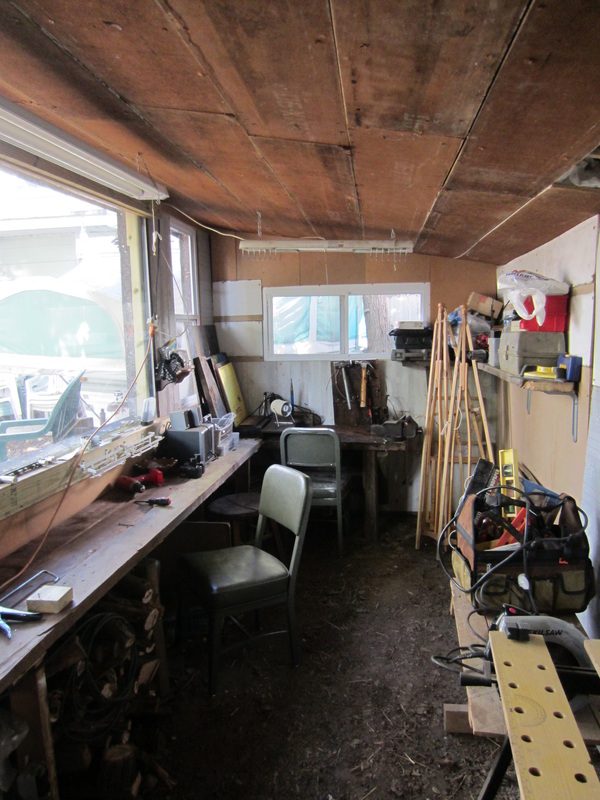
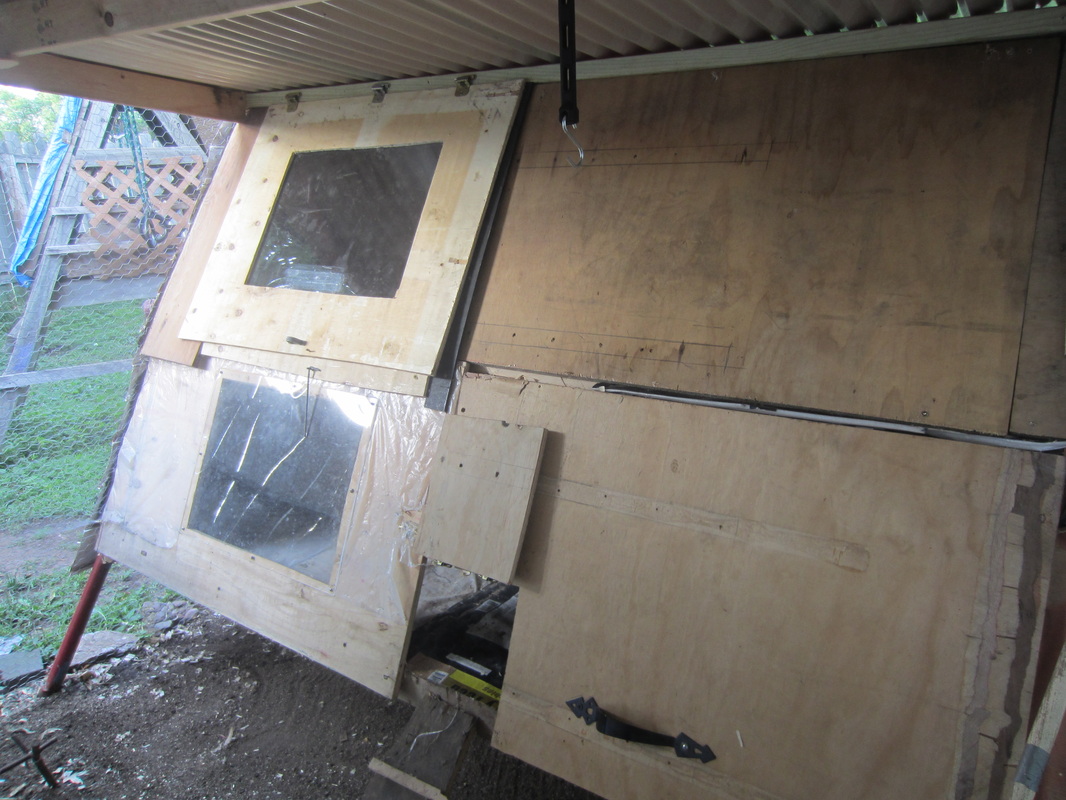
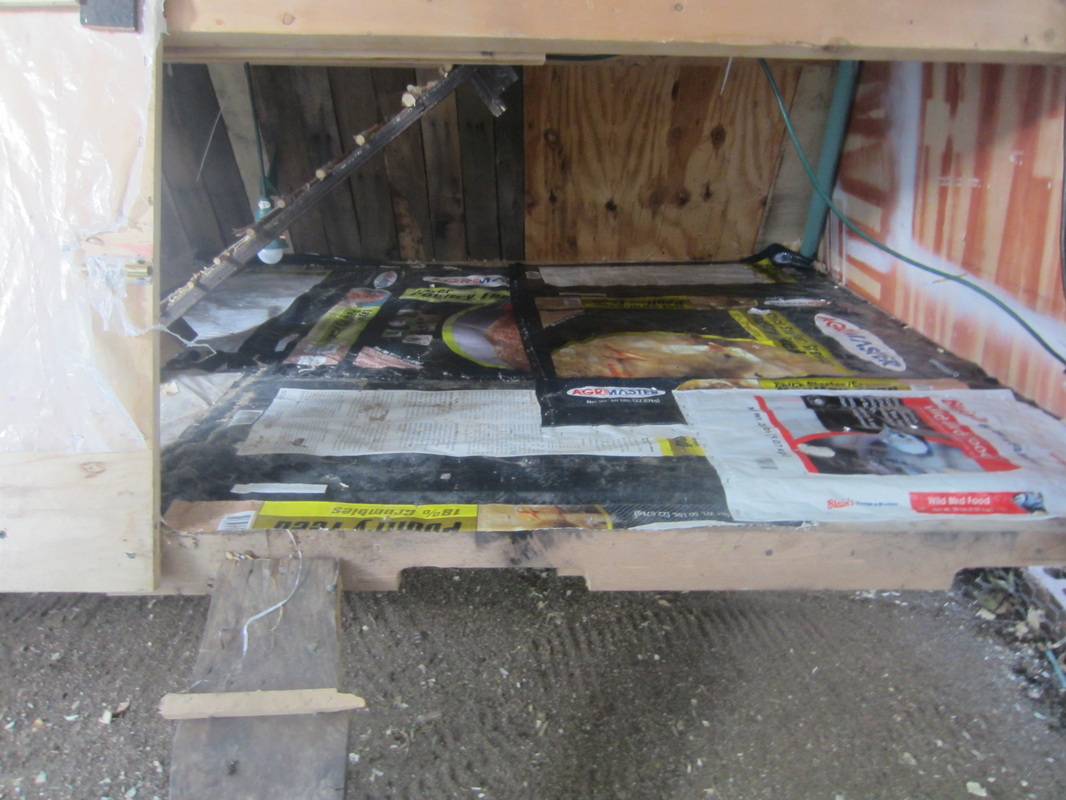
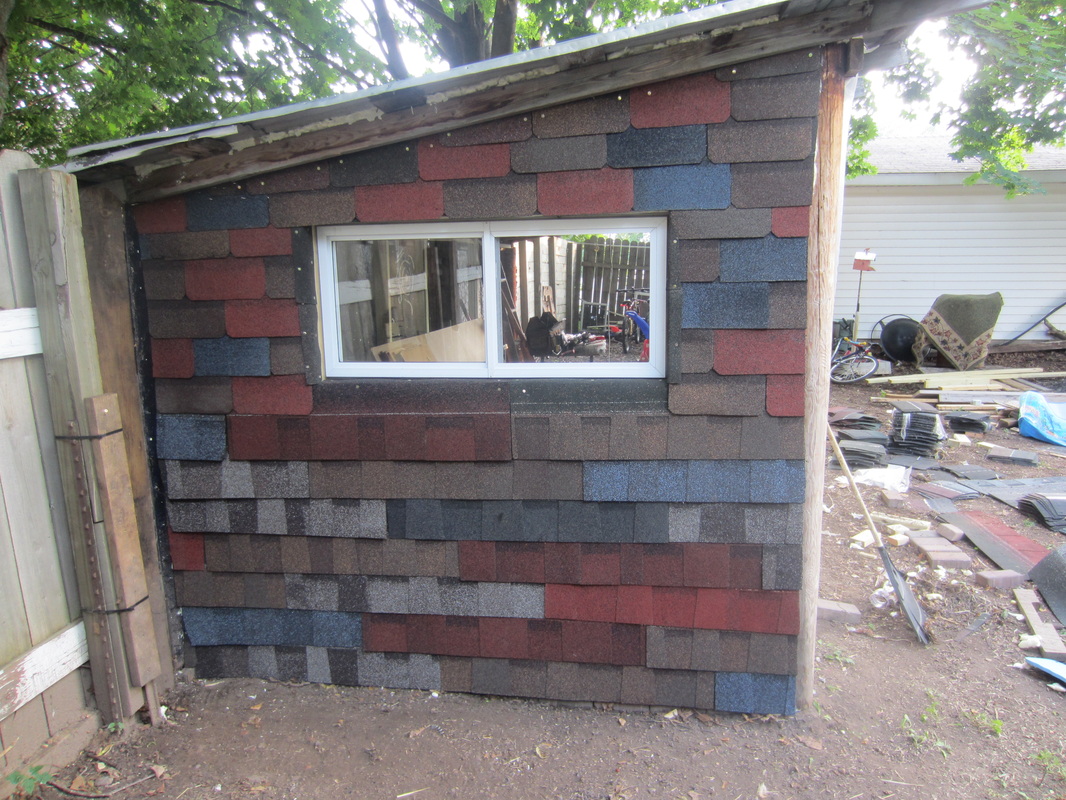
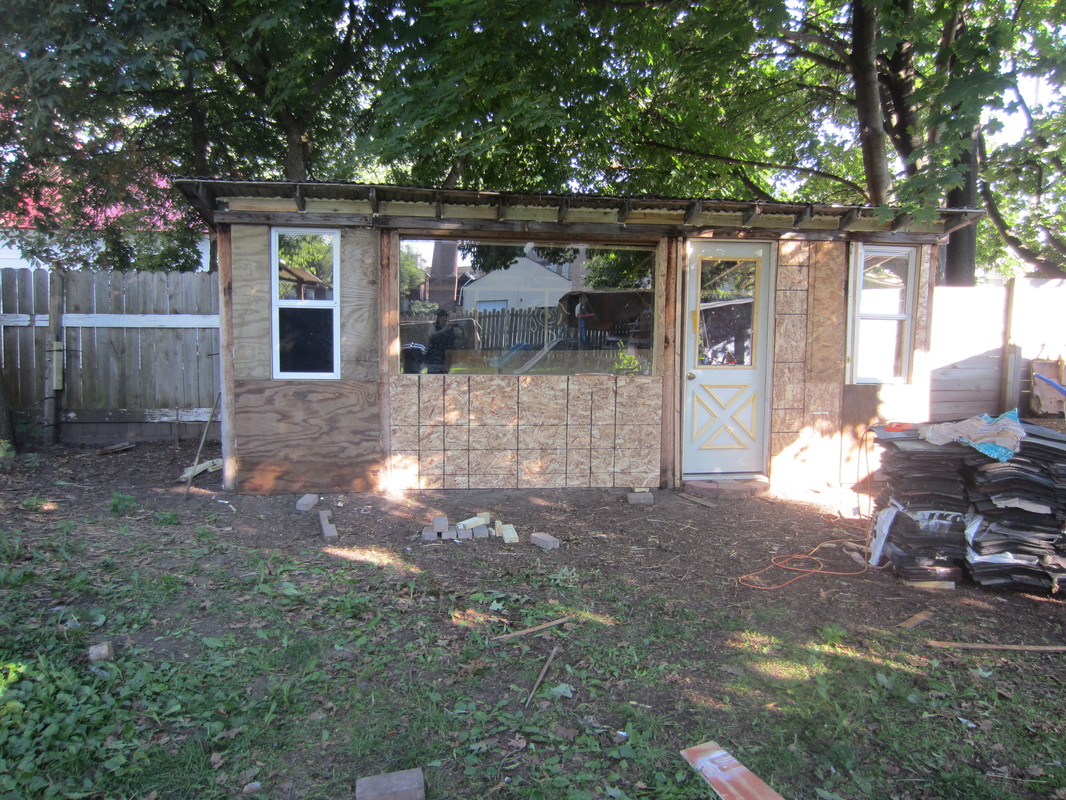
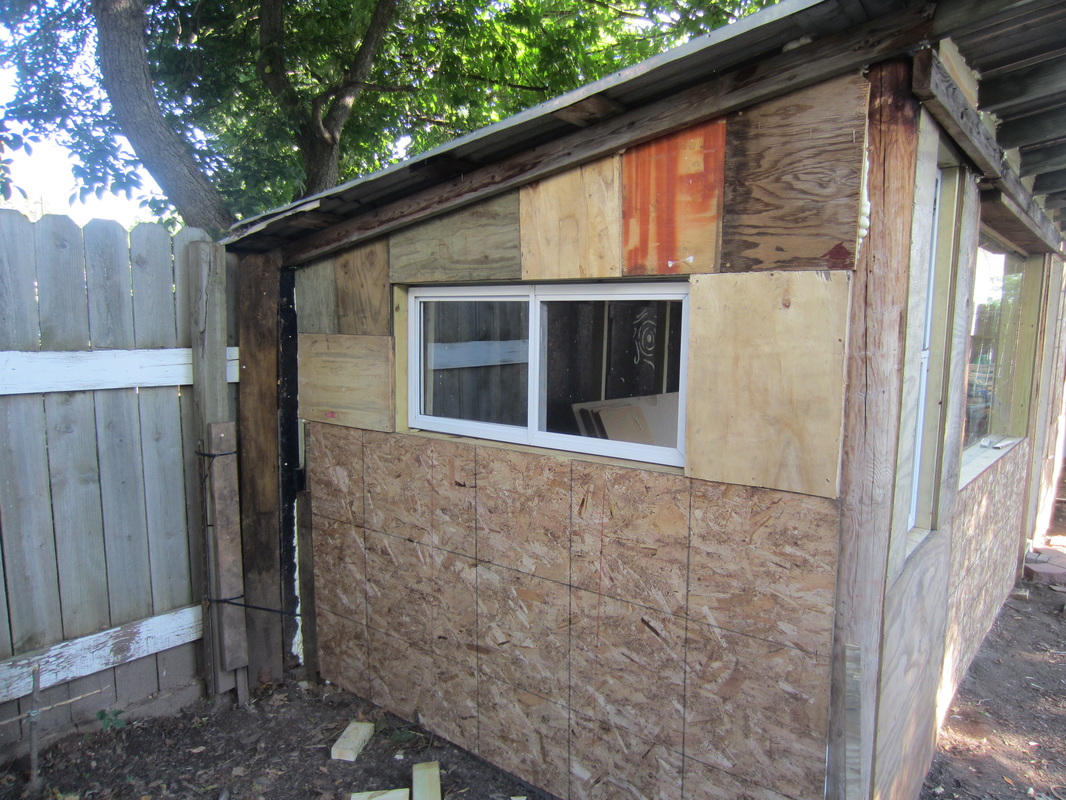
The Inside needs a lot of work yet. The walls look like patchwork because we used so many different kinds of materials that we recycled, but we bought a $5 gallon of mis-tinted paint that will hopefully solve that problem. Above you can see the wood stove, which we are learning how to use. We have smoked ourselves out a couple times! The floor is just dirt, but we will probably do more to it next year, but for now, since it isn't a living space, it should be okay. We are going to try to find an outdoor rug or two to keep the dust down. We need to finish the ceiling and a little spot of wall, pain and then it should be good. Rustic, but functional.
1 Comment
I got tired of seeing this: rolls of toilet paper on the floor. Our bathroom is so small it's ridiculous... and the genius who designed it and thought a pedestal sink was practical in a house built in 1884 with zero storage? Thanks. Well, what is done is done and since I have 6 people in this house I had to make it work. I have to make the best out of every inch I can. That is when this idea struck me. I thought I would share it as so many are moving toward smaller being smarter. People living small, leaving smaller footprints. Off the grid cabins, tiny houses, etc. This would also be great for RVs or campers. I decided I wanted to make mine slightly decorative, but honestly this could be accomplished with a piece of twine wrapped around a stick. I took some string and did some decorative braiding. The braided part is about 4 feet long. I left about 6 inches of loose string on one end, and about 18 inches on the other. (braiding is optional, any string will do) You will also need a stick (or something stick shaped.) I decided to use a piece of driftwood I had. I drilled a hole in it large enough to thread the string through. I also have a bead and a ring. Alternately you could choose to simply make a knotted loop at the top for hanging instead of using a ring. Simple is just as good. On the end with 18 inches of loose string I tied the ring. I wrapped the string tightly around the ring to completely cover the metal. Once totally wrapped, I tied it to the braided section to secure it. You can either cut it off, or wait a couple more frames to see what I ended up doing with mine. On the other end with the six inches of loose string I threaded the string through the driftwood. I then threaded the bead under the driftwood. This is to keep the knot from slipping through the hole in the wood. I double knotted it to secure it. I clipped the string to about 2 inches long and frayed the string to make a little tassel. This is for aesthetics only. Since I had that extra string left on the top near the ring I decided to decorate it with some beads, for appearance only. I made a little frayed tassel for that too. I found a spot next to my toilet where I could hang it. It would be handy if a roll ran out. Now, time to load it. Slip the stick through one end of the roll... ... and pull it out the other. The driftwood holds the roll on the string. Load on as many as you like. I manged to load the whole pack! Essentially we decided that the little kids would probably get the rolls wet from the shower, so we moved them to a different location. I mounted a hook on the ceiling and hung them there. The kids can reach to take a roll off, and every time one comes off, they all slide down so they will always be able to reach. It keeps the rolls clean, off the floor, and doesn't take any cupboard or shelf space.
Toilet paper doesn't make a very pretty decoration, but when your bathroom resembles the kind you see on an airplane, you gotta do what you gotta do! Sometimes the fact that it functions is beauty enough all on it's own. Buckets make quick and easy brooding boxes, and you can remove them for washing. My husband built a simple frame to hold them in place and stop them from rolling. Three on the bottom, two up top. Hoping they lay their eggs there so they are easy to find!
We got some free shingles from a company that was moving and used it to side the art studio. We have it nearly finished and haven't spent any money on it in months. If you are patient, the materials will come! Here is the little wood stove we got to warm it in the winter. It's in need of a good clean.
The inside isn't finished yet, I will post more updates when we get more done. The coop is progressing and the chickens seem to like it. We finally collected enough tin cans to finish the "siding" (it's harder than you think! Most tin cans have a rounded bottom these days, but you need the kind with a bottom ring so you can remove both ends.) This is the view from inside the run. The walls are constructed but not sided yet. Here is the bottom floor. We used poultry feed bags as flooring to keep the wood dry. We are trying to make almost everything from recycled materials. The bottom floor looking to the left. Upper floor. View of second story when looking to the right. Chicken "staircase." Brooding box I made. Bedding is in, looks cozy! Clean and ready to go, now just waiting for night to fall. I snuck a picture of the upstairs patrons.. And our ladies who prefer the downstairs!
Get a good night sleep ladies. In a few weeks you will be producing eggs! My free ranging chickens were relentless about coming up on the patio to eat my flowers. We originally had some pots on the ground, eventually used the pink bricks to build them up a little higher- to no avail, and now finally built a high shelf for the pots to rest on. I knew they were less likely to reach them here, but shocked by how fast the flowers would rebound. The amount of blooms in just a week is astounding! The picture above was taken the day we built the shelf, and below is today. Look at how many blooms!
You really can have you cake and eat it too (as long as you can keep it away from the crazy birds!) We are proud of how the siding is coming out on our shed (hubby's art studio.) The free shingles we found are a boon. We counted the mis-matched shingles and put them into a color rotation, and like a sweater knit from multicolored yarn, it is coming together perfectly.
The shed is coming along, and I am actually sort of enjoying it's "coat of a thousand colors" theme. Because it is made from mainly re-purposed wood that we got for free it is a mutt in nature, but a beauty in our eyes. We got a huge pile of brand new roofing shingles from a re-locating local business which we will be using as siding and we are excited to get going on it. Slowly but surely it's coming together. Money spent so far: $155. (keeping in mind the roof and main supports were already existing. Windows-free, door- free, some of the wood- free. Mainly spent money in two by fours, screws, bricks and great stuff)
We re-purposed our Christmas tree from last year as a roost for the chickens. We cut the branches off (to be saved as fire starters) and buried it into the ground about a foot. We used a hole saw and drilled some holes at varying heights and pushed some straight sticks (from a different tree) through the holes.
It took them a few days to accept it, but now they quite enjoy it. Coop still unfinished as of yet. That pesky squirrel emptied our bird feeder that is mounted on the tree daily. It drove me nuts! I attached this cover of a bakery cake to the tree and voila, re-purposed magic! The squirrels can see the food, but can't figure out how to get to it. I have a feeling they will eventually crack the code, but I'm saving some seed in the meantime. It took the birds about 24 hours to figure out that they could come in from the front.
|
-About Luna-
|