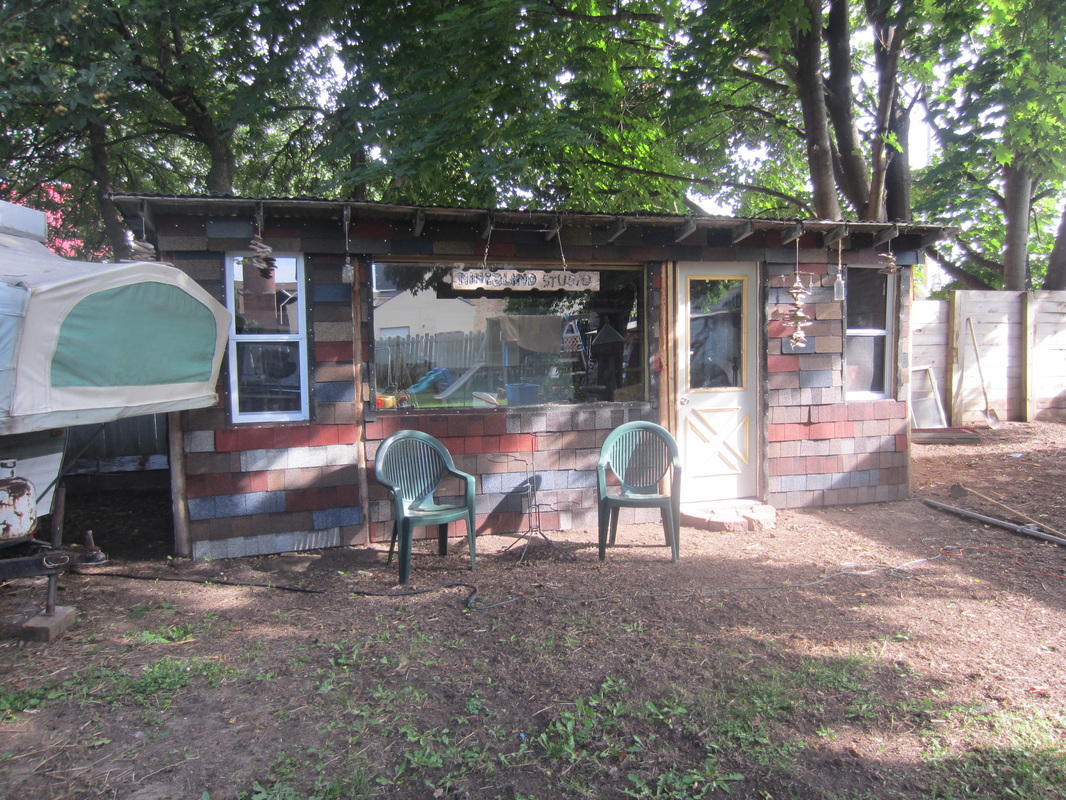
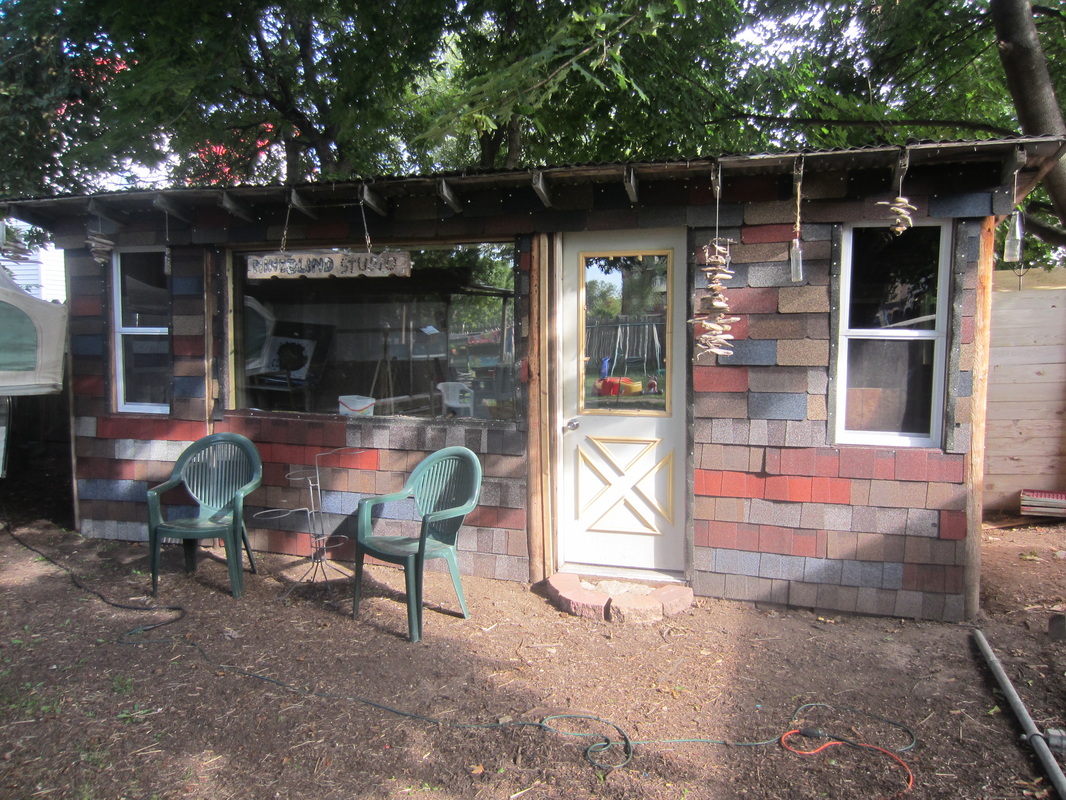
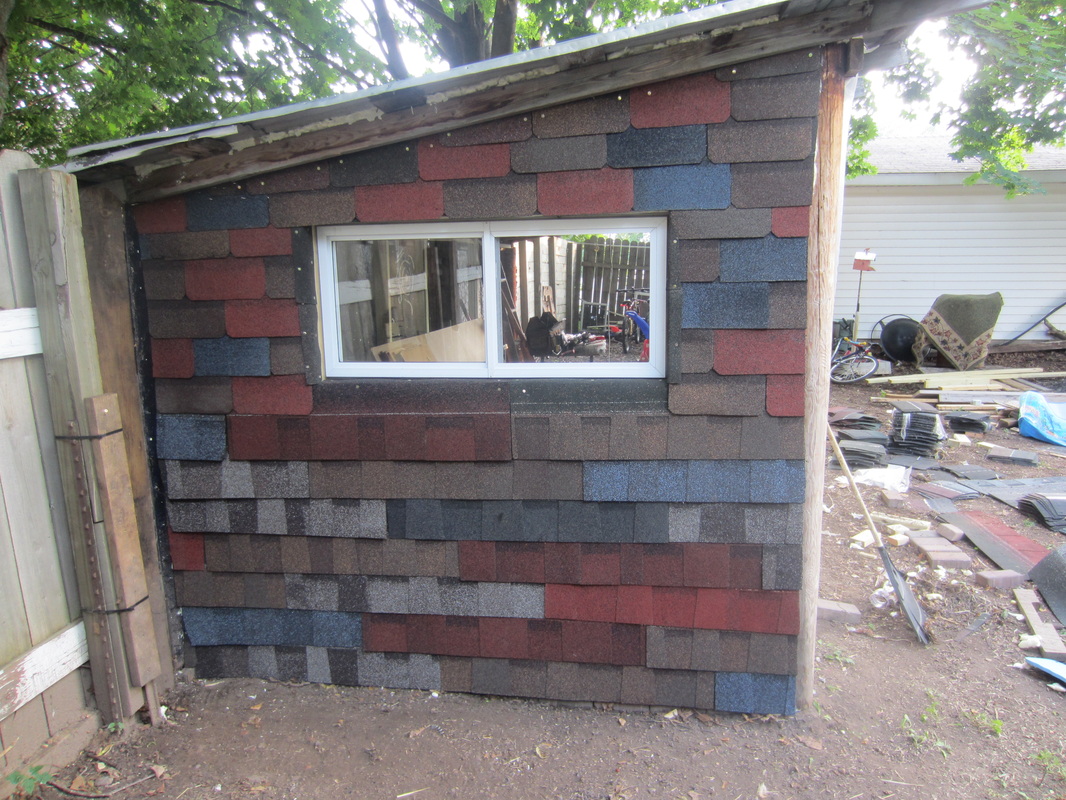
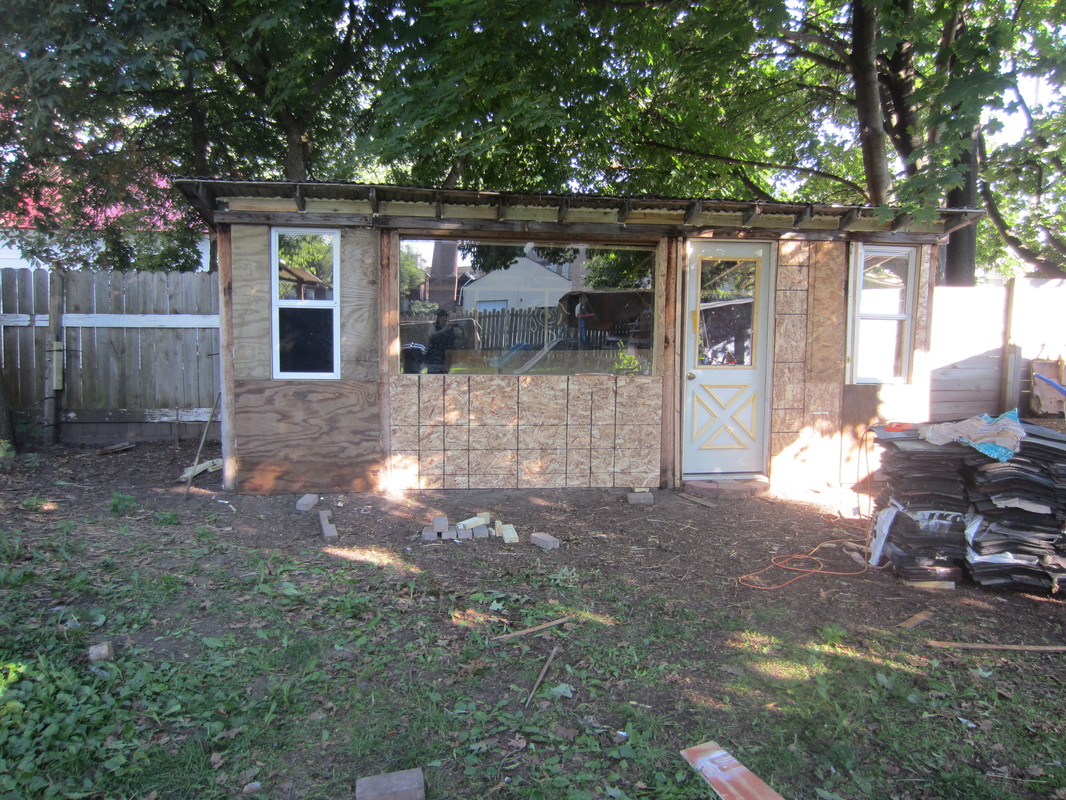
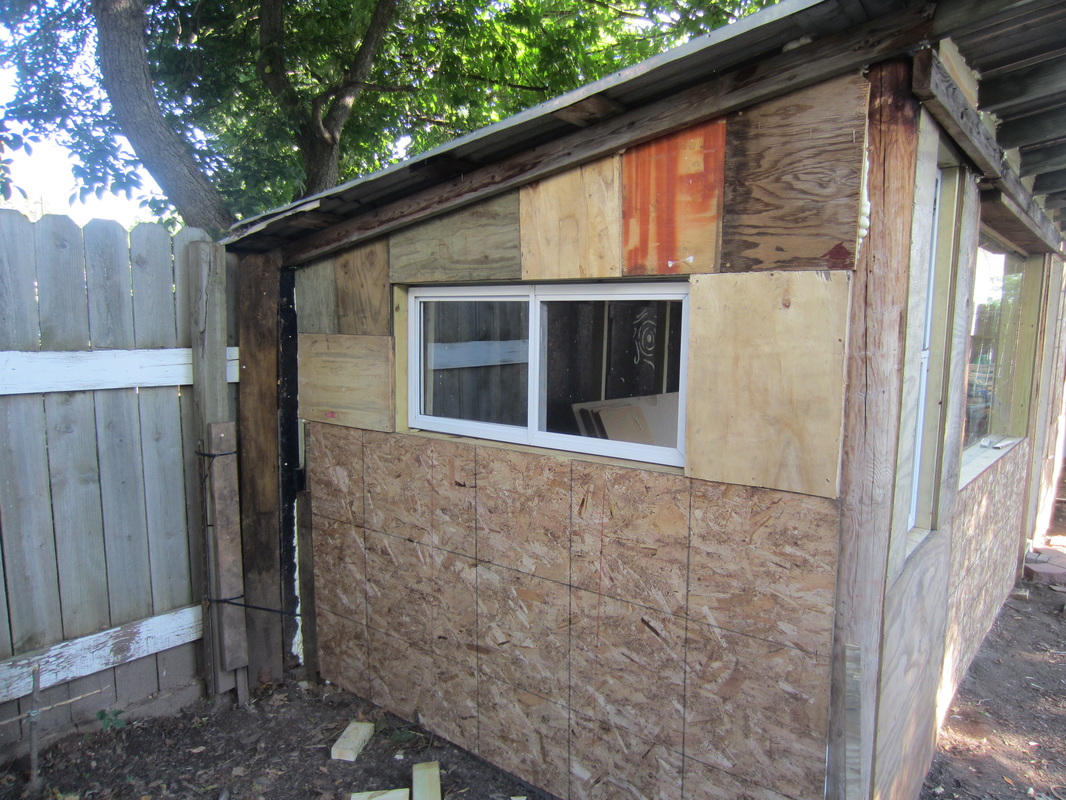
We got some free shingles from a company that was moving and used it to side the art studio. We have it nearly finished and haven't spent any money on it in months. If you are patient, the materials will come!
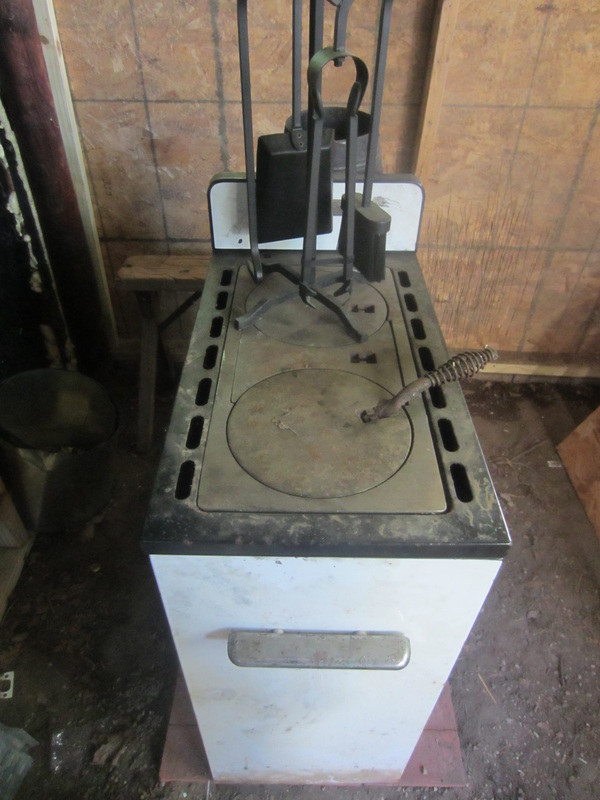
Here is the little wood stove we got to warm it in the winter. It's in need of a good clean.
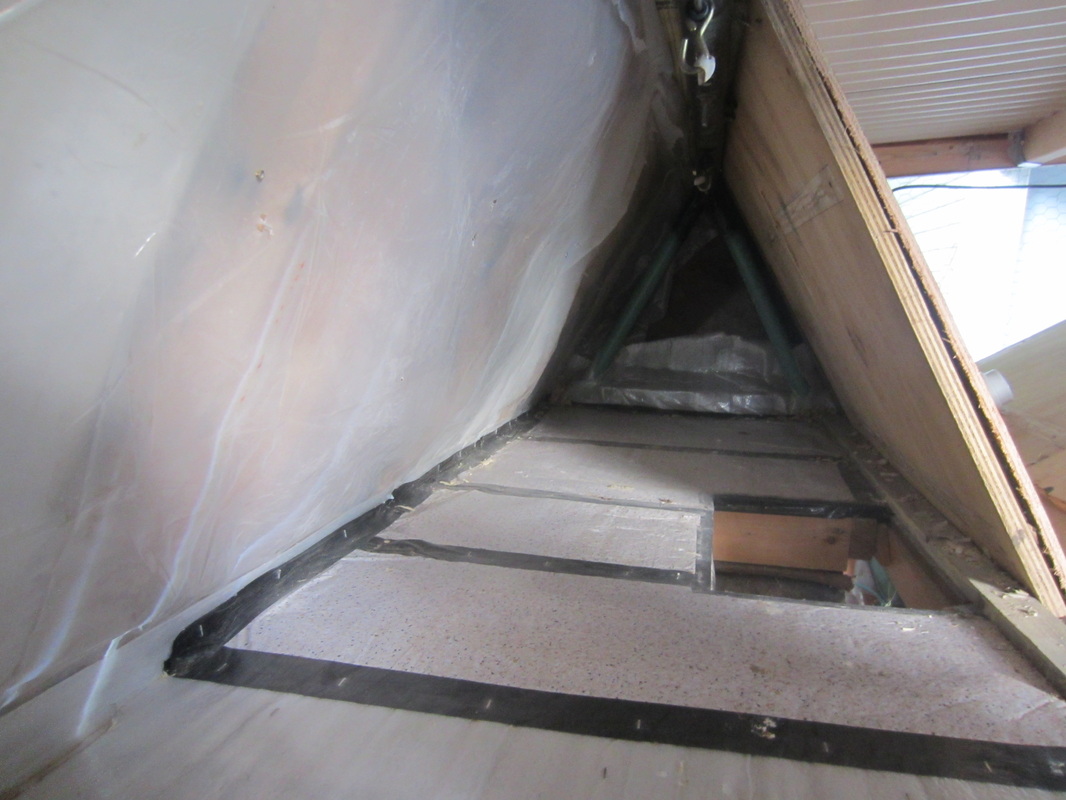
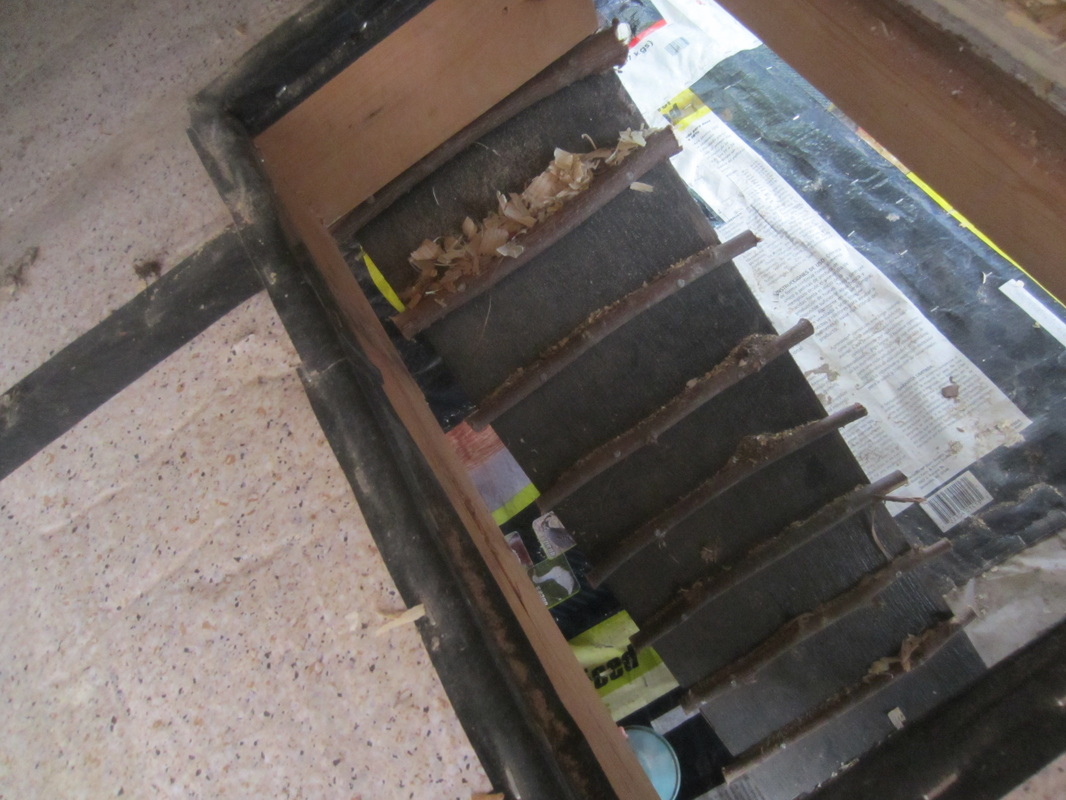
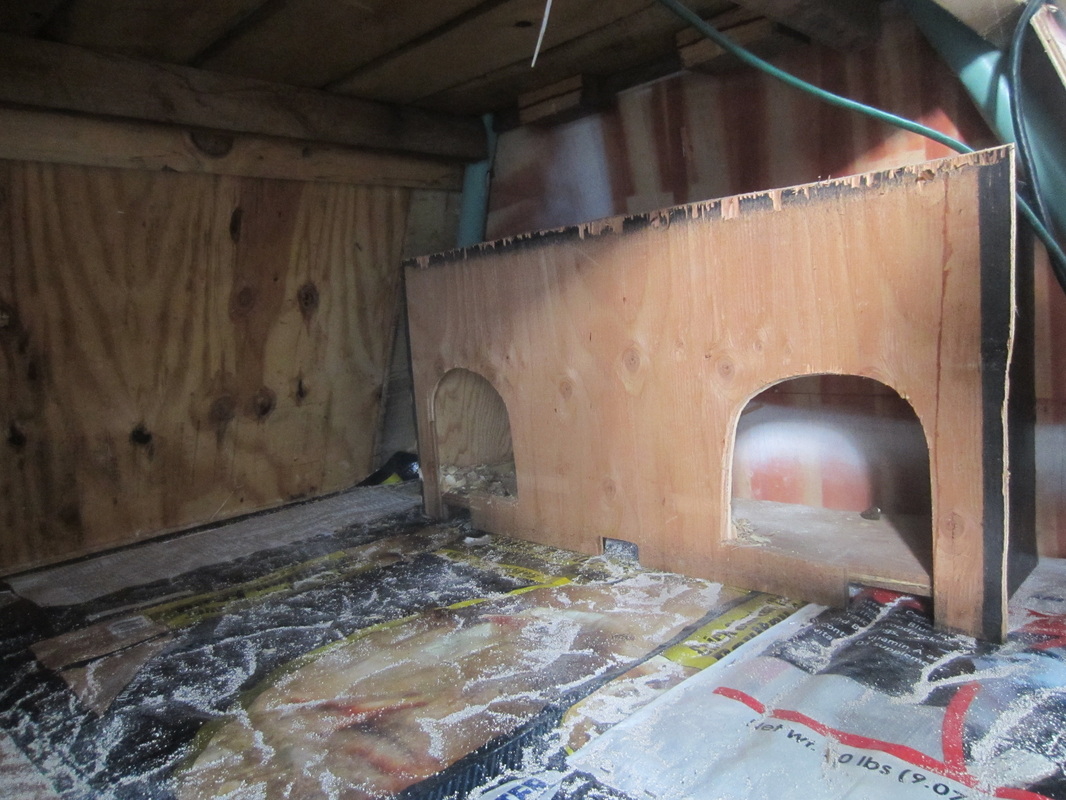
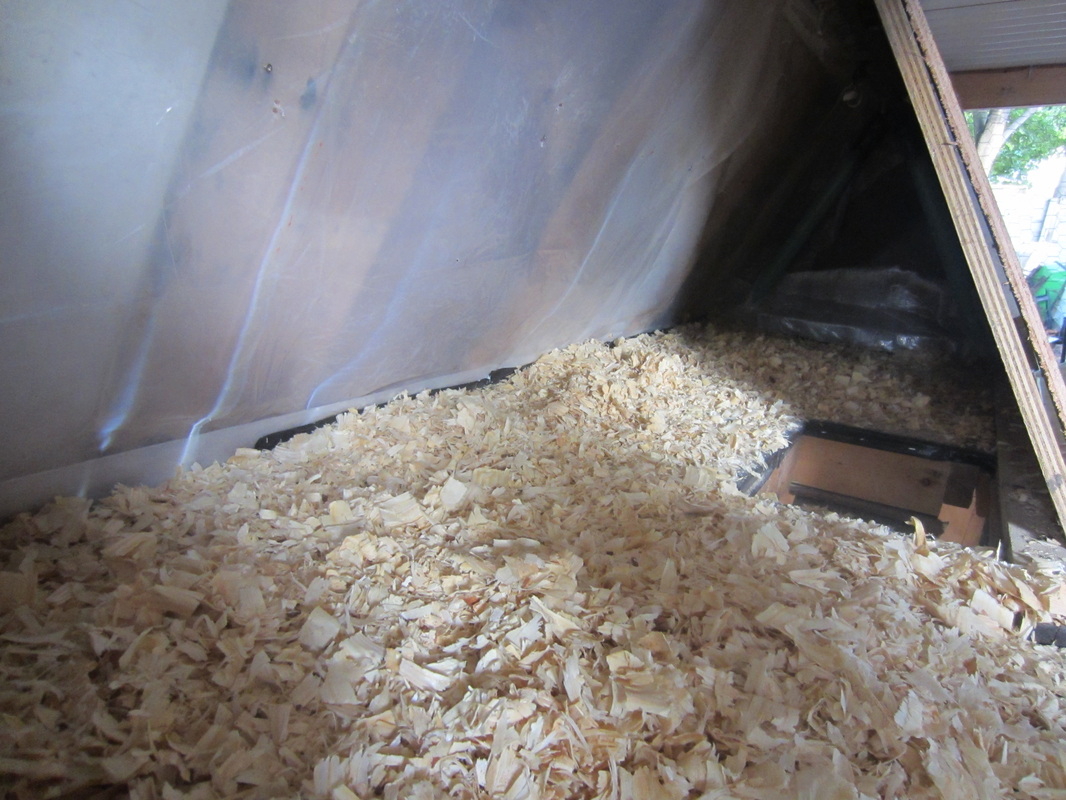
The inside isn't finished yet, I will post more updates when we get more done.
The inside isn't finished yet, I will post more updates when we get more done.


 RSS Feed
