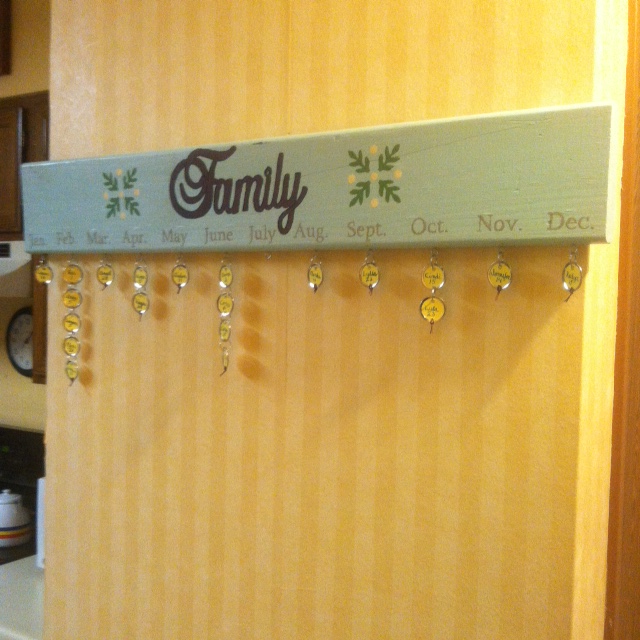
I saw this idea for a family birthday reminder on Pinterest and decided to make one for my Mom. It was a fantastic idea, wish it had been mine, but I was glad the creator decided to share it with the world!
| At Home With Luna |
|
|
I saw this idea for a family birthday reminder on Pinterest and decided to make one for my Mom. It was a fantastic idea, wish it had been mine, but I was glad the creator decided to share it with the world!
2 Comments
I have two bathrooms, one of them is really small (literally a water closet!) I have toyed with the idea of having a magazine rack but can't find a good place to put one. I used to leave magazines on the back of the toilet but they would always get knocked on the floor by one of my kids and get trampled and water damaged from little wet feet coming out of the shower. Then I saw this on pinterest: http://www.pinterest.com/pin/299770918919752488/ I thought "that would work for my magazines too" so I tried it and it worked, but it looked less than appealing to the eye. That is when I came up with this: 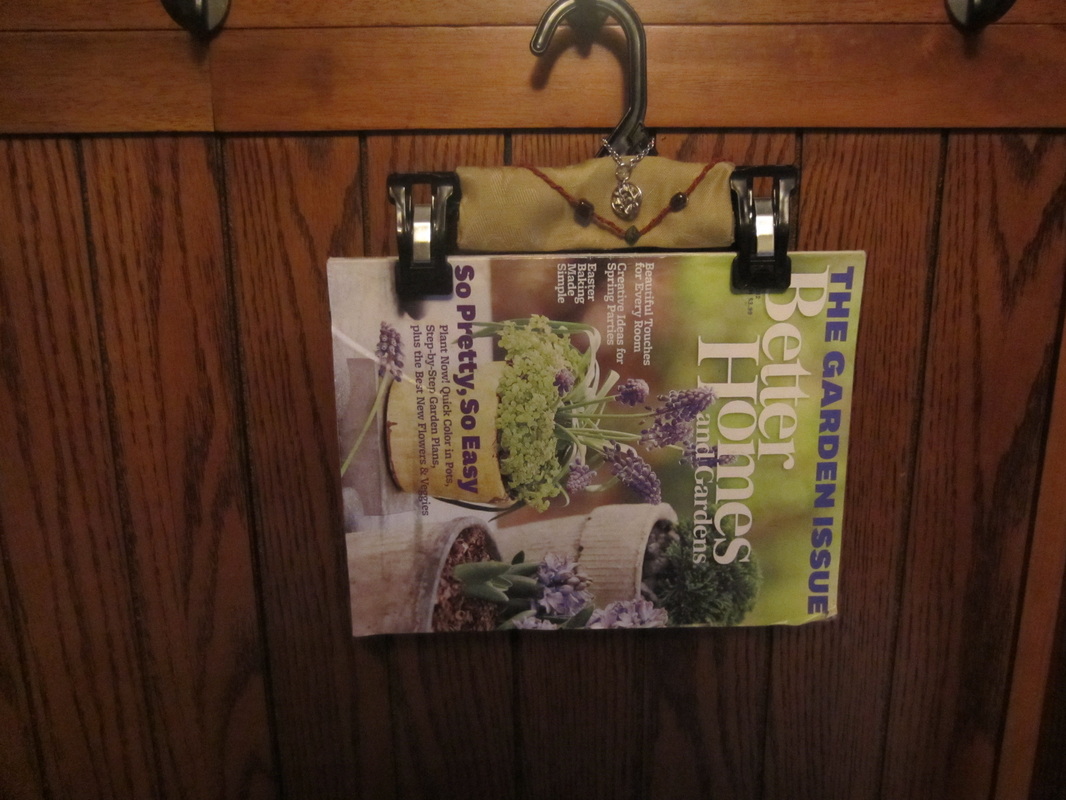  I was pleased with it and so set out to make one for my daughter's room to hold her book next to her bed. This when I decided to do a tutorial on how I make them. 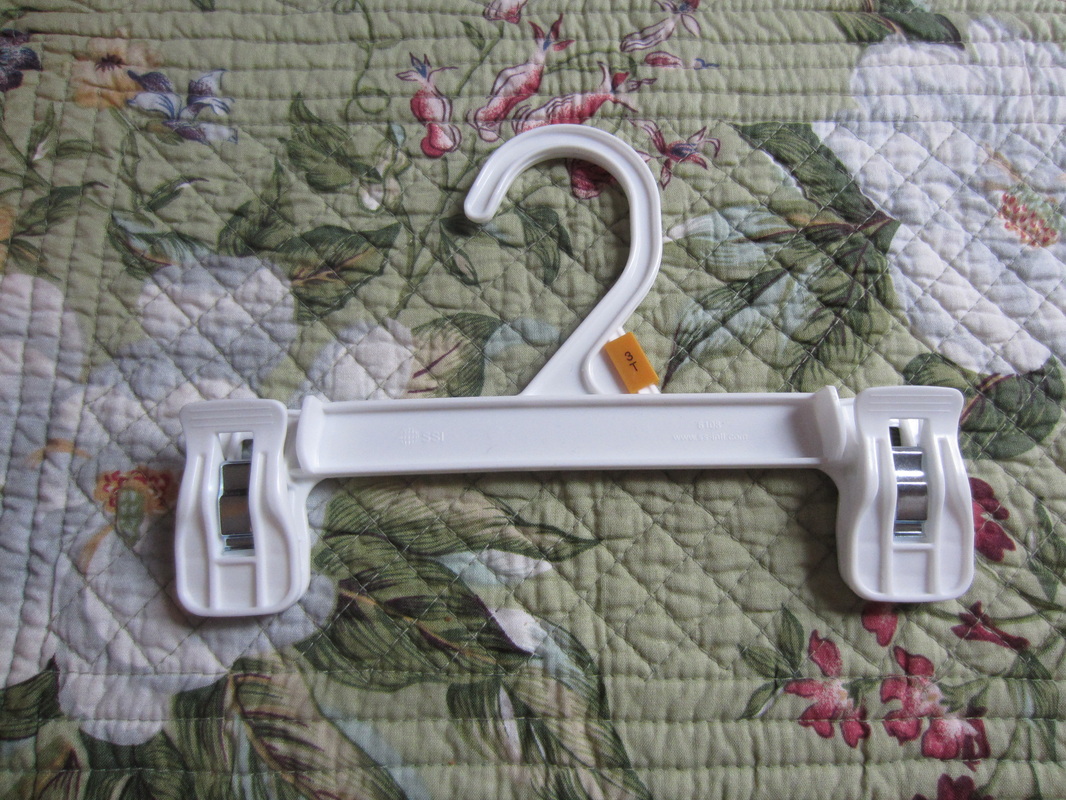 I started out with one of these hangers used for pants at retail stores. Use a pliers to rip off the size tag and you will be set to begin. 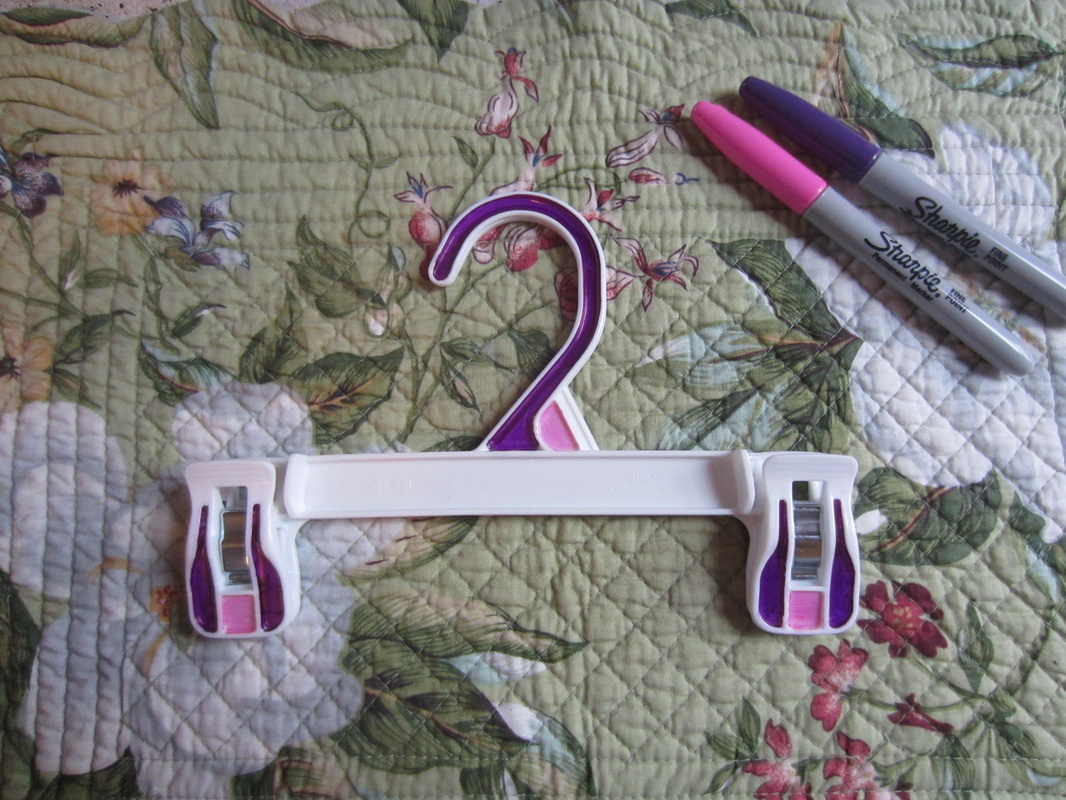 Because this was for my daughter I thought I would dress up the hanger with some color so I used a couple of sharpies to fill in some of the grooves. Other ideas I had to fill in those grooves were puff paint or glue mixed with food coloring but I opted for the sharpie for this because I didn't want to wait for it to dry (excited to do my tutorial you know!) 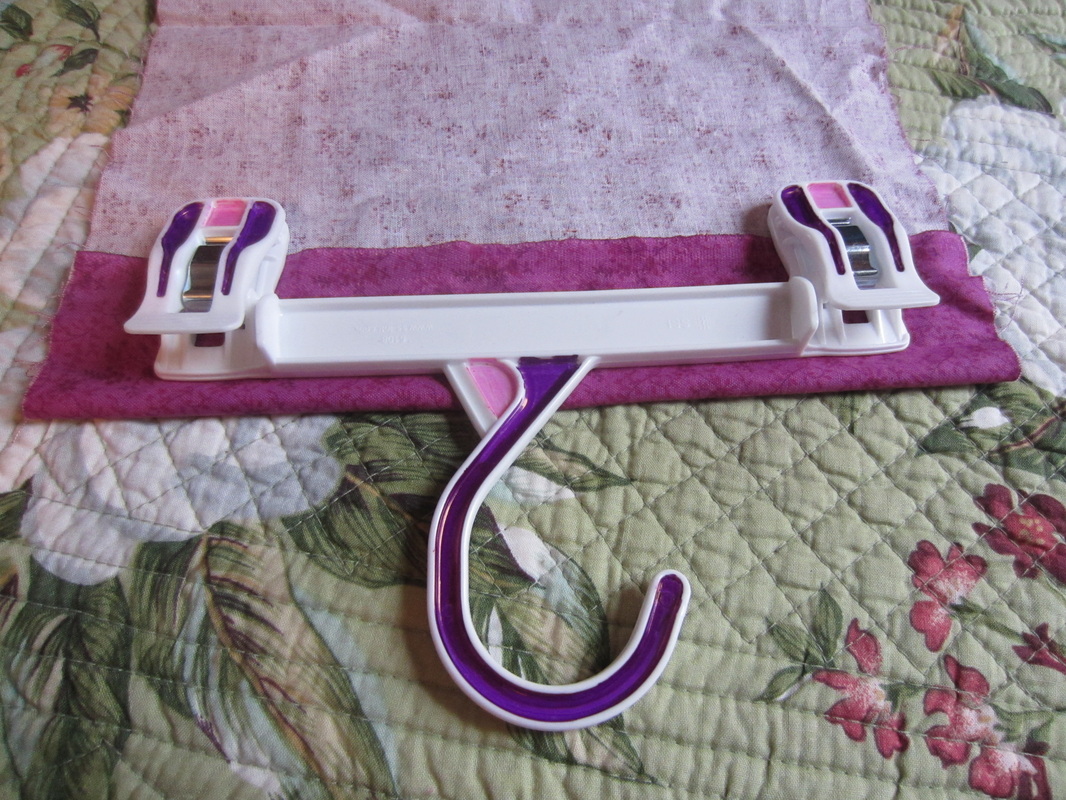 I folded the fabric in half and while keeping it folded I cut it about the size and length of the hanger (not counting the hook.)  This is how it looked after being cut. 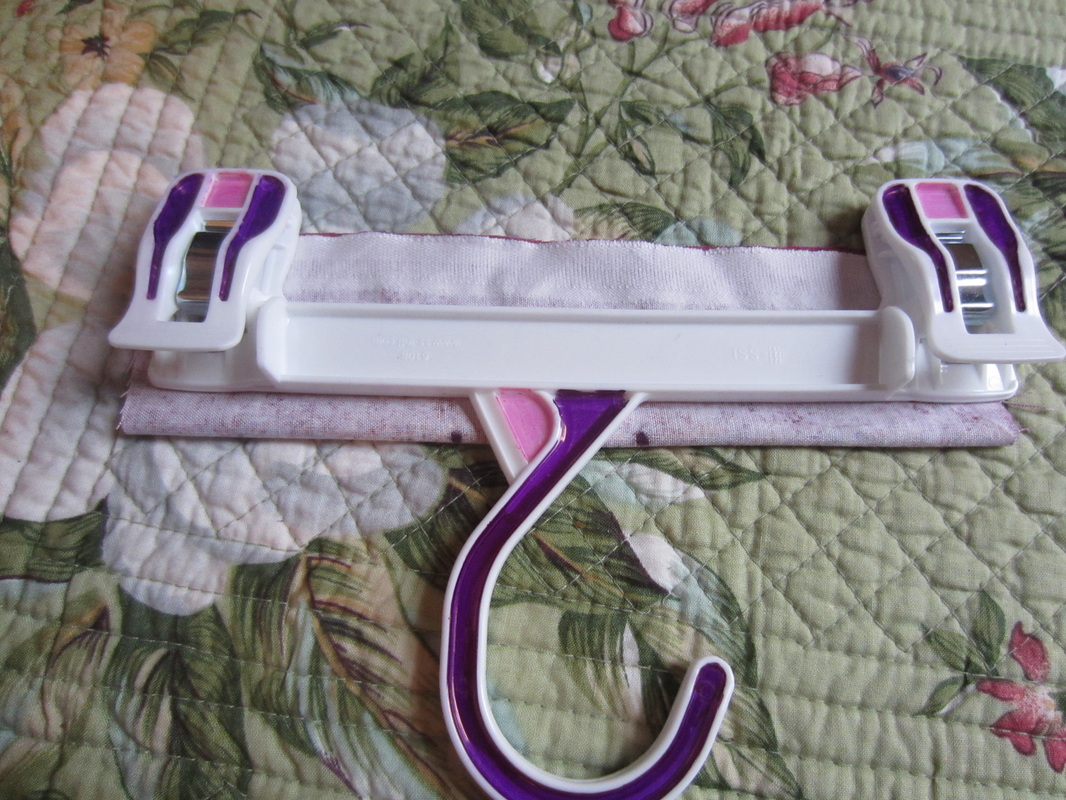 I folded the piece of fabric inside out and set the hanger back on top of it, hook to the fold, open end away from the hook. I used a marker to mark each side of where the hook would need to pop out the top of the fabric. 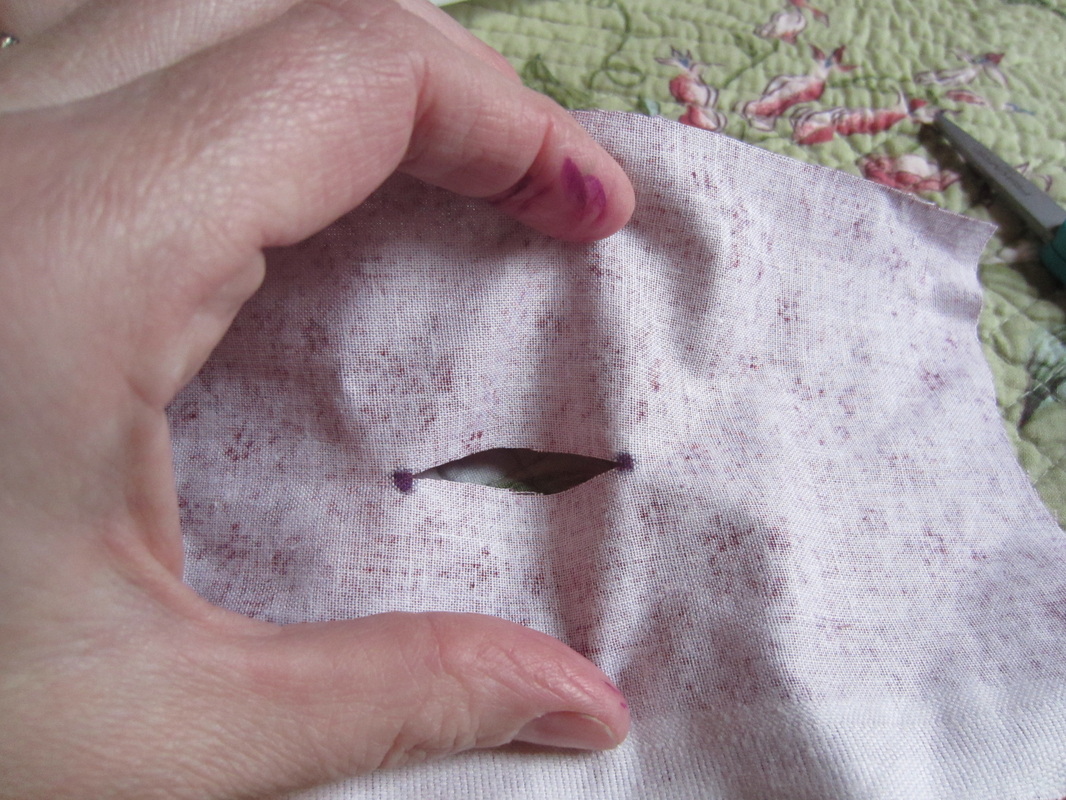 Next, unfold the fabric and cut a line between the marks you made like so. 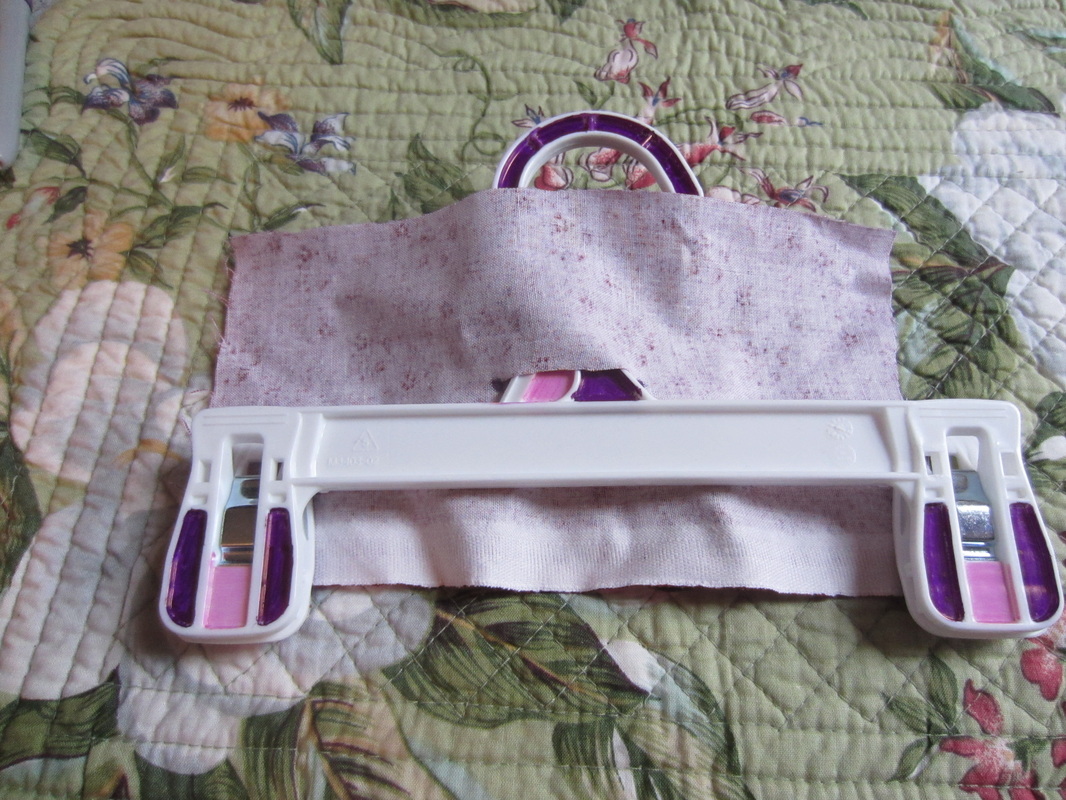 The hook should fit through the hole as such. 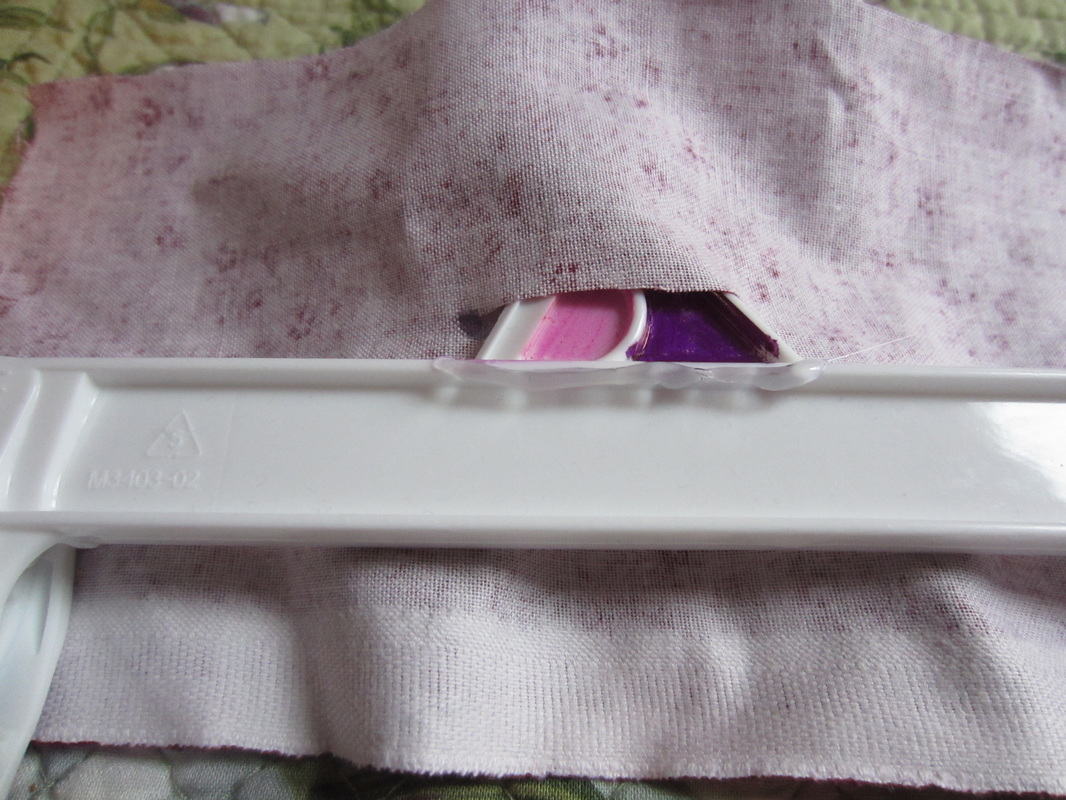 Make a line of hot glue across the base of the hook and press the fabric down onto it. 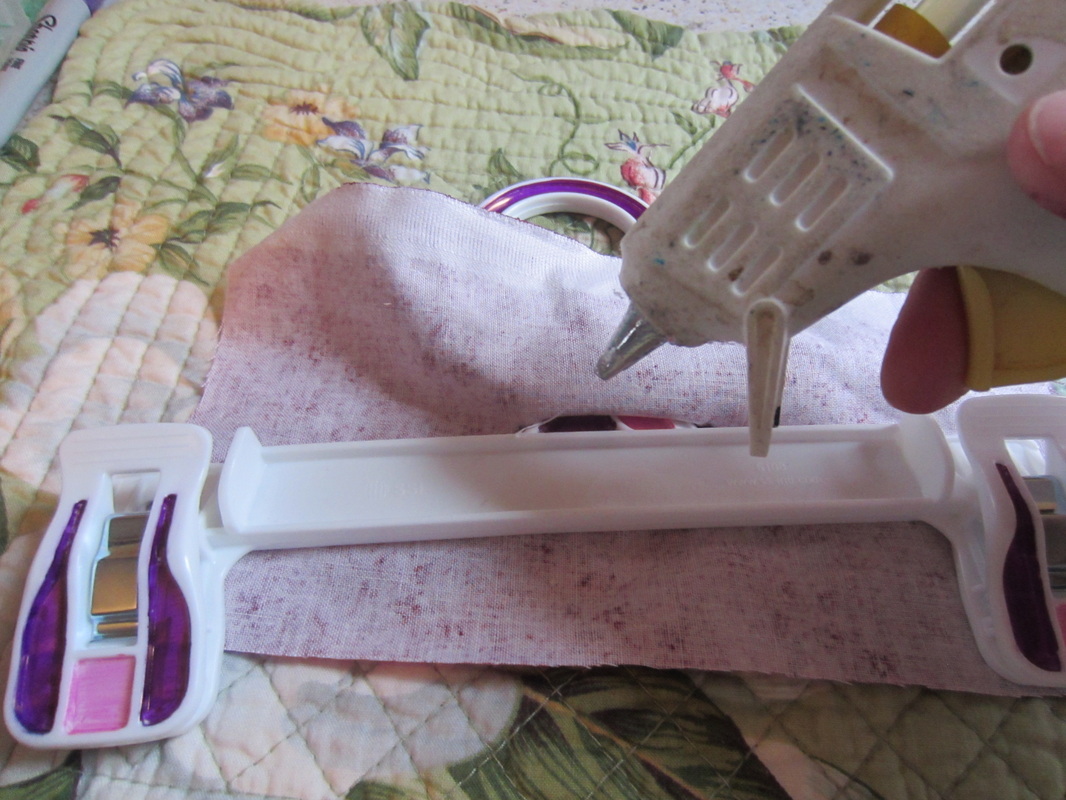 Flip it over and do the other side. 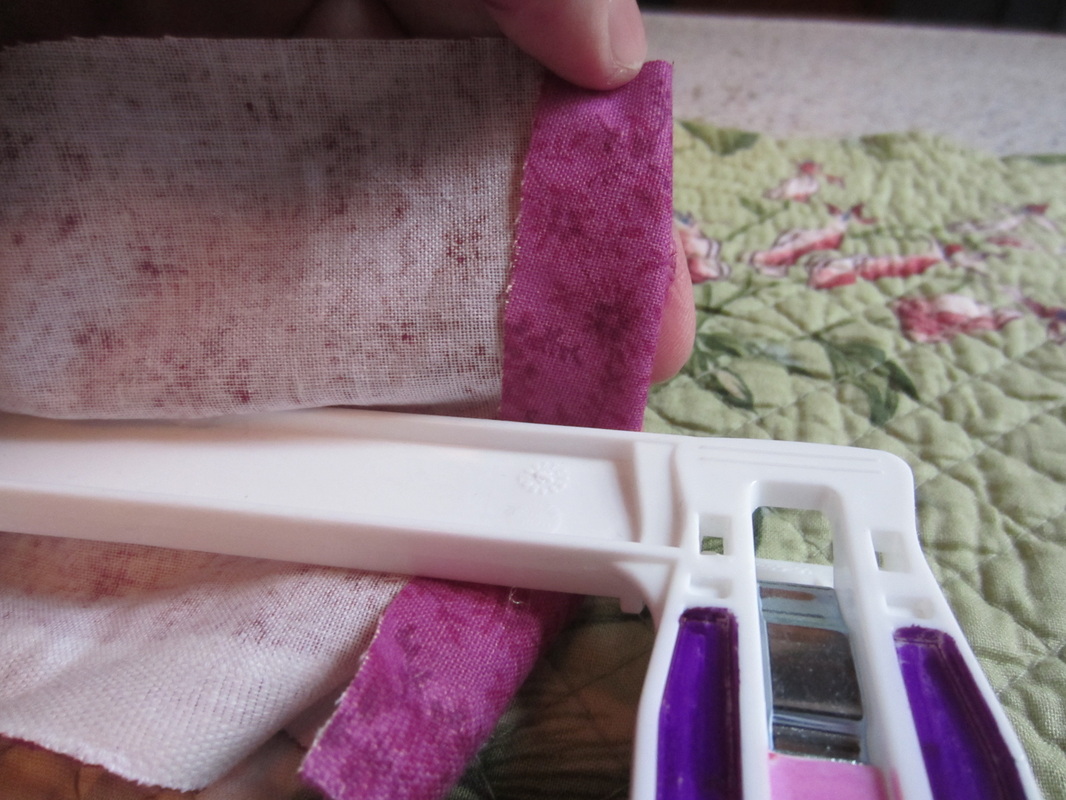 On each side fold the end of the fabric in so it ends right where the clip is about to begin. 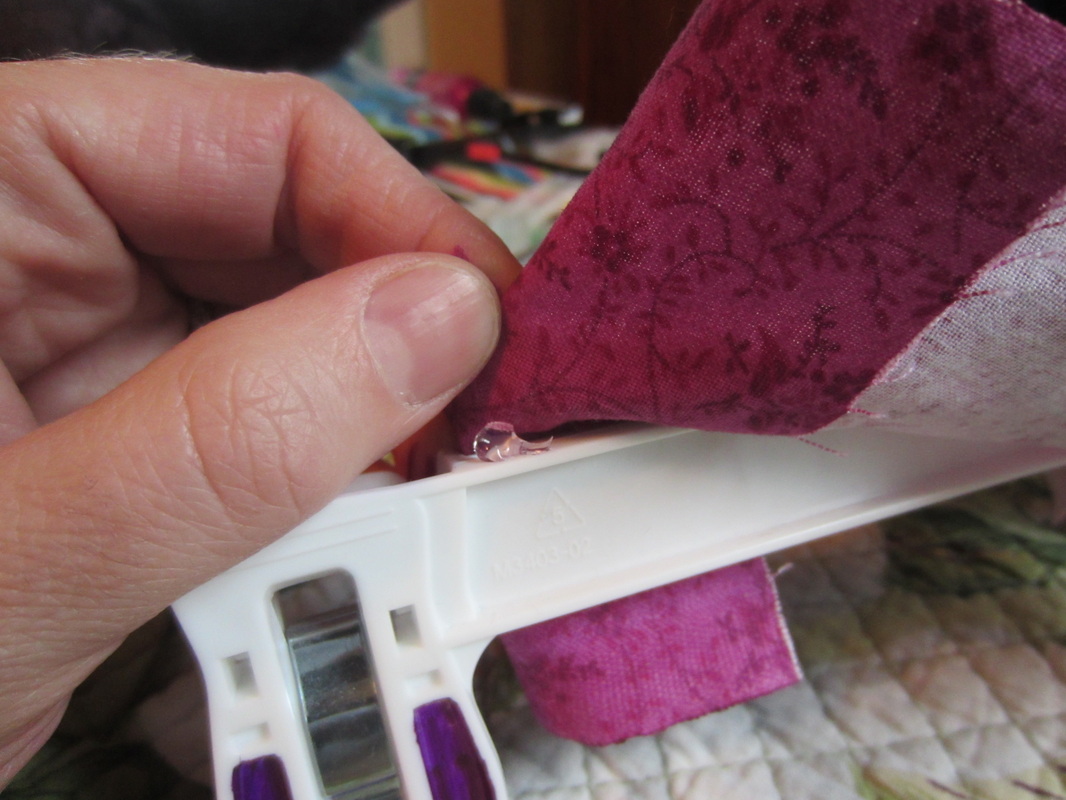 Put a dot of hot glue on the top ridge of the hanger and glue the fabric to it on each side. 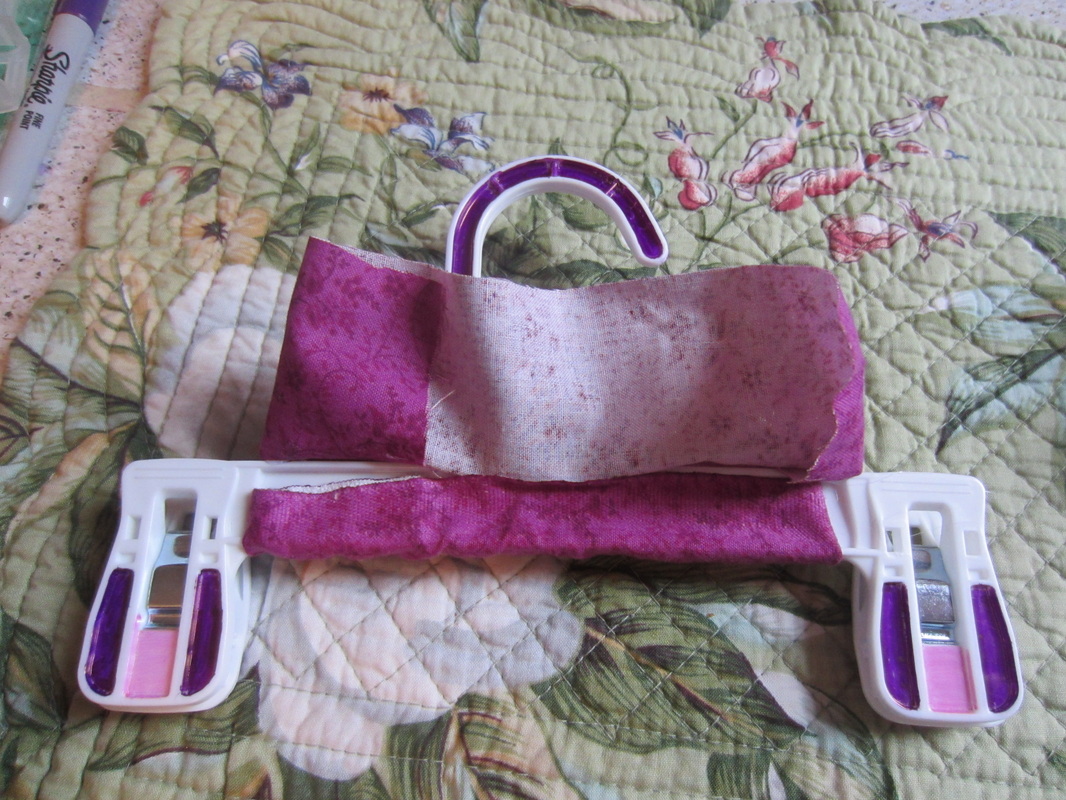 Wrap the bottom fabric up and around and hot glue it to the hanger. 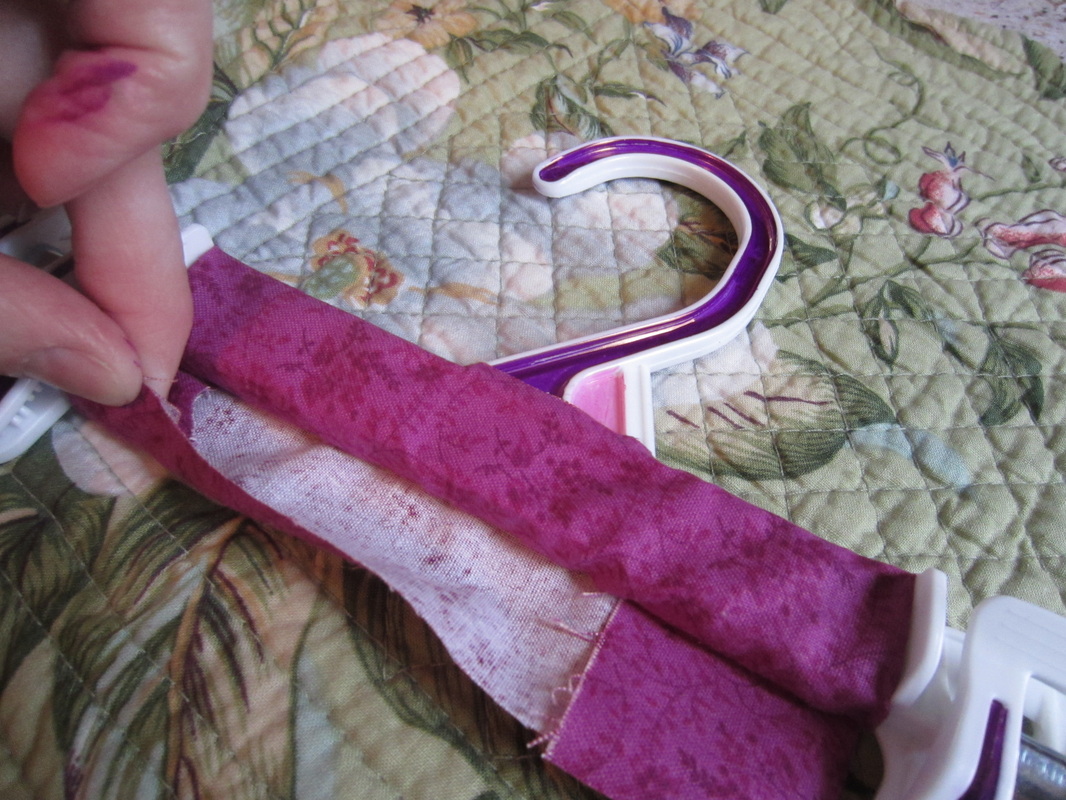 Flipping it over, this is how it will look. Before we wrap the other side up, lets create a fold to hide the frayed edges of the fabric. I neglected to show this step very clearly in the photo but I folded the bottom edge (that I am pinching with my finger) up by about a half inch and clued it down to it's self before finishing the wrap and gluing it to the hanger, which I complete in the next step.  Fold the last little bit up and hot glue it down to completely wrap the hanger's body. 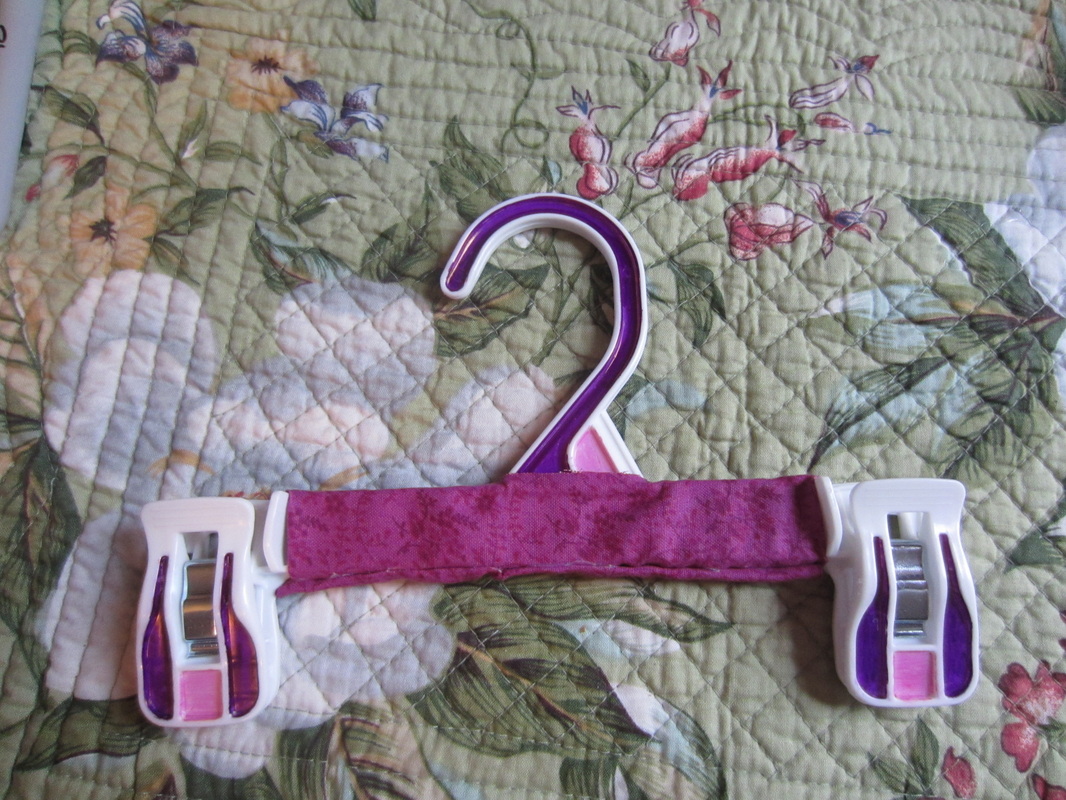 If I had been smart I would have wrapped it in the other direction, leaving the seam in the back, but since I was going to embellish it anyway, I didn't get too upset by this oversight as it would be hidden! 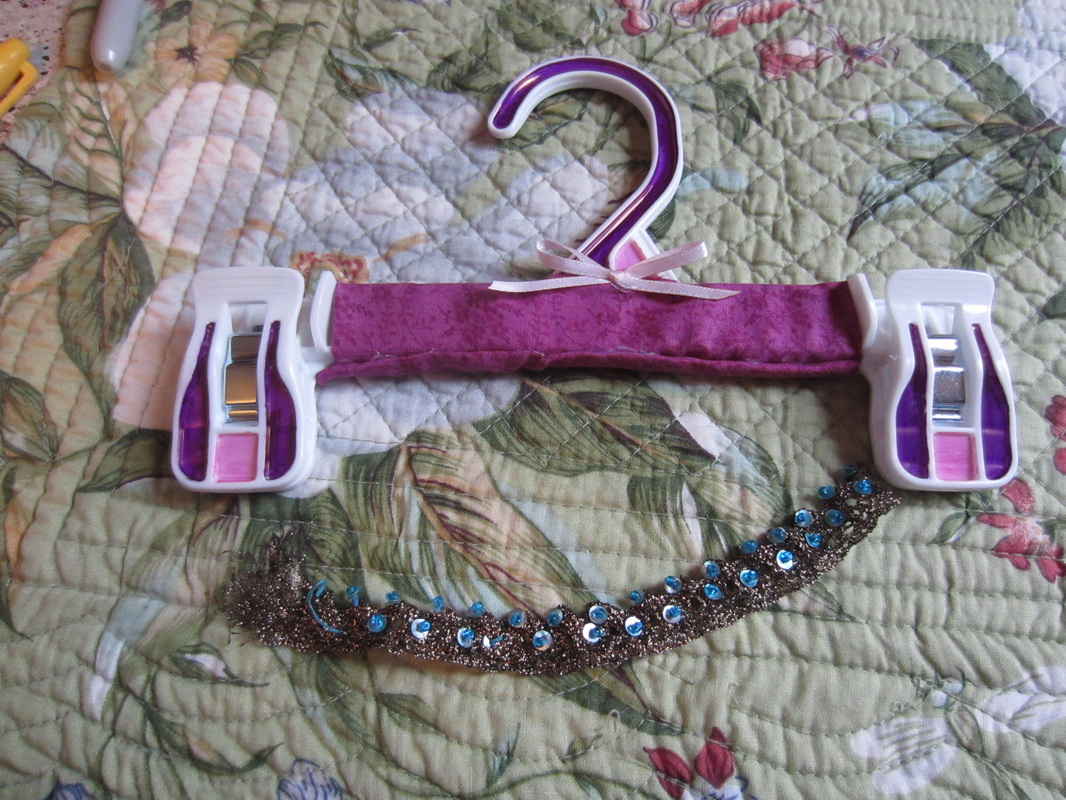 I added a little bow, and next a row of sequins that will nicely hide that pesky seam! 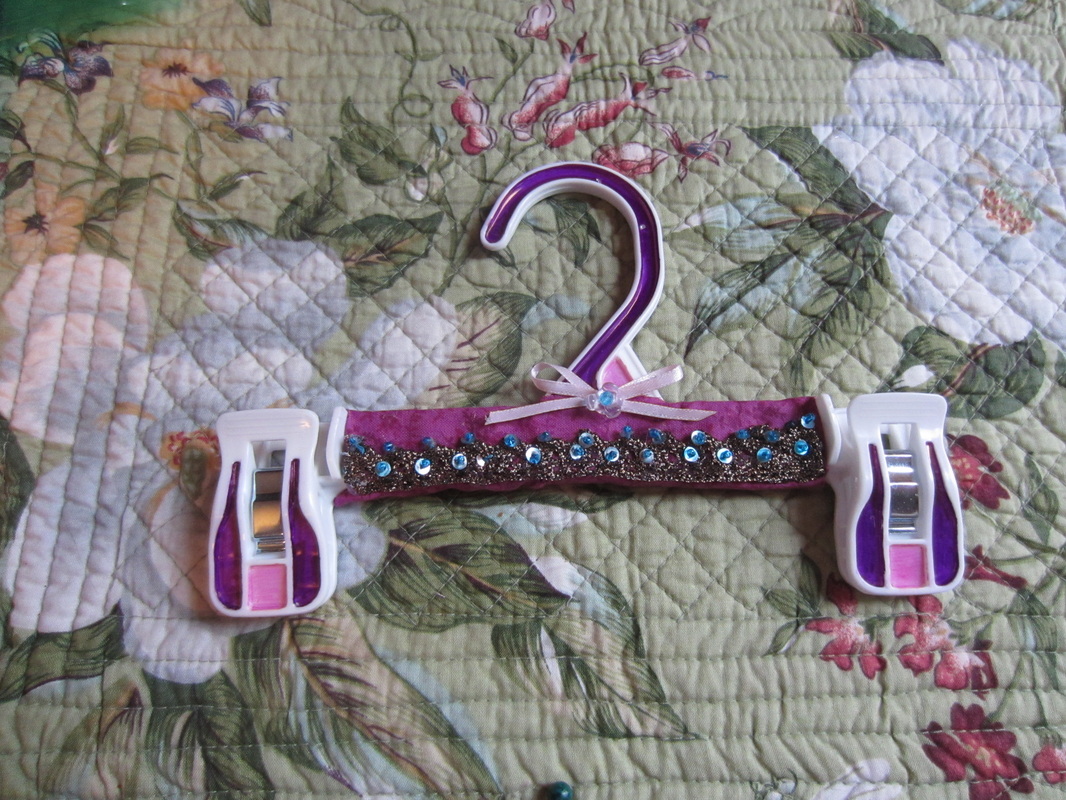 Glued on the sequins, and a couple little beads on the bow and it's all done. 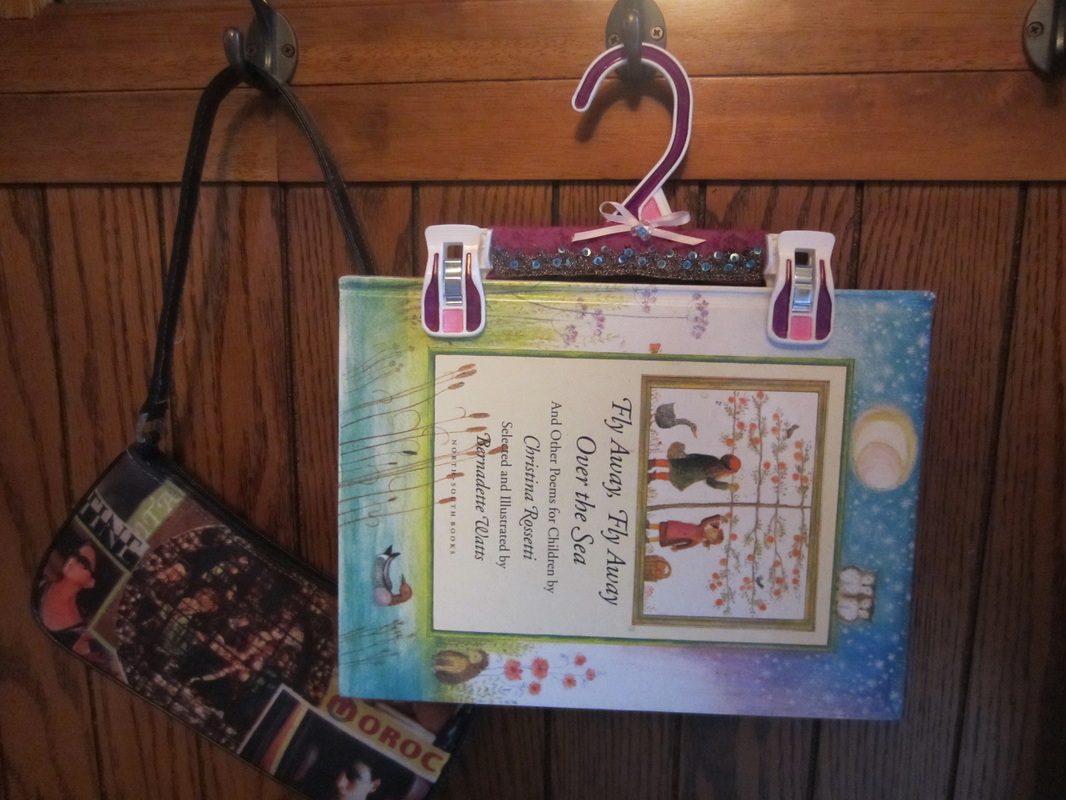 And here is it in action. 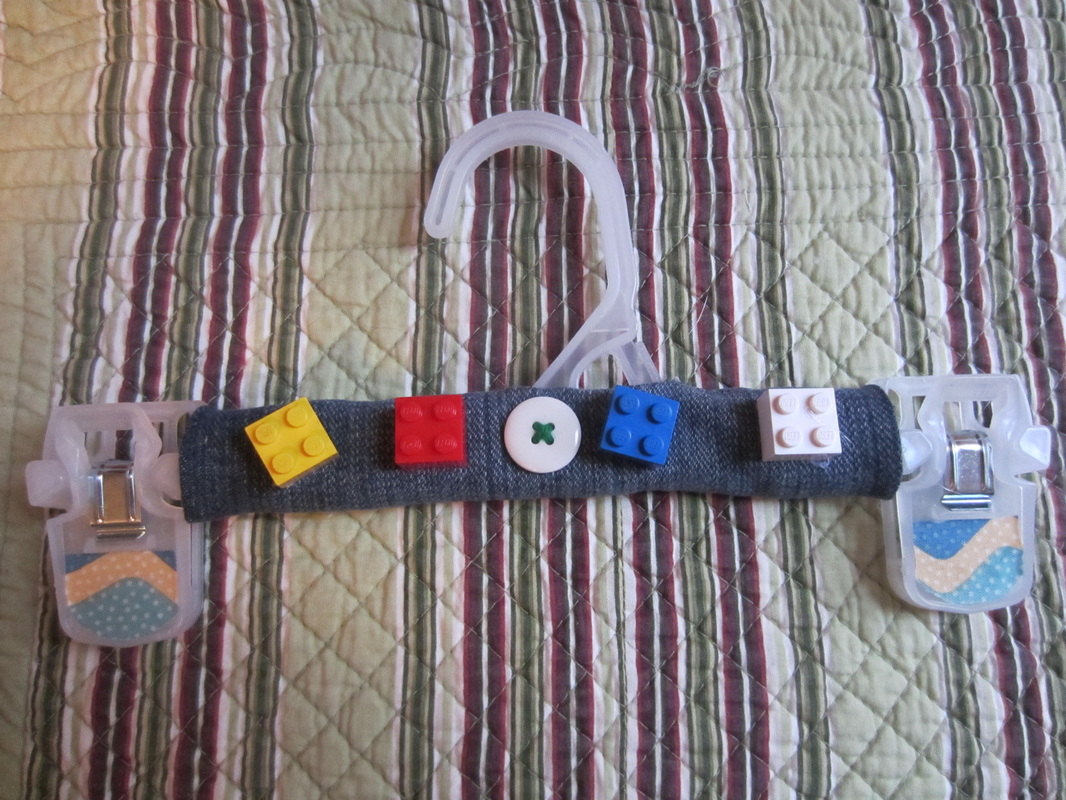 I was eagerly approached by my son complaining that he didn't get one, so I came up with this. I used denim on this version, and some fabric duct tape cut to fit the bottom of the clamps. 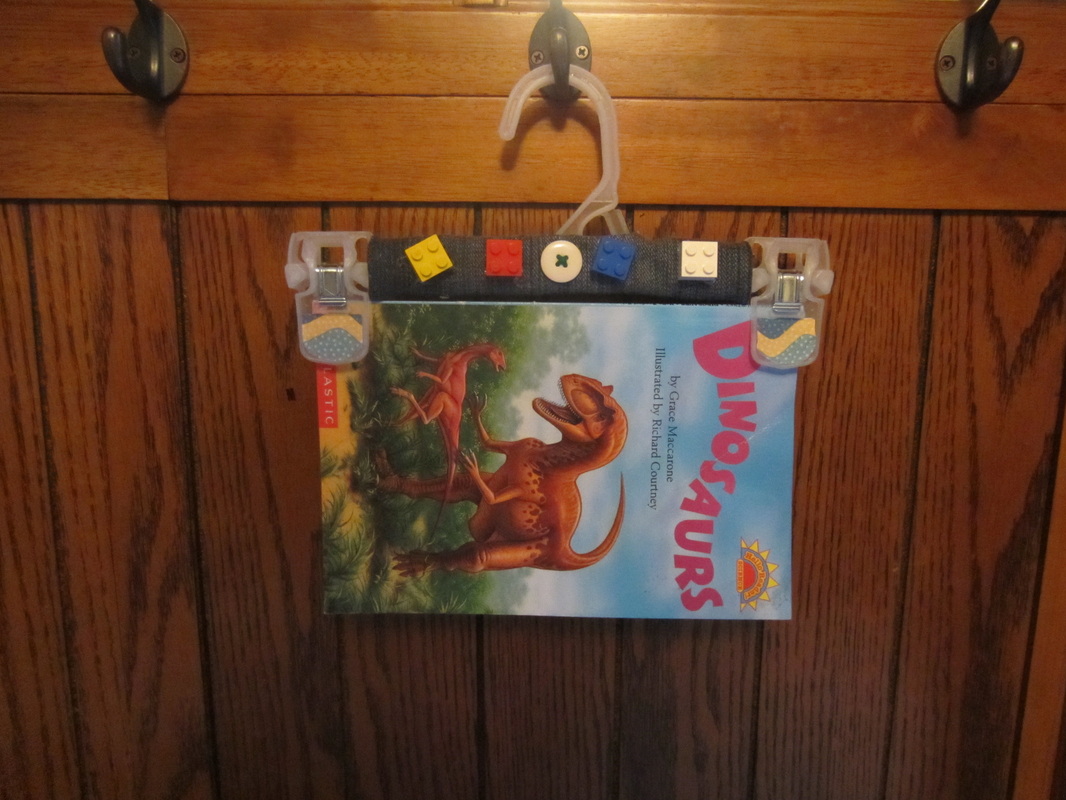 Of course lego's were an obvious choice for this child, but the ideas are really limitless.
Hope you enjoyed the tutorial. They were fun and easy, not to mention quick. If anyone makes one or builds off of my idea I would love for you to post pictures of them! 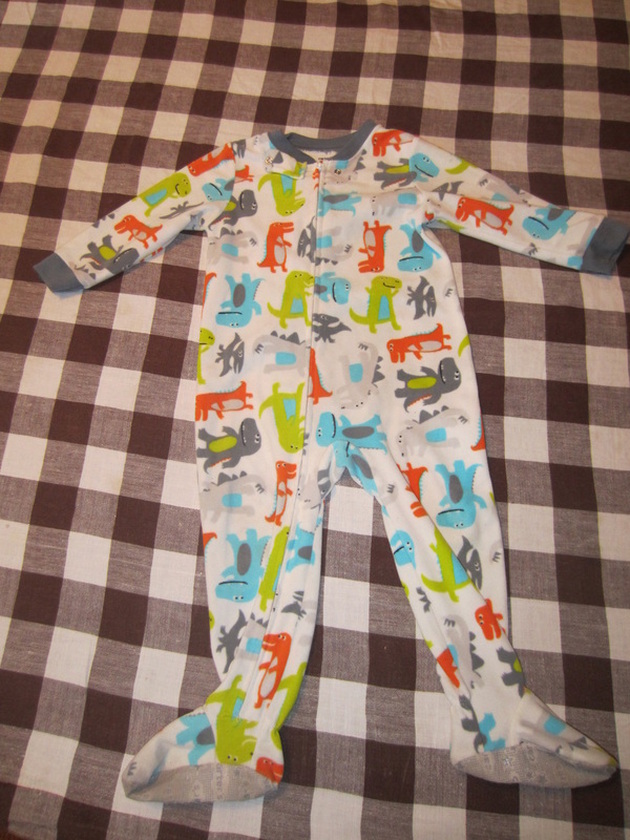 If your child is like mine they have these cute footie pajamas. Some of my kids hated sleeping with their feet covered, or found them to be too slippery on the kitchen floor. Sometimes the feet would wear out, or their legs would get too long (although the rest of the pajamas still fit.) For whatever reason, there is a way to remove the feet and extend the life of your little one's jammies. They will be happy, your wallet will be happy, and the earth will be happy with less stuff in the land fill. Let me walk you through the transformation.  Meet victim number two, a shirt that was beloved... until my son made a mess of it at dinner and it ended up on the floor over night instead of in the hamper. The dog found it before morning and chewed the food off of it (and parts of the fabric as well!) It was right ruined, but I can salvage the sleeves for this pajama project and make the rest a rag! 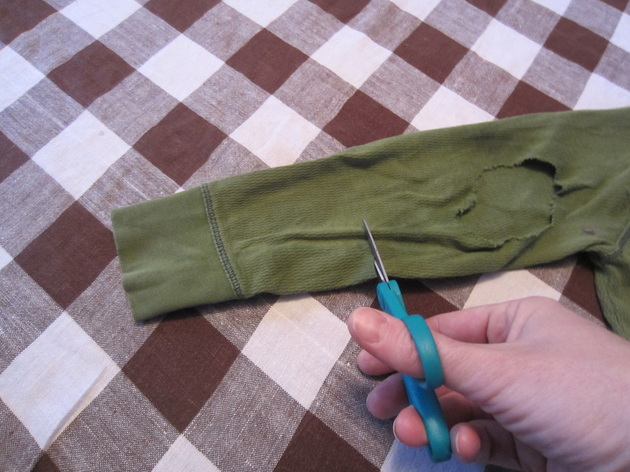 I cut off the sleeves up to the point where the dog made dinner out of it, but ideally you need at least 6 inches, depending on the size of the pajamas. If it is in infant sizes you can get away with much less. Let me also note here that if you have socks with holes in them you can cut off the feet and use the ankle cuffs for this same purpose. 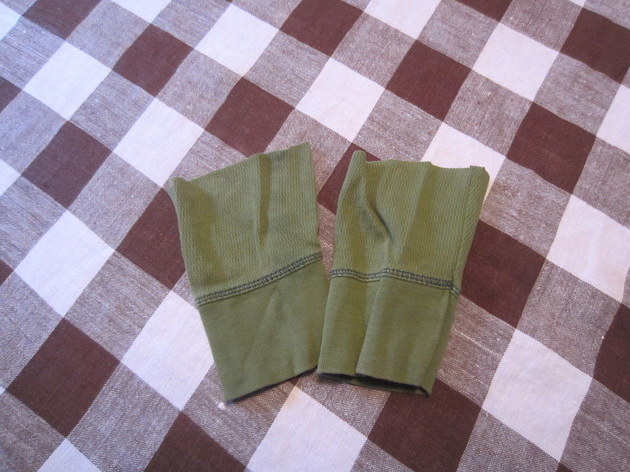 Now they are both cut to the same length, lets get to the fun part! 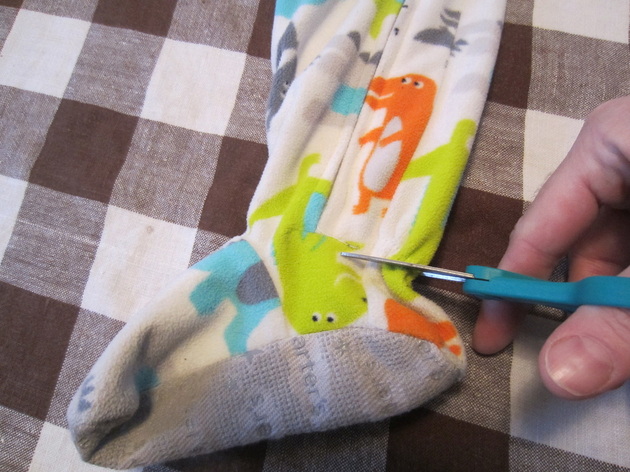 Now is time to cut the feet from the pajamas. Start on the side with the zipper and see how far the zipper comes. Lay the foot so it laying sideways, zipper up, like the picture shows and cut across trying to to cut just above the elastic. I have left the elastic in before to save leg length but it isn't as attractive as you get a weird gathering in the calf area. It is better to go with a longer cuff if you want to elongate the legs. Be careful to try not to cut into the actual zipper, although it's okay if some of the zipper trim is cut in the process. Once leg one is done, do the same to leg two, although there is no zipper to avoid making it much easier! 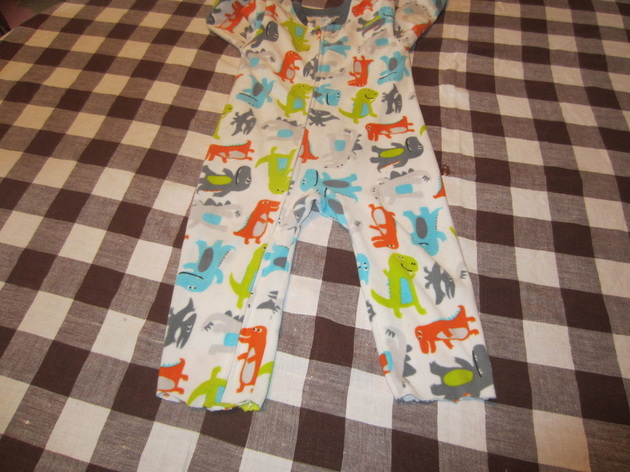 And here is the footless product. Let's finish them up! 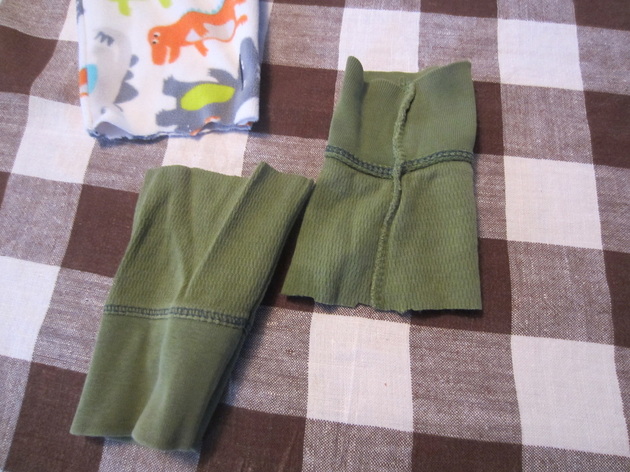 Take the cuffs that you cut (or sock cuffs or whatever you are using) and turn them inside out so the seams are outward. 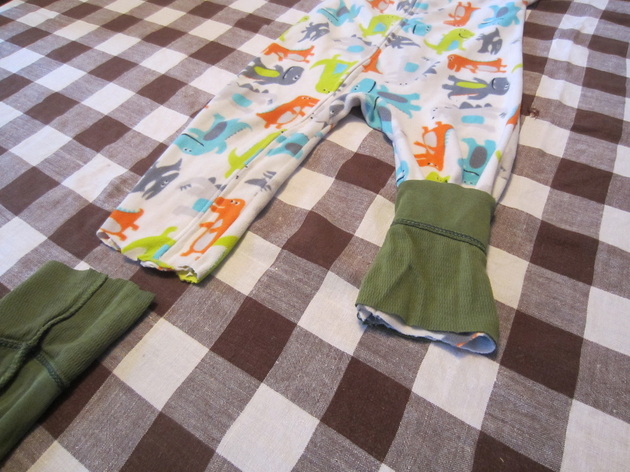 Slide the inside out cuffs onto the legs of the right-side-out pajamas in what appears to be "upside-down" so the bottom of the cuff goes on first. (Once they are sewn it will be right, I promise!) 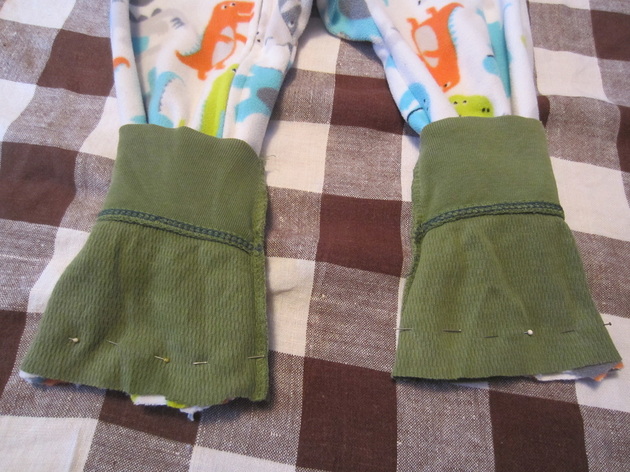 This is how it should look. Notice I tried to line up the seams of the cuffs with the seams of the pajama legs. As you can see from the picture I put some pins in to hold the cuffs in place while I am sewing. 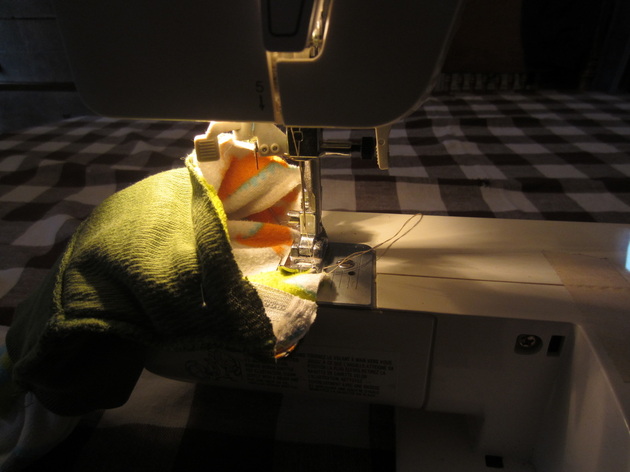 Now is time to sew them on. This has proven to be the easiest angle (pictured) for me to sew them as the little legs are too small to fit around the sewing machine. Hope the picture illustrates it well as I would probably confuse you if I tried to describe it with words. I use a zig zag stitch because with the zig zag stitch the fabric can stretch as the child puts the clothes on without ripping out the seam. (They probably make thread made to stretch and whatnot, but I am self taught and totally winging it so this the only way I know how to make the seam flexible!) 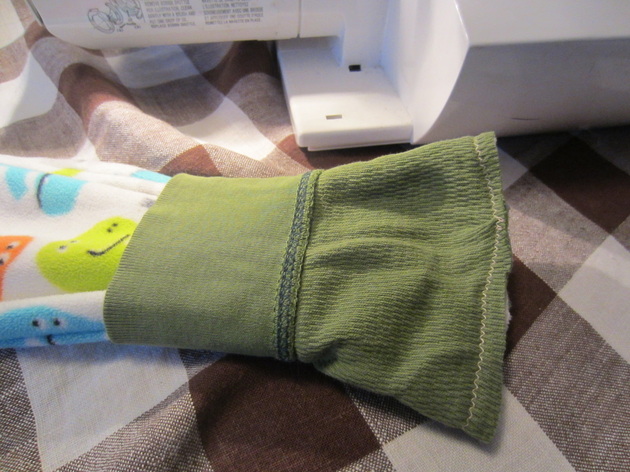 This is how it will look after being sewn on and before flipping the cuffs down. I trimmed the edges a little to make them look nice and neat. 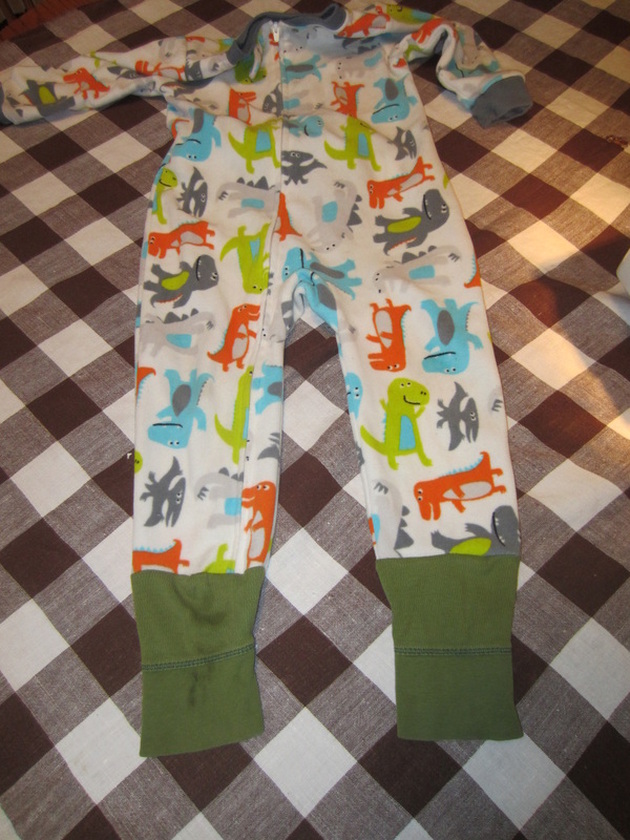 This is how it looks once the cuffs are pulled down. 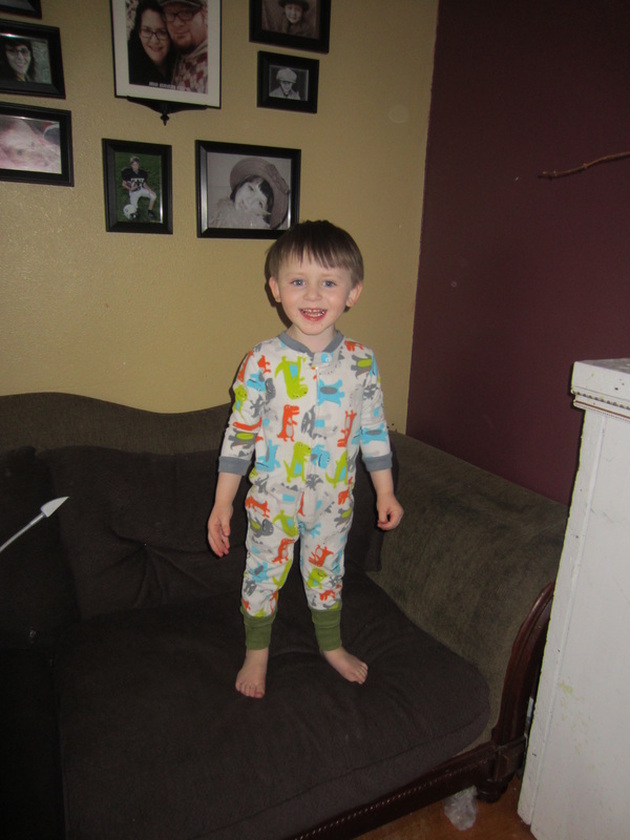 And this is one happy customer! The sleeves are a little short, but he doesn't mind. As long as the body still fits and it isn't too snug in the crotch, I think they still have life in them! 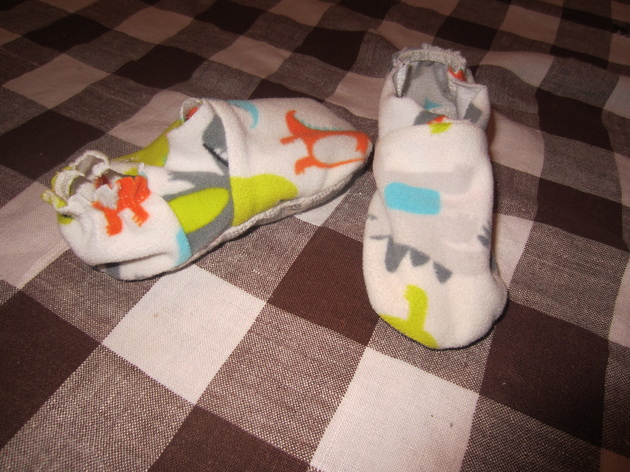 Maybe in my next post I will walk you through making the footies little booties using the same method using sock cuffs... but that's for another day. Happy sewing!
|
-About Luna-
|
 RSS Feed
