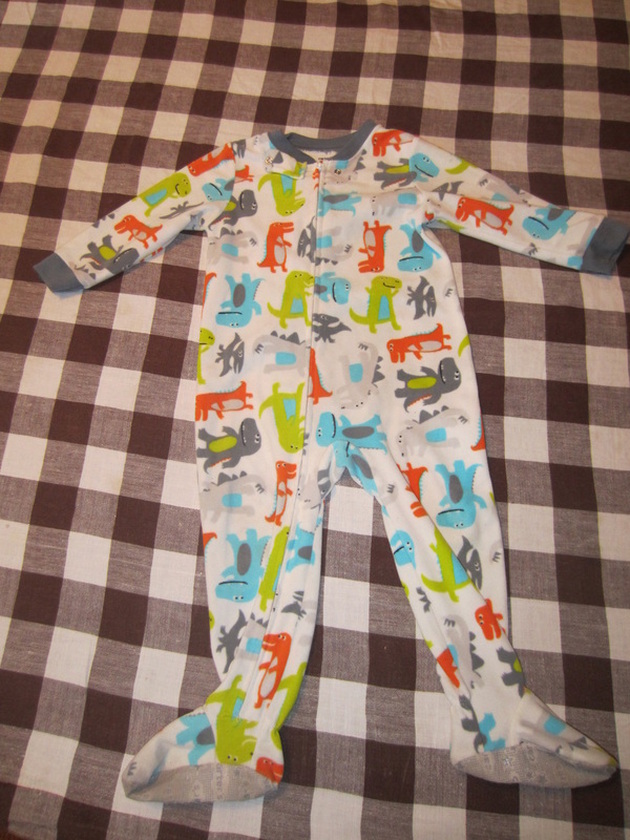
If your child is like mine they have these cute footie pajamas. Some of my kids hated sleeping with their feet covered, or found them to be too slippery on the kitchen floor. Sometimes the feet would wear out, or their legs would get too long (although the rest of the pajamas still fit.) For whatever reason, there is a way to remove the feet and extend the life of your little one's jammies. They will be happy, your wallet will be happy, and the earth will be happy with less stuff in the land fill. Let me walk you through the transformation.

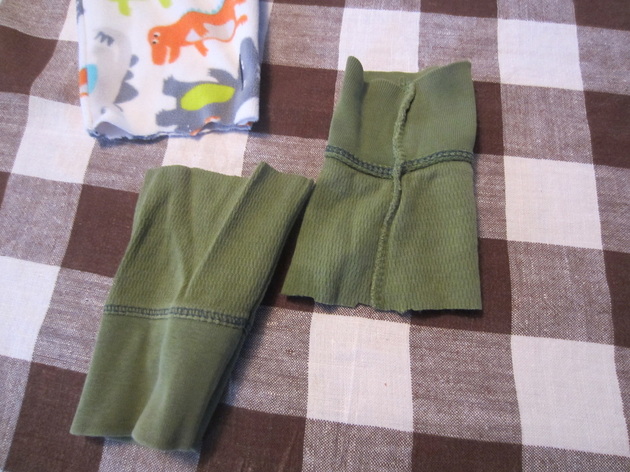
Meet victim number two, a shirt that was beloved... until my son made a mess of it at dinner and it ended up on the floor over night instead of in the hamper. The dog found it before morning and chewed the food off of it (and parts of the fabric as well!) It was right ruined, but I can salvage the sleeves for this pajama project and make the rest a rag!
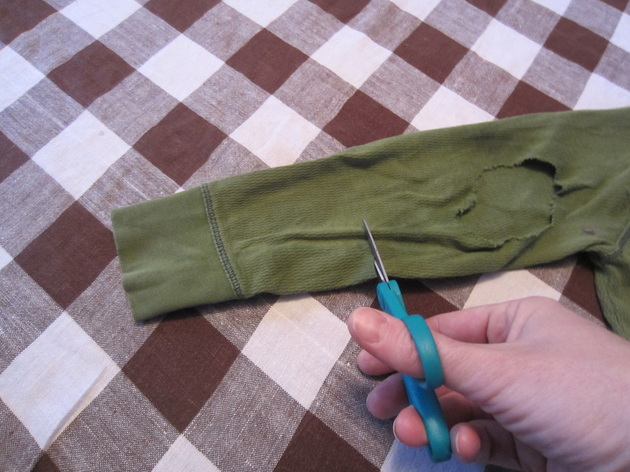
I cut off the sleeves up to the point where the dog made dinner out of it, but ideally you need at least 6 inches, depending on the size of the pajamas. If it is in infant sizes you can get away with much less. Let me also note here that if you have socks with holes in them you can cut off the feet and use the ankle cuffs for this same purpose.
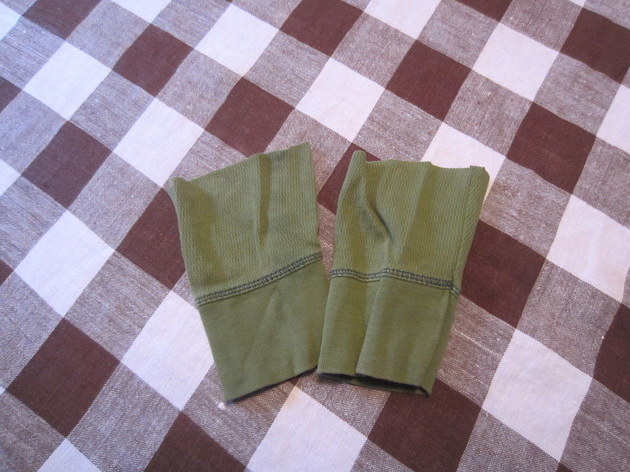
Now they are both cut to the same length, lets get to the fun part!
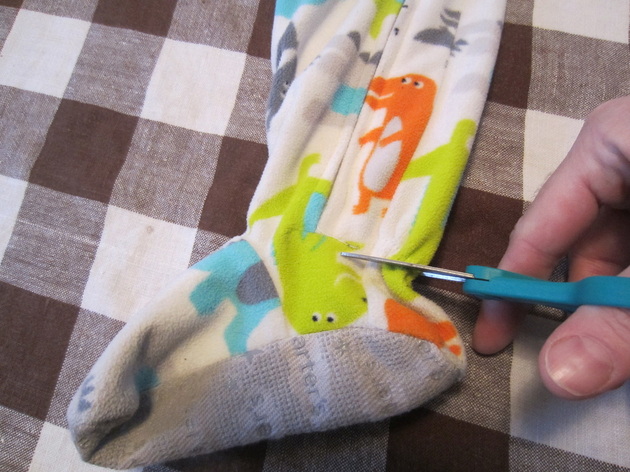
Now is time to cut the feet from the pajamas. Start on the side with the zipper and see how far the zipper comes. Lay the foot so it laying sideways, zipper up, like the picture shows and cut across trying to to cut just above the elastic. I have left the elastic in before to save leg length but it isn't as attractive as you get a weird gathering in the calf area. It is better to go with a longer cuff if you want to elongate the legs. Be careful to try not to cut into the actual zipper, although it's okay if some of the zipper trim is cut in the process. Once leg one is done, do the same to leg two, although there is no zipper to avoid making it much easier!
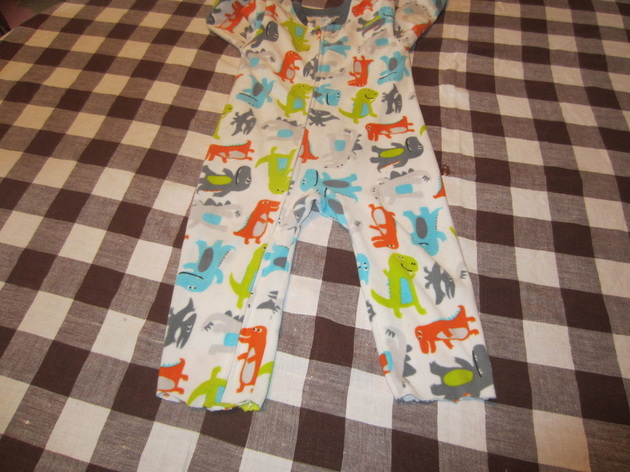
And here is the footless product. Let's finish them up!
Take the cuffs that you cut (or sock cuffs or whatever you are using) and turn them inside out so the seams are outward.
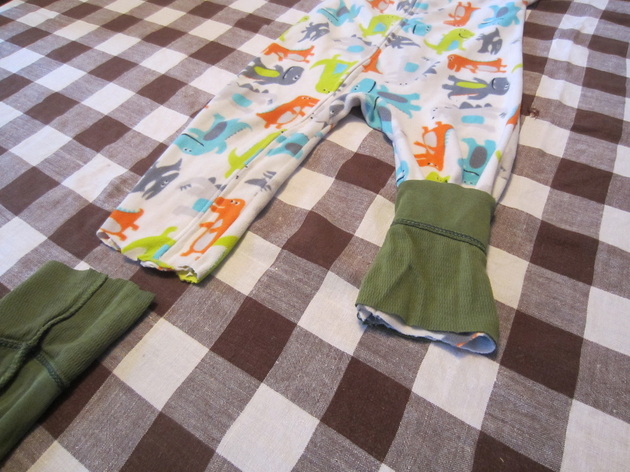
Slide the inside out cuffs onto the legs of the right-side-out pajamas in what appears to be "upside-down" so the bottom of the cuff goes on first. (Once they are sewn it will be right, I promise!)
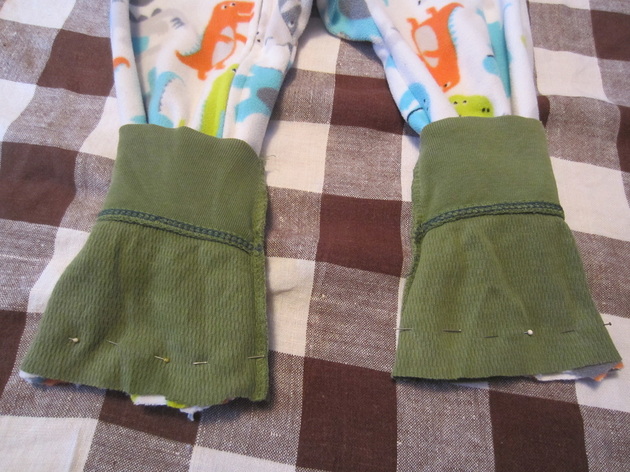
This is how it should look. Notice I tried to line up the seams of the cuffs with the seams of the pajama legs. As you can see from the picture I put some pins in to hold the cuffs in place while I am sewing.
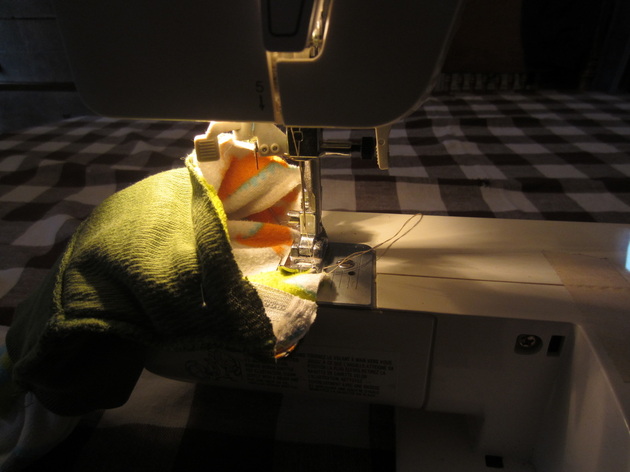
Now is time to sew them on. This has proven to be the easiest angle (pictured) for me to sew them as the little legs are too small to fit around the sewing machine. Hope the picture illustrates it well as I would probably confuse you if I tried to describe it with words. I use a zig zag stitch because with the zig zag stitch the fabric can stretch as the child puts the clothes on without ripping out the seam. (They probably make thread made to stretch and whatnot, but I am self taught and totally winging it so this the only way I know how to make the seam flexible!)
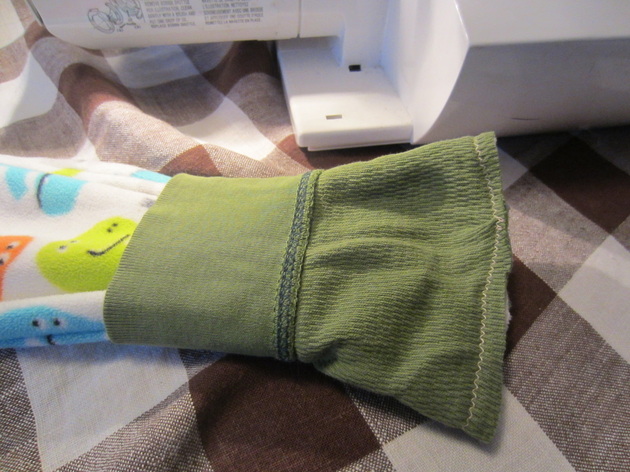
This is how it will look after being sewn on and before flipping the cuffs down. I trimmed the edges a little to make them look nice and neat.
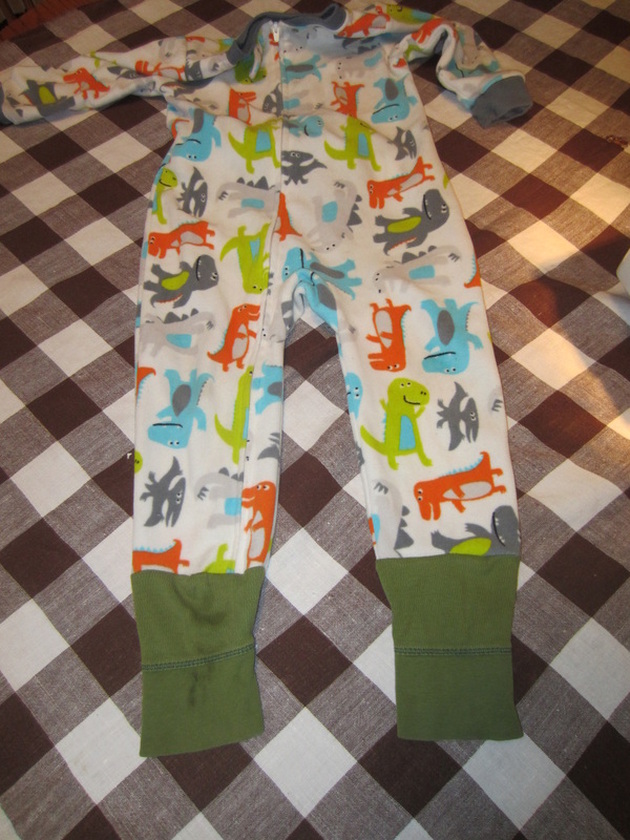
This is how it looks once the cuffs are pulled down.
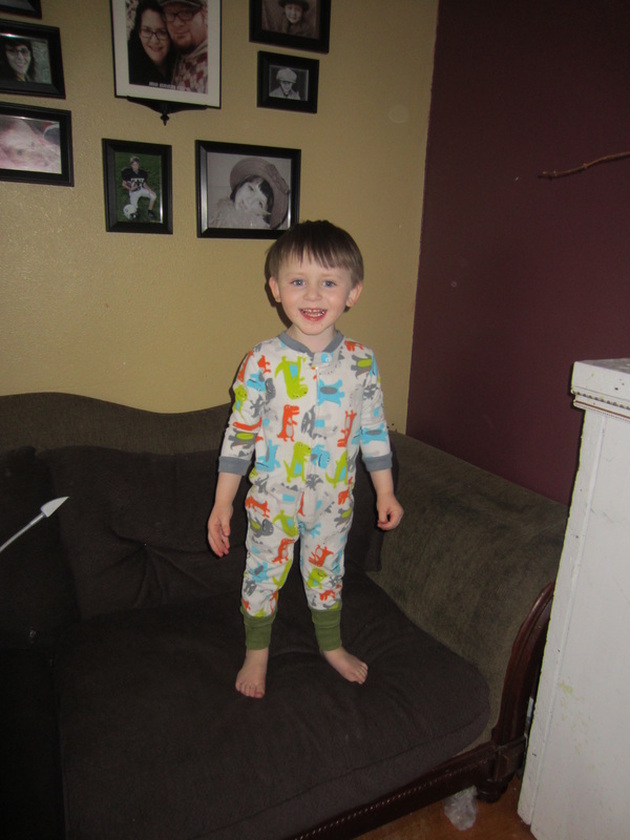
And this is one happy customer! The sleeves are a little short, but he doesn't mind. As long as the body still fits and it isn't too snug in the crotch, I think they still have life in them!
Maybe in my next post I will walk you through making the footies little booties using the same method using sock cuffs... but that's for another day. Happy sewing!
 RSS Feed
