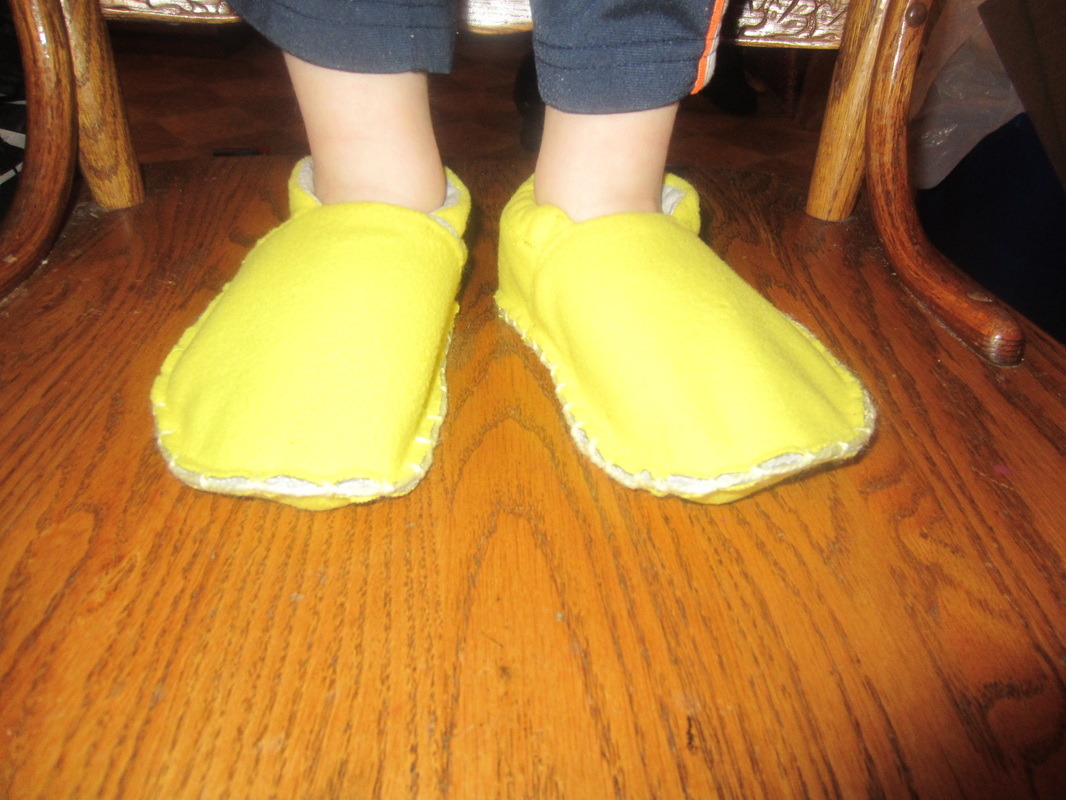
I needed a project today so I made my little one some slippers. I used some recycled sweat pants and fleece to make them extra warm and cozy.
Supplies:
Fleece or other warm material
thin elastic
yarn, if you want edging
thread and needle (sewing machine, if you have one)
scissors
pins
a safety pin
a marker
Supplies:
Fleece or other warm material
thin elastic
yarn, if you want edging
thread and needle (sewing machine, if you have one)
scissors
pins
a safety pin
a marker
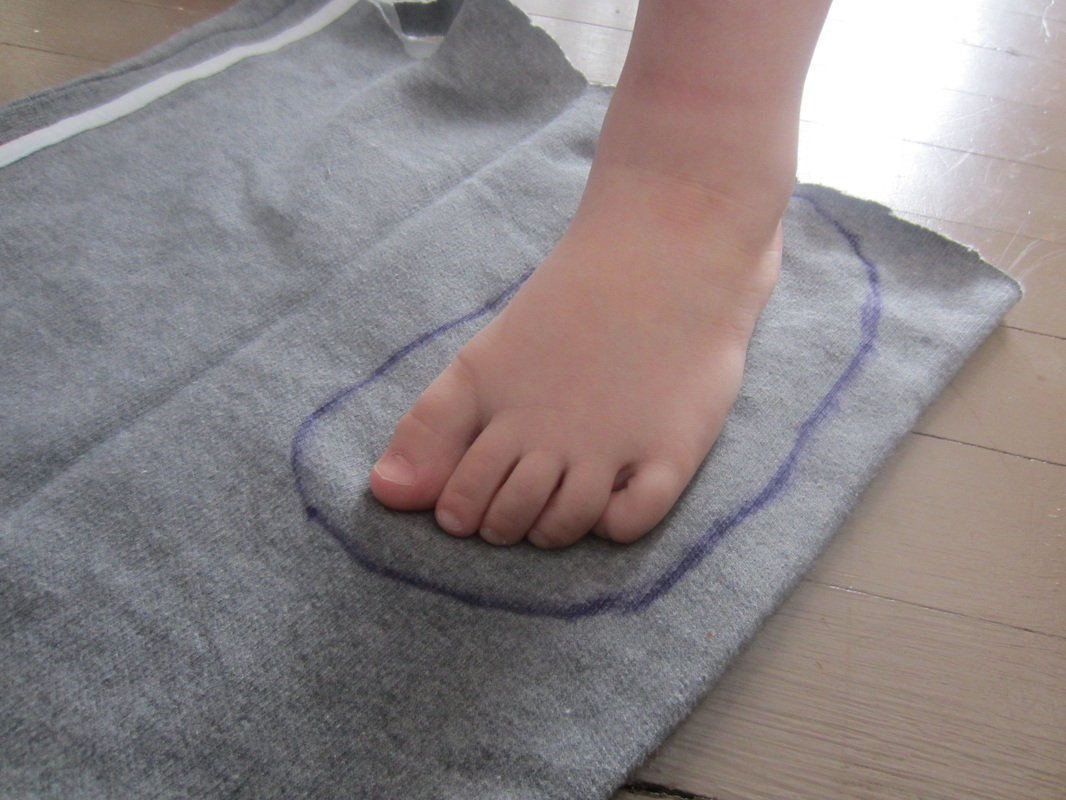
I started by having my little one stand on the old sweat pants and I traced his foot leaving an edge of about an inch (for sewing and a little room for a sock.)
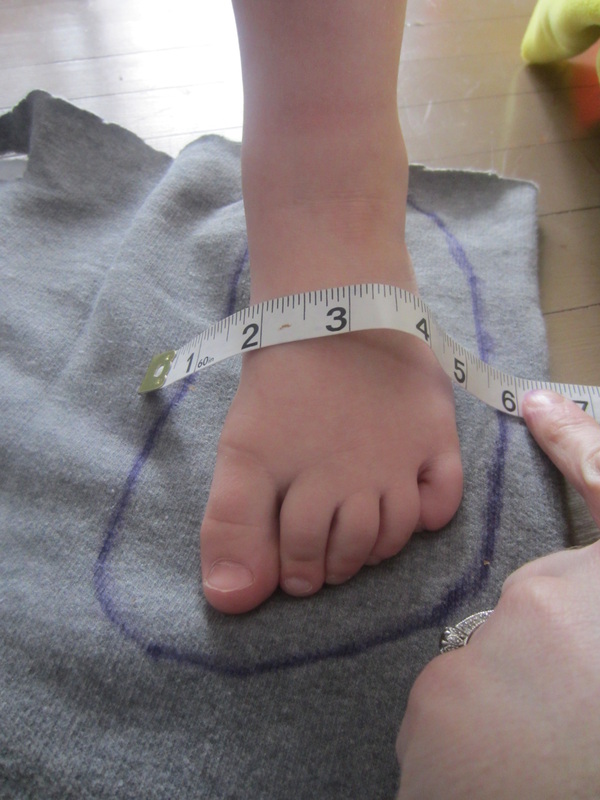
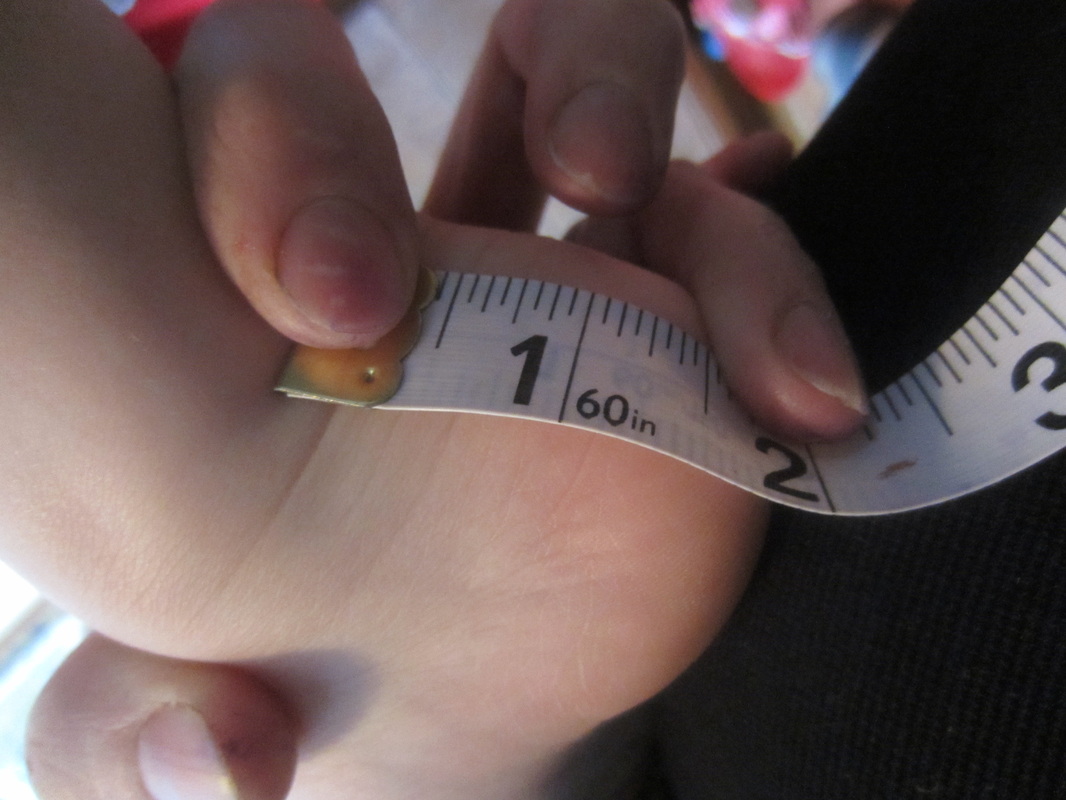
I measured across the top of his foot from the line to the other line to make sure there was room for his instep. I measured 6 inches, and wrote it down.
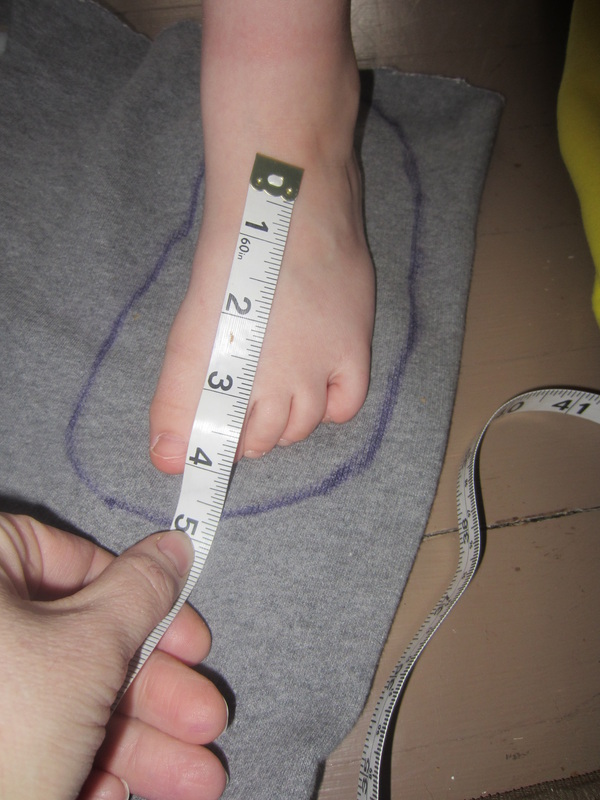
I also measured 5 inches between the space where the slipper would rest over his instep and the line at the toe, and wrote it down.
One last measurement, how far from his ankle to the ground. Got about 2 inches, I wrote it down.
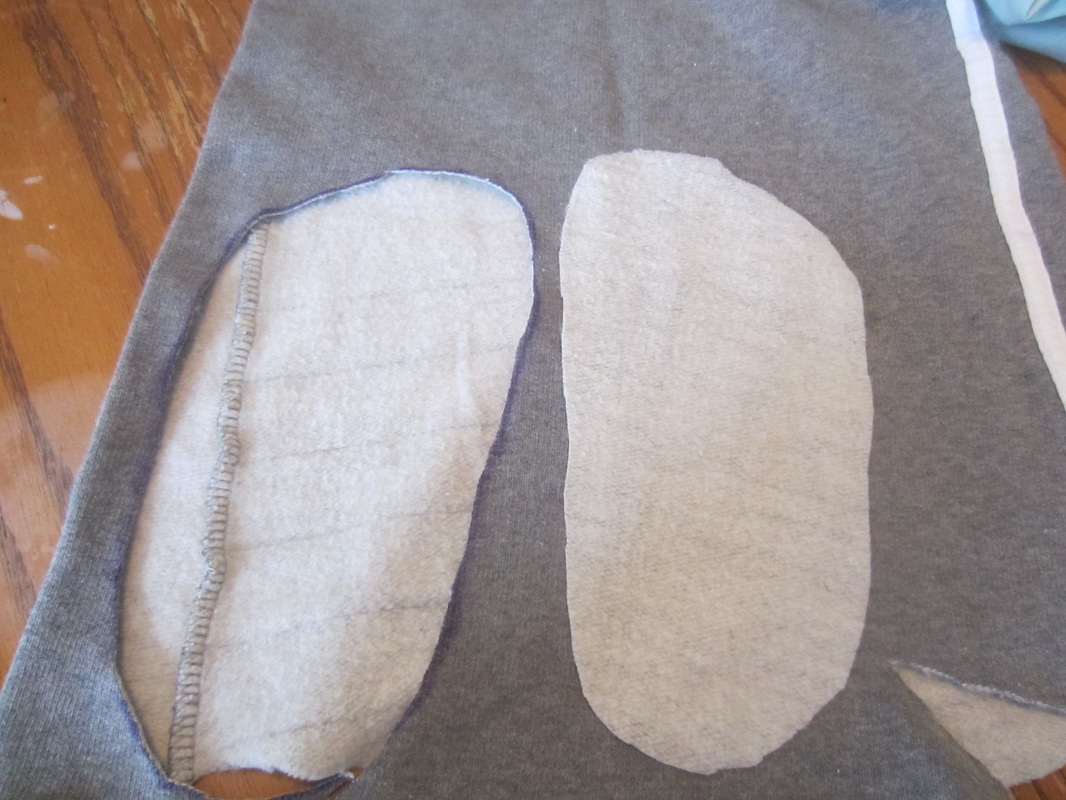
Cut out the original tracing, flip it over onto it's back and cut out a second one. By flipping it over you will get the proper shape for the other foot instead of ending up with two left or right feet.
To make the top of the slipper, draw a line the length of our first measurement across the instep, in this case, 6 inches.

From the center of the line you drew, measure down vertically the length of the second measurement we made (from instep to toe) in this case 5 inches, and make a mark.

Complete the half oval shape as seen above by connecting one end of the top line to the center of the bottom line in a curve using a marker. Do the other side. Cut them out, you will need two.
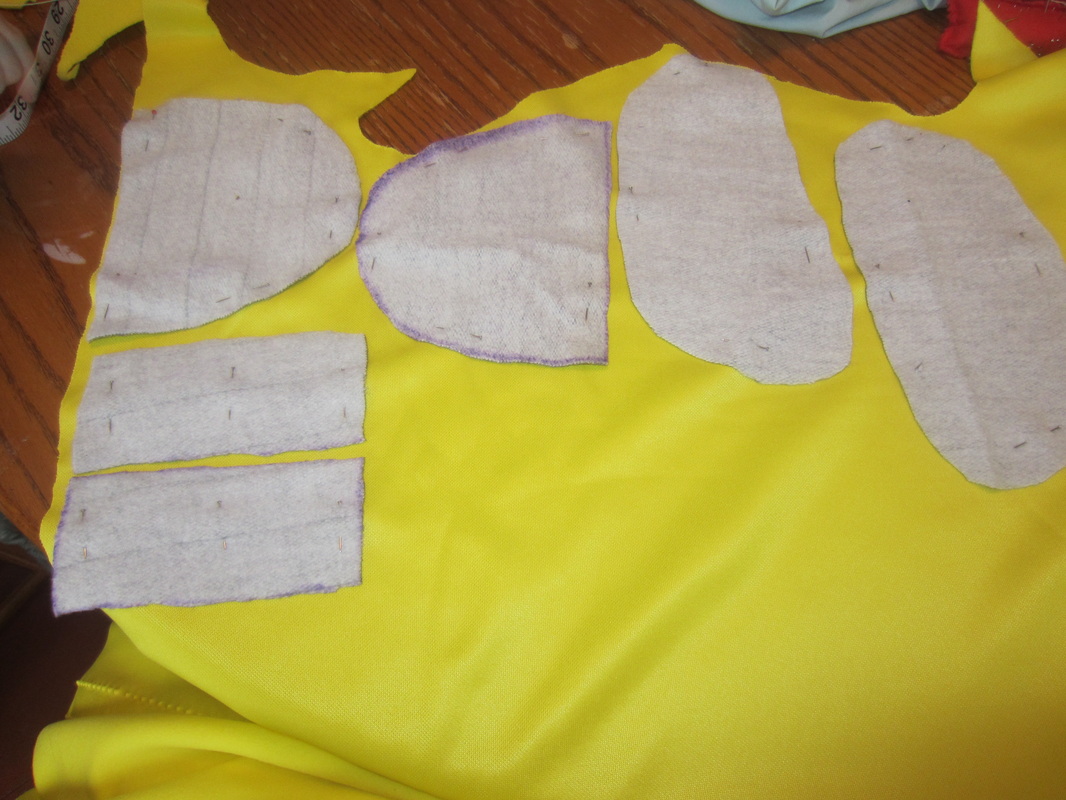
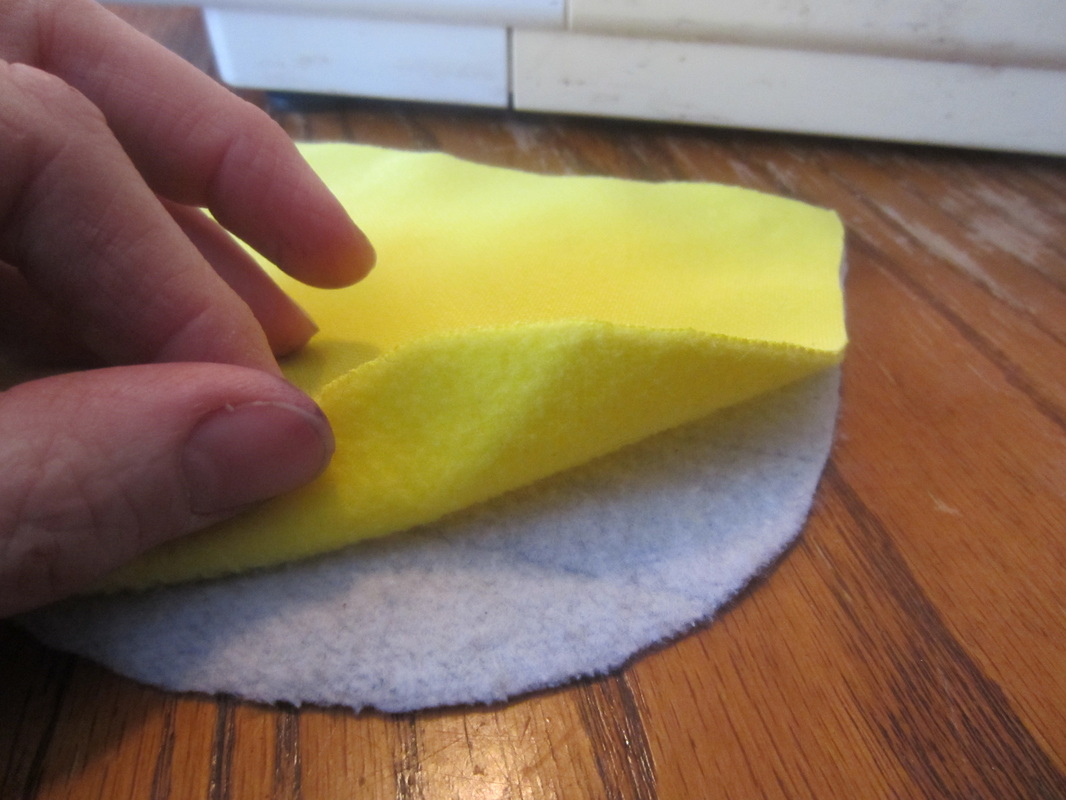
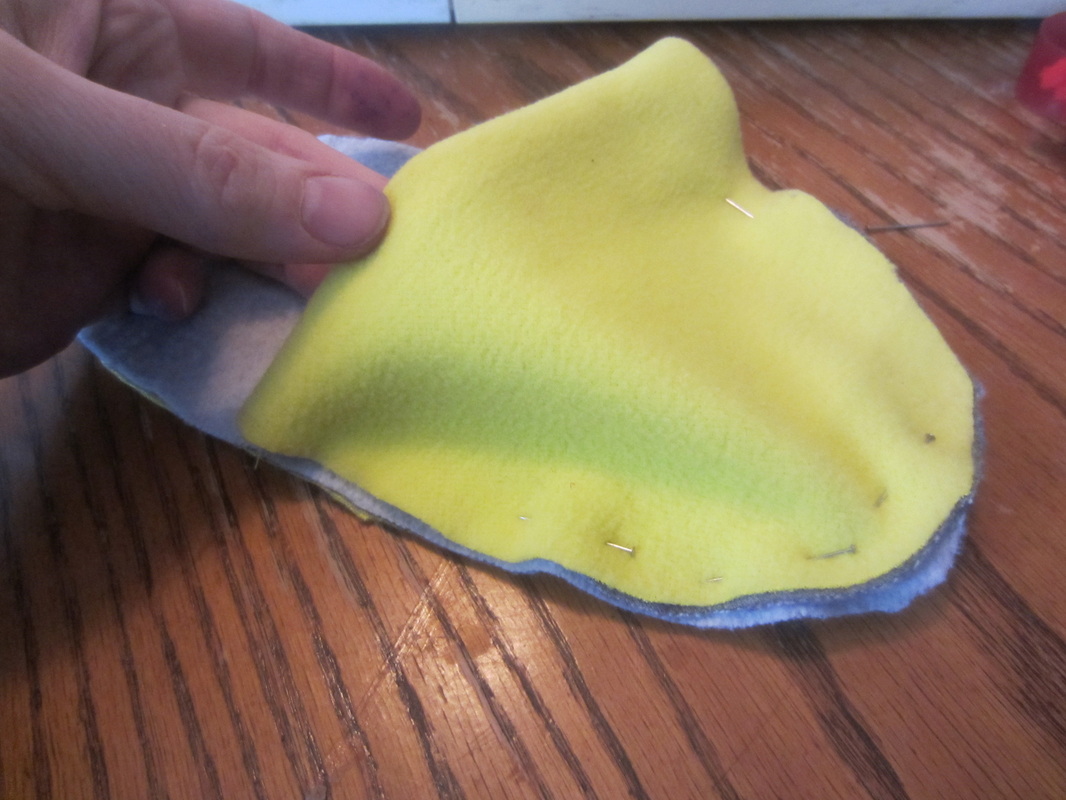
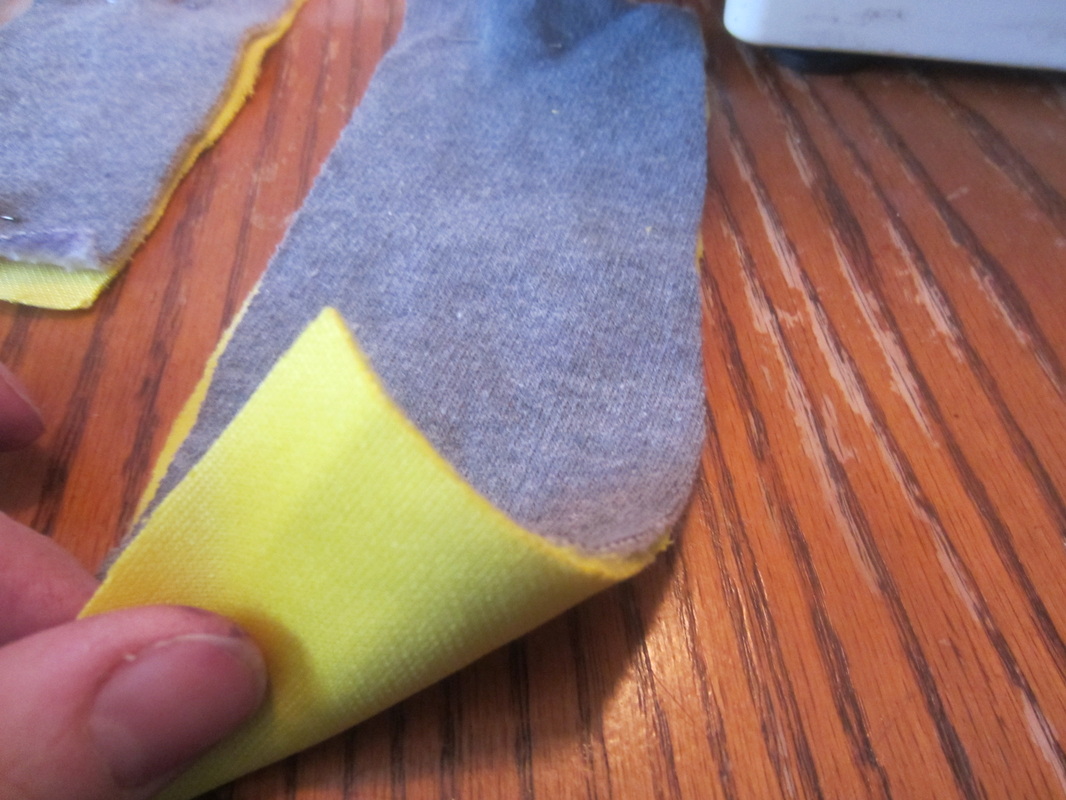
Pin each piece to the other layer of fabric. Pin the pieces so that both sides that you want facing out will be exposed. (I wanted the fuzzy side of the sweatpants to be the side that will touch his feet, so I placed it fuzzy side up onto the underside of the fleece, which was fuzzy side down. if I were to flip it over, It would show the outside of the outer layer, which will also show. Hope that makes sense. If not, just go with it, I promise it will work!)
*ignore the rectangular shape above. I cut pieces for the heels that turned out to be too short, so I will address the heel further in the tutorial.
*ignore the rectangular shape above. I cut pieces for the heels that turned out to be too short, so I will address the heel further in the tutorial.
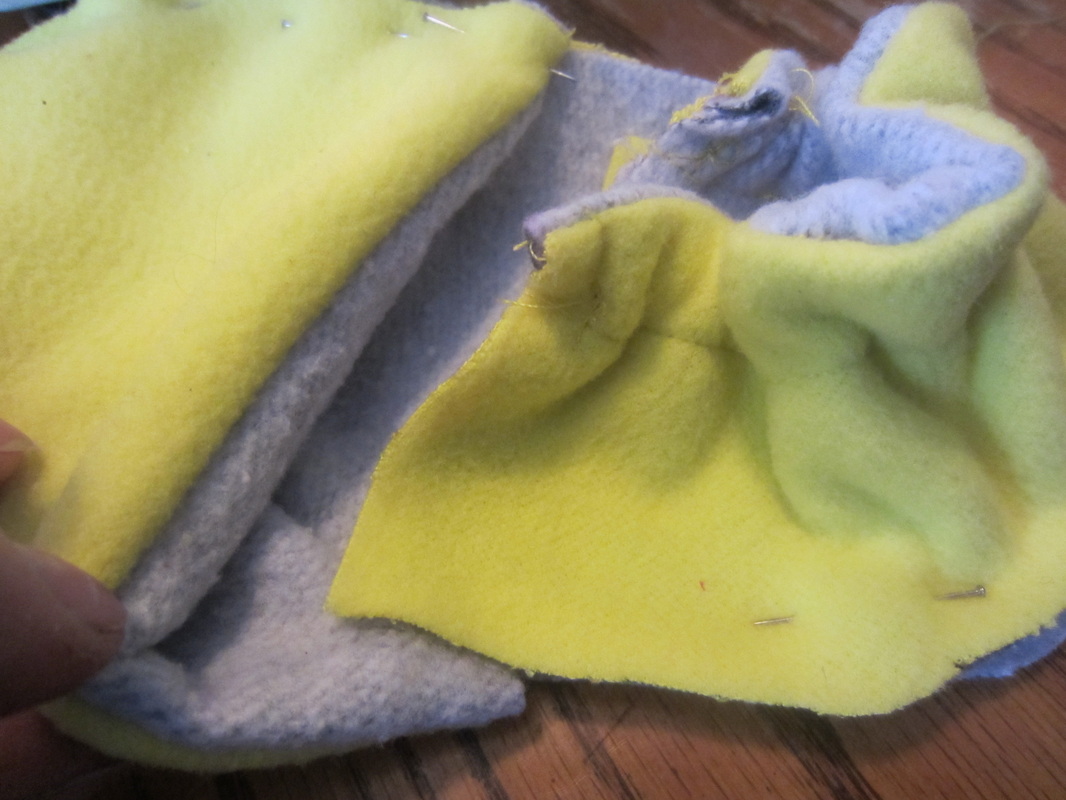
Take the toe pieces, un-pin them and put them so the sides you want showing are facing in. I have my soft fleece and soft sweatshirt both facing in.
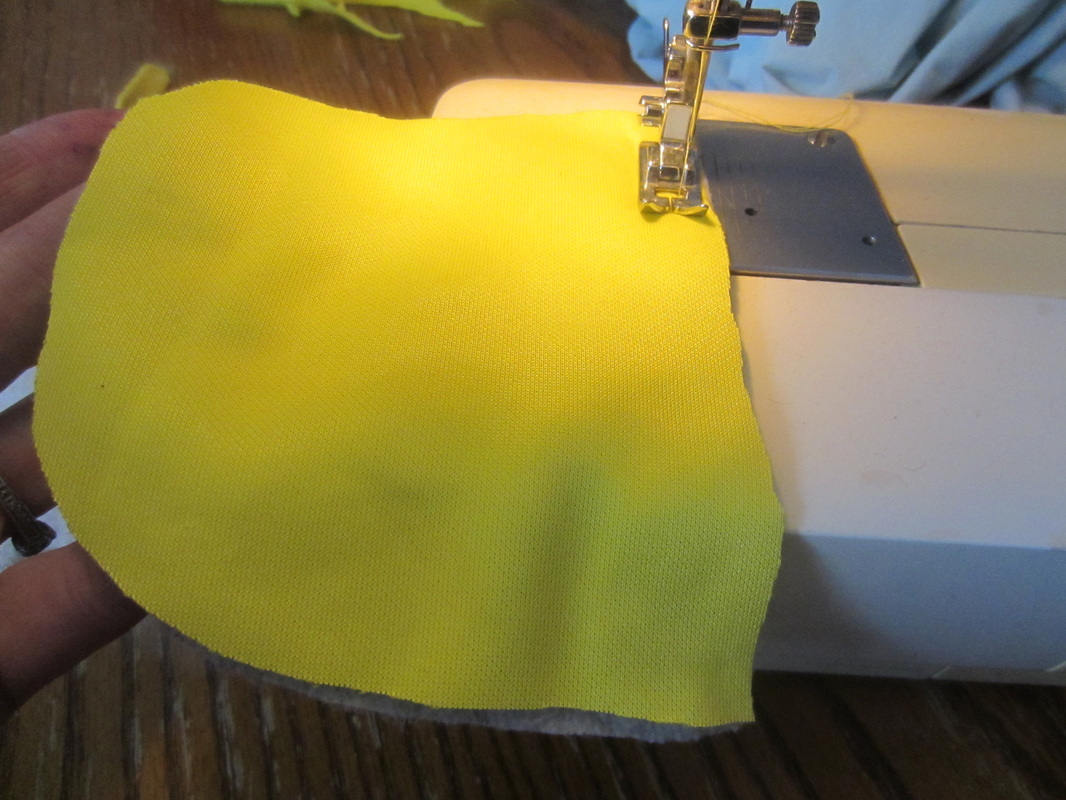
Stitch along the flat side.
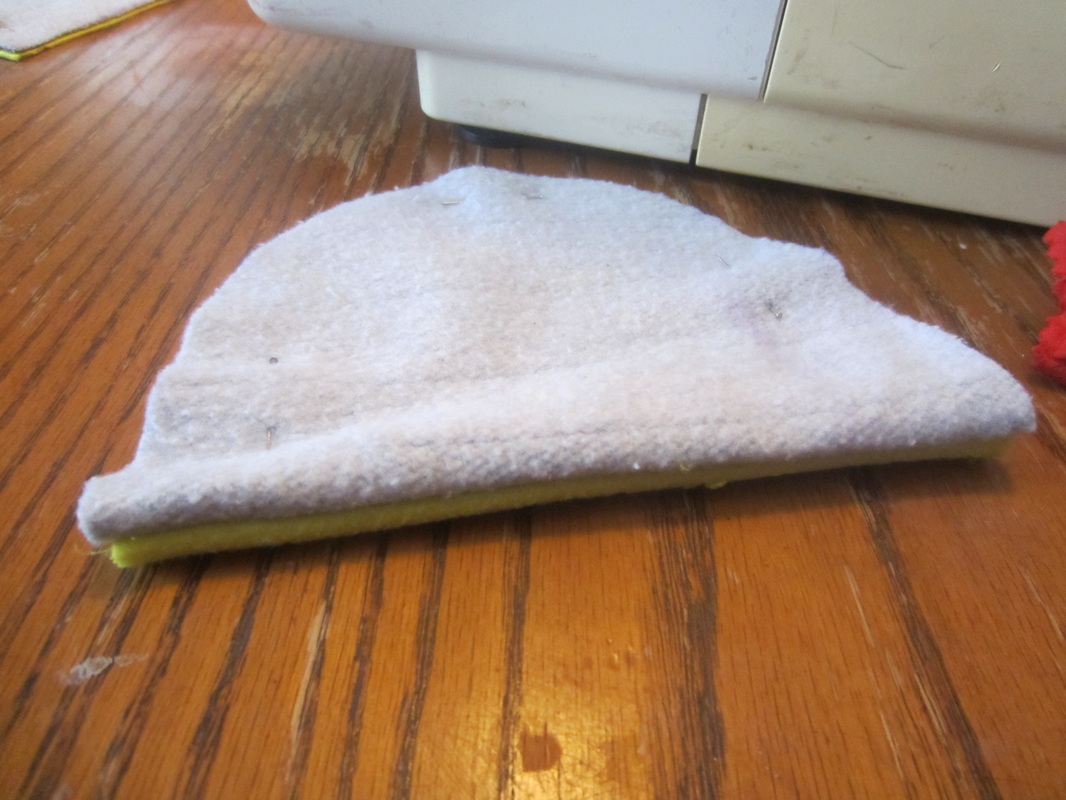
Flip the fabric right side out and pin closed as pictured.
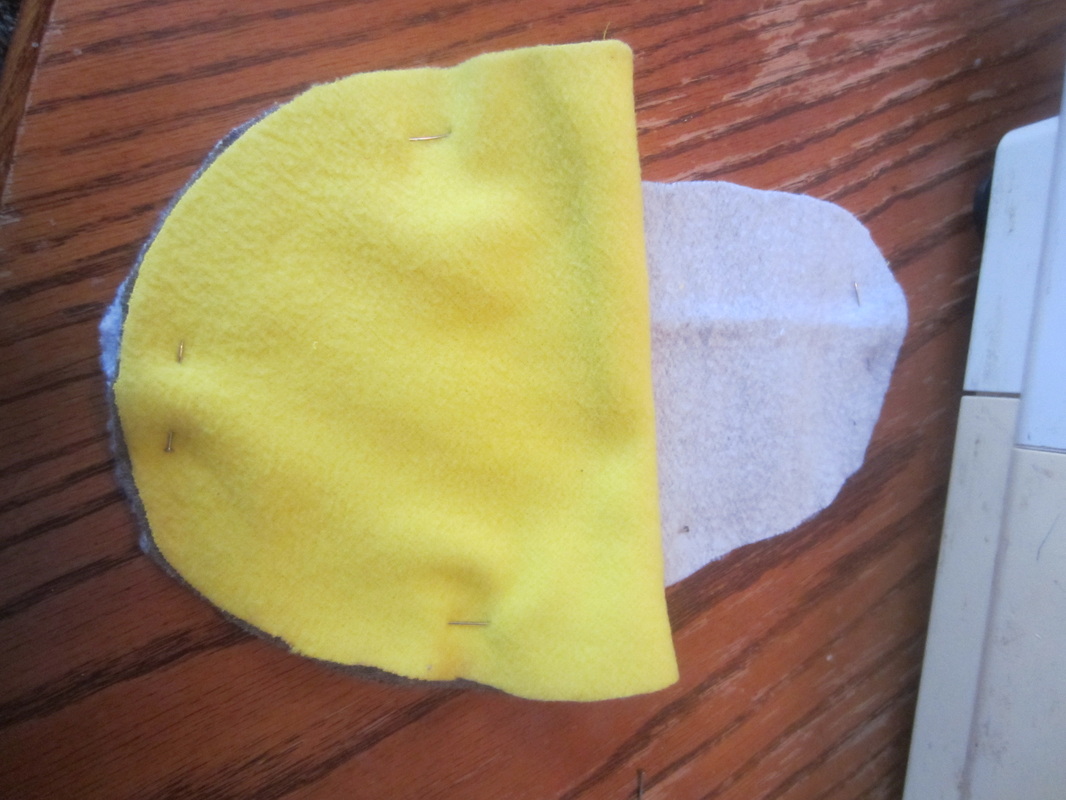
Pin the half circle to the toe of the bottom in the center of the toe.
Working from the toe up one side, connect the edges of the half oval shape to the sole. You will see the shape of the slipper start forming.
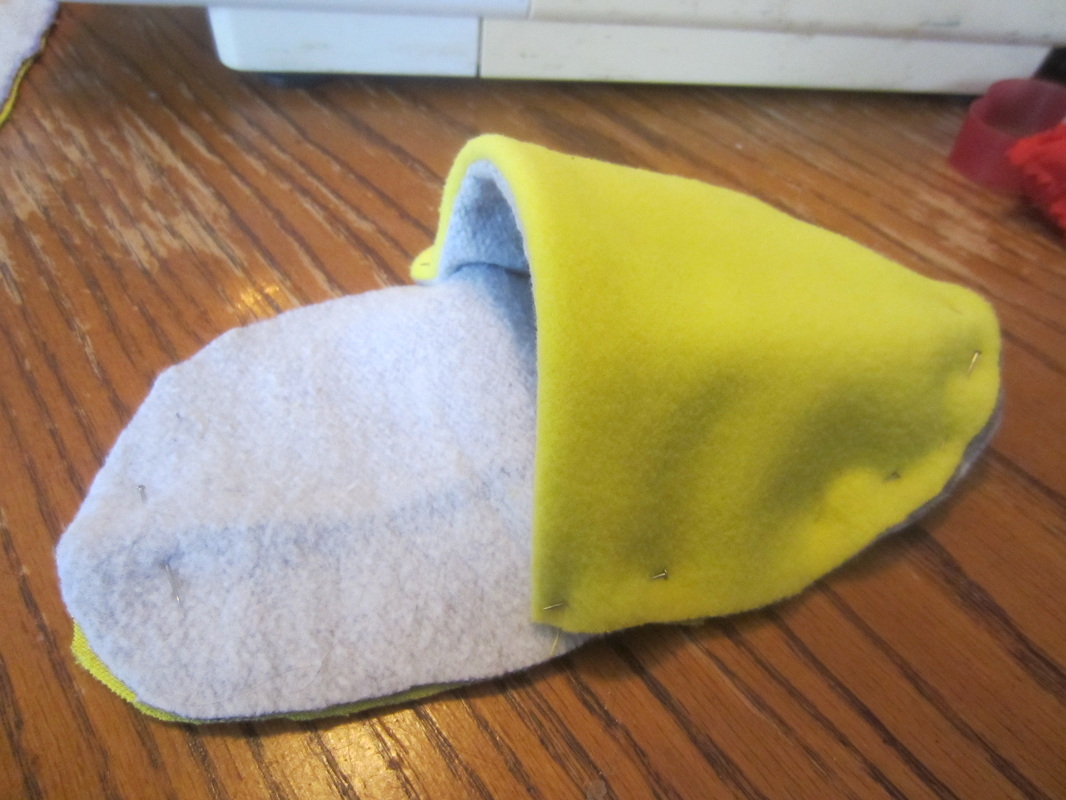
Do the same to the other side.
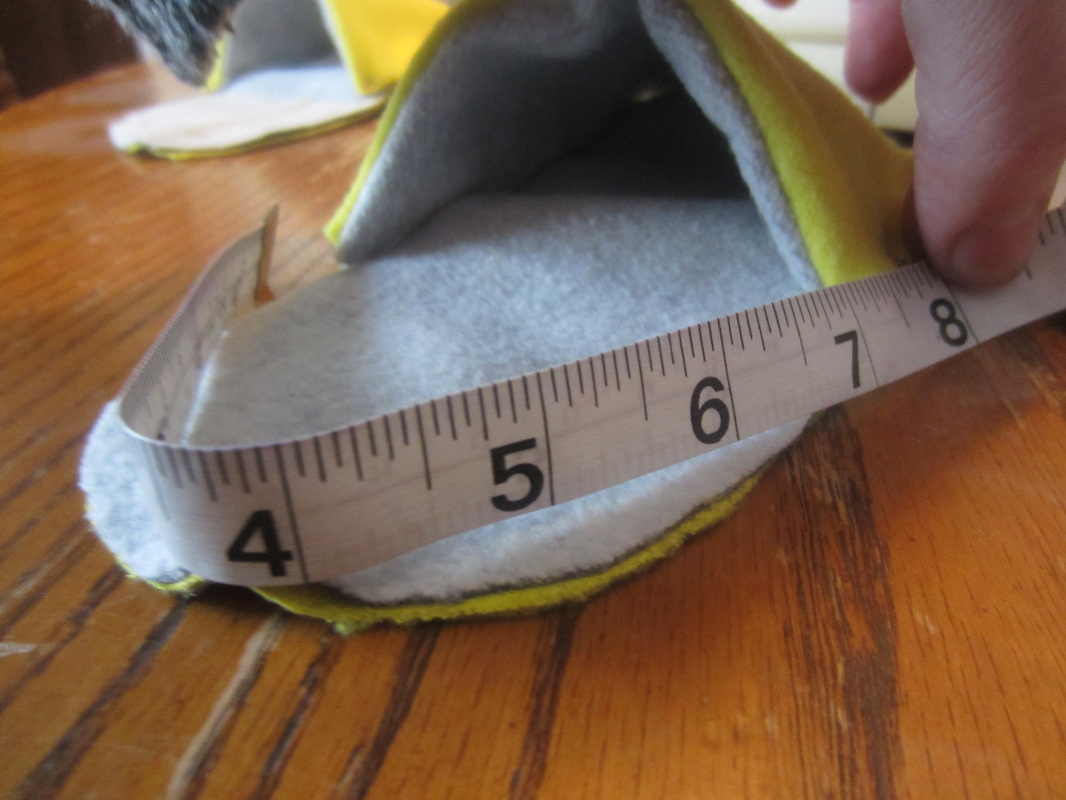
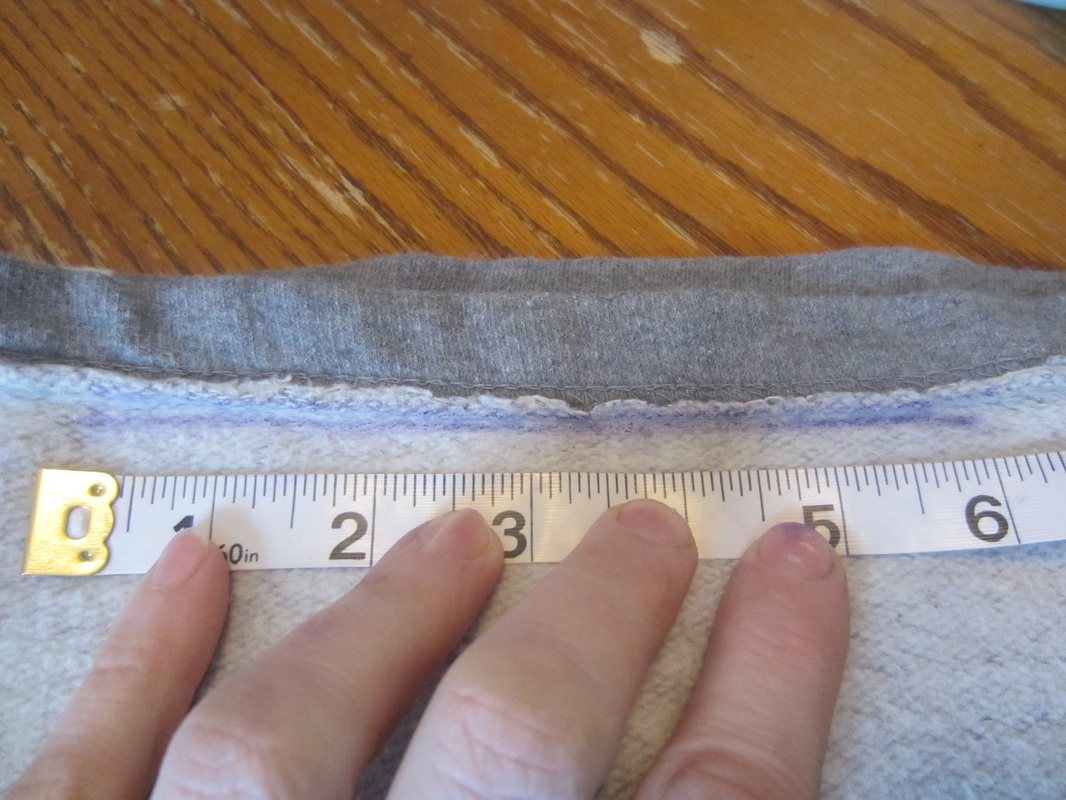
Measure how long to make the heel piece by following the fabric left exposed plus one inch. I measured 7, so cut 8 inches.
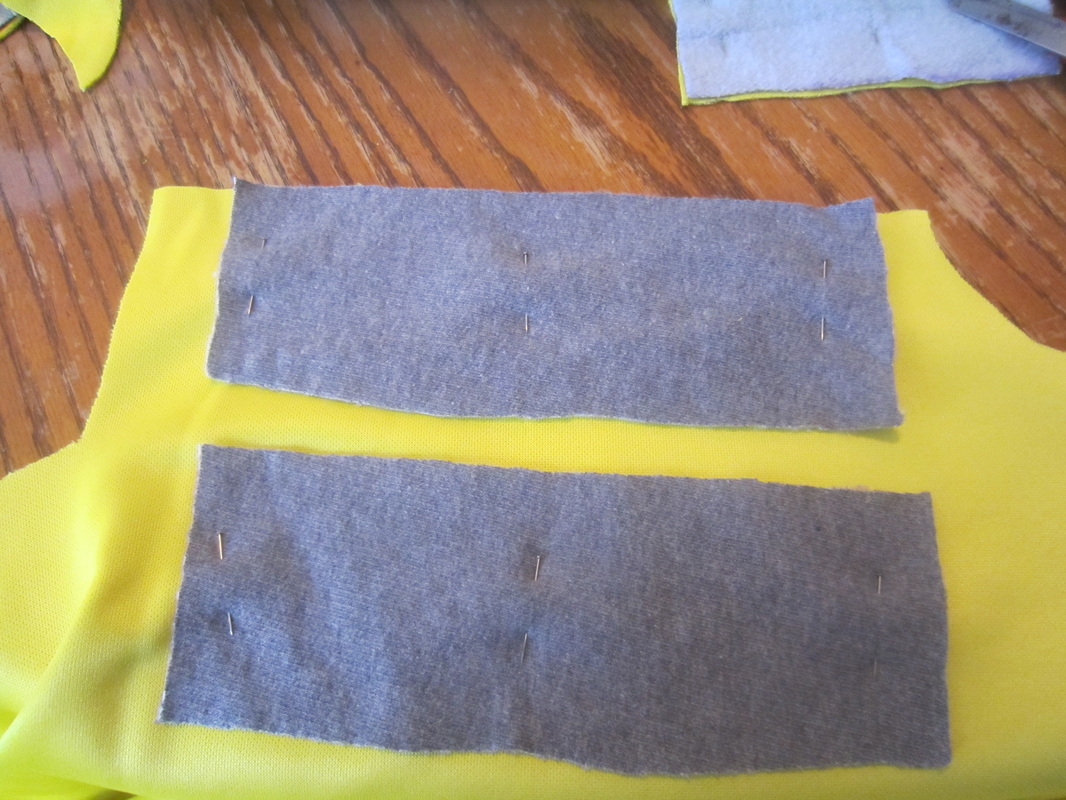
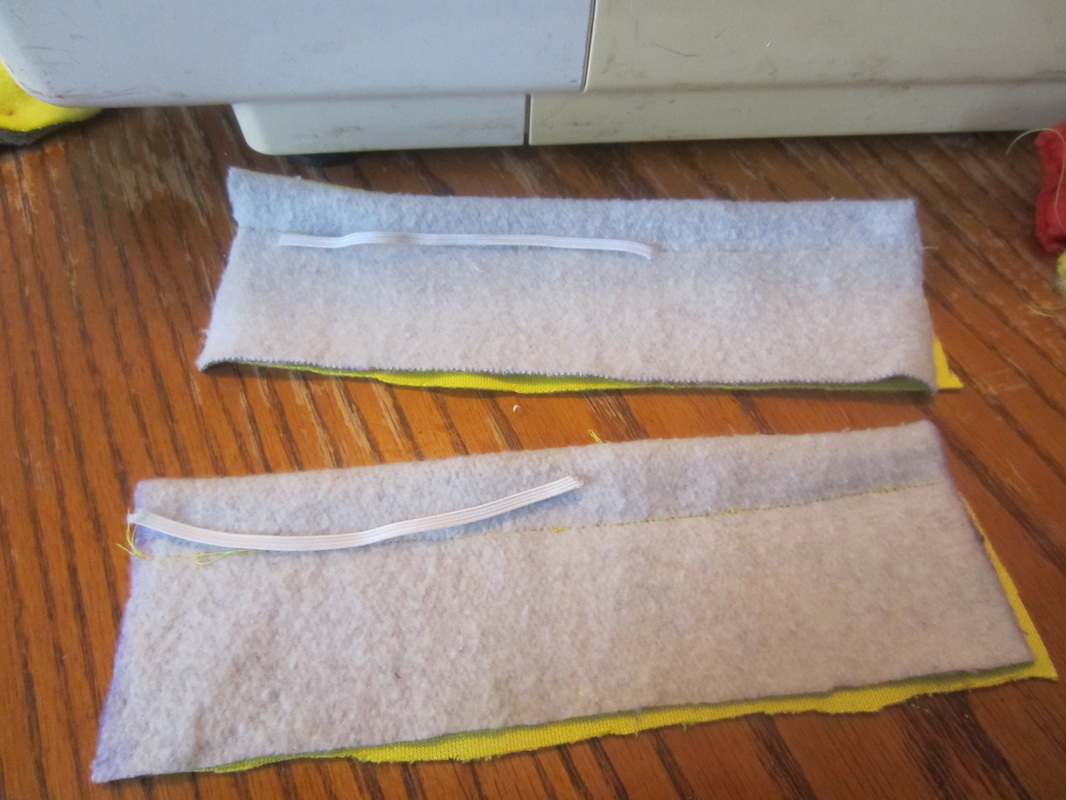
According to my measurements, I cut 2 strips 8 inches long and 2 1/2 inches wide. I added the extra half inch to the heel measurement for stitch room.
Put the fabric outside facing in (like we did when we sewed the seam on the toe section.)
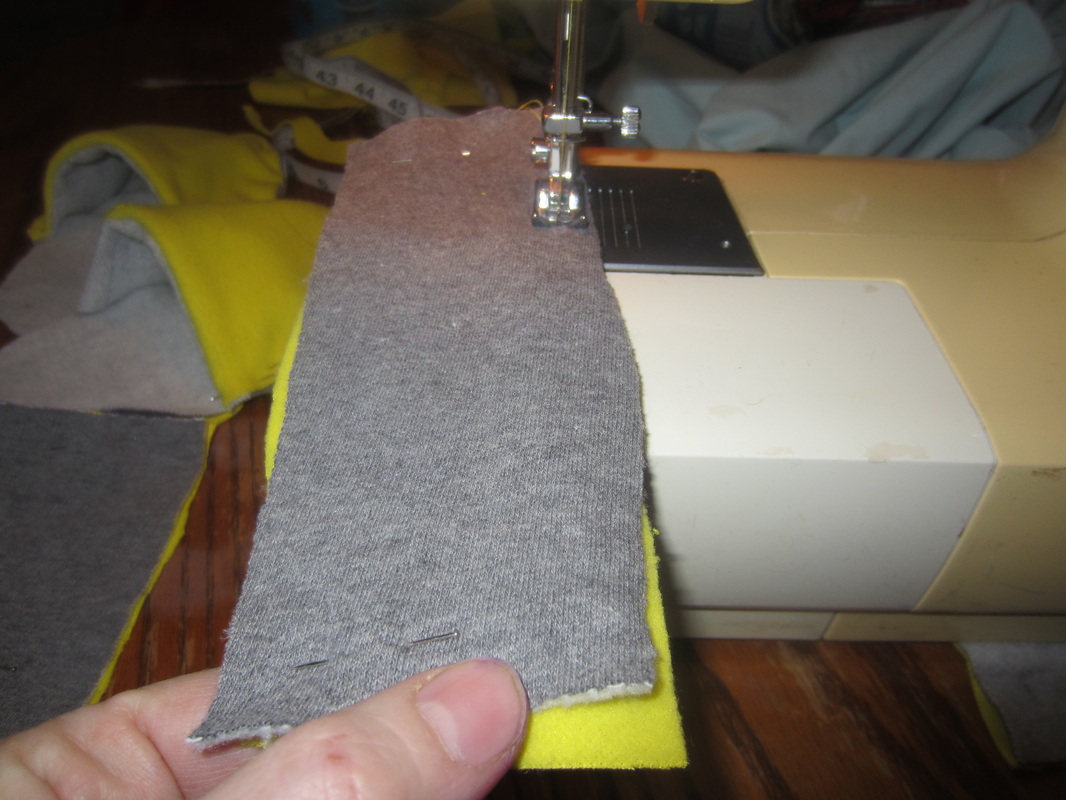
Sew one of the long edges.
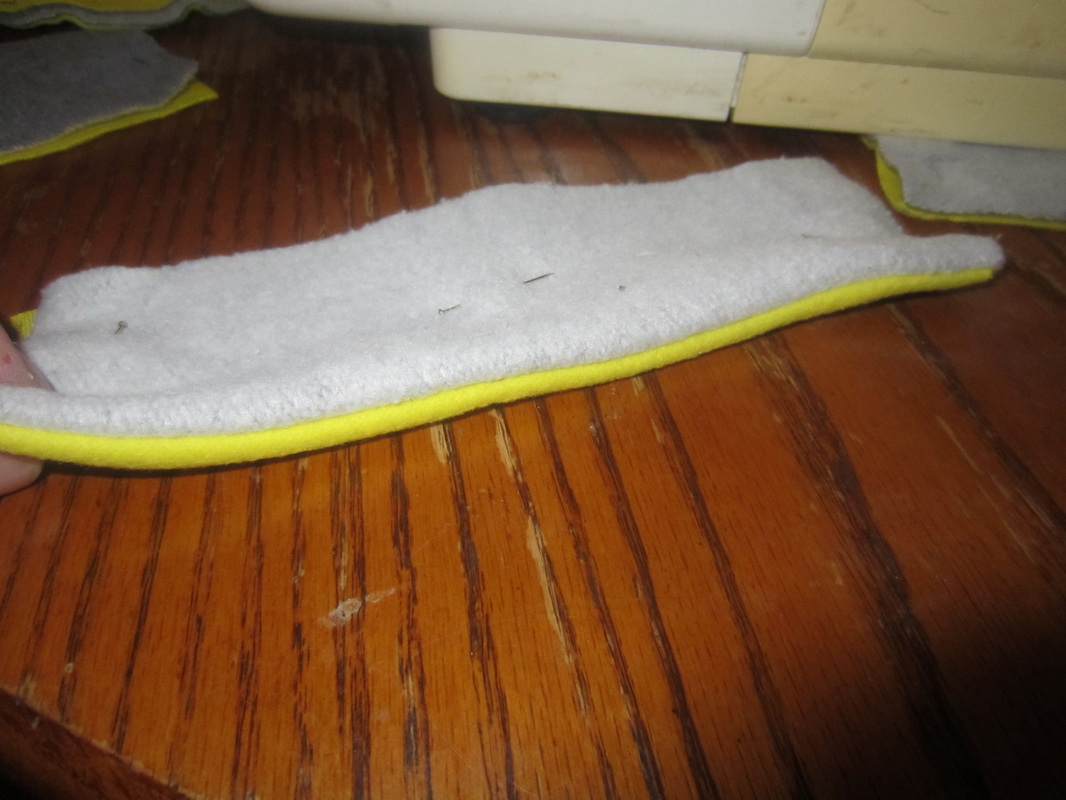
Flip it right side out, line it back up and pin it.
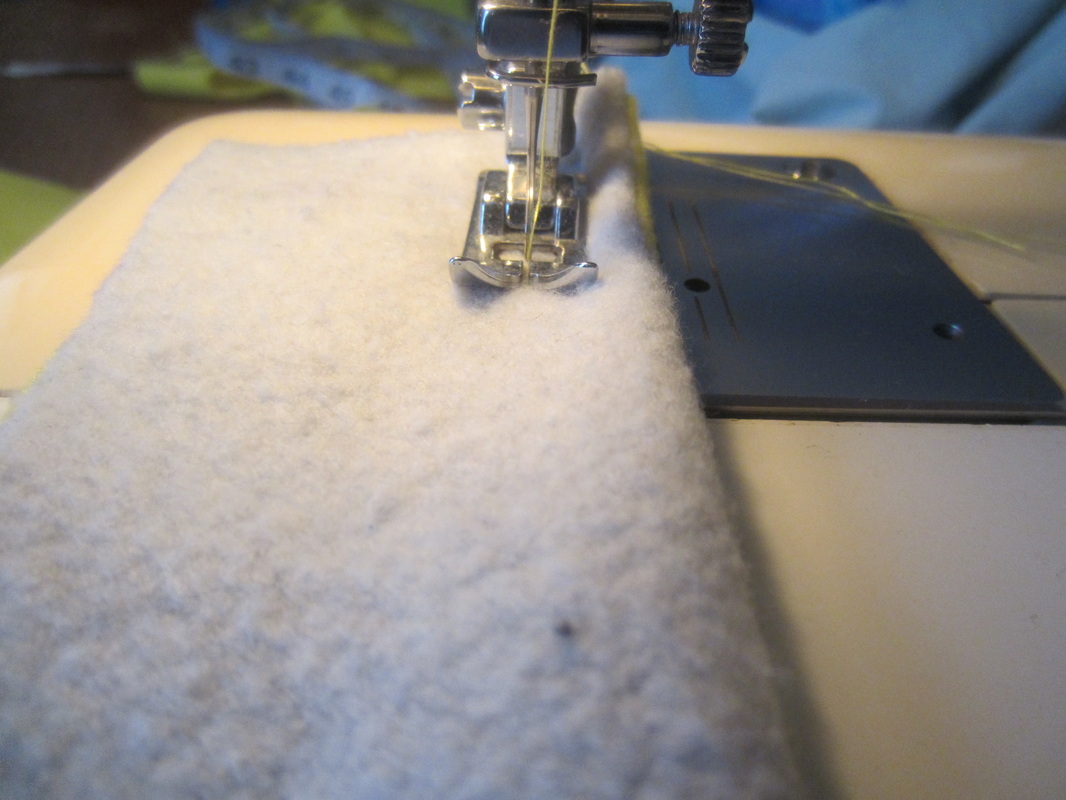
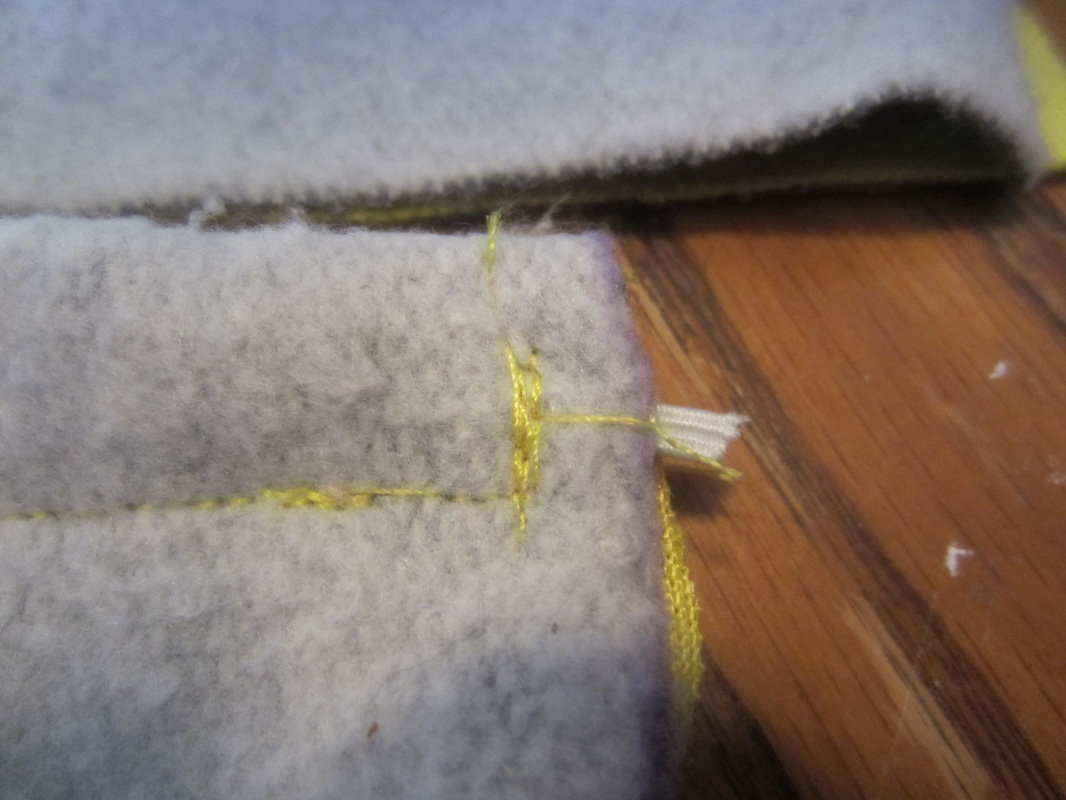
Sew another seam along the same side as the first seam about half an inch away from the edge. This will create a tunnel for the elastic for the heel.
Cut a length of elastic about half the length of the heel piece.
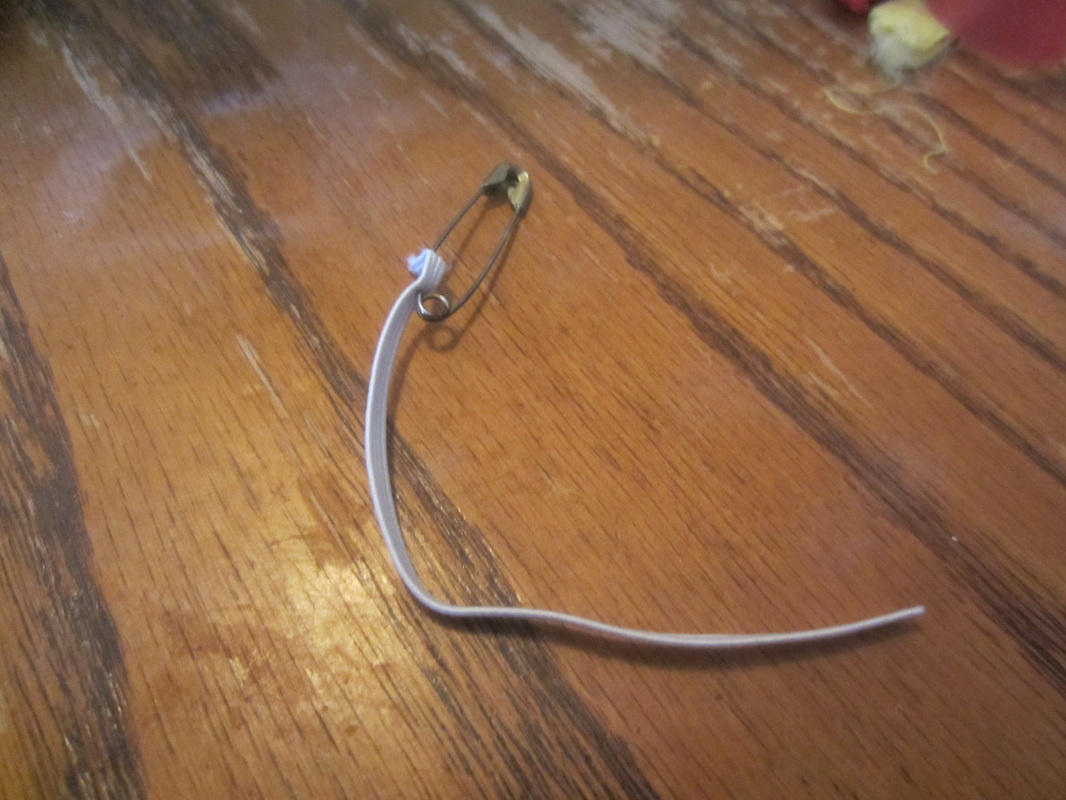
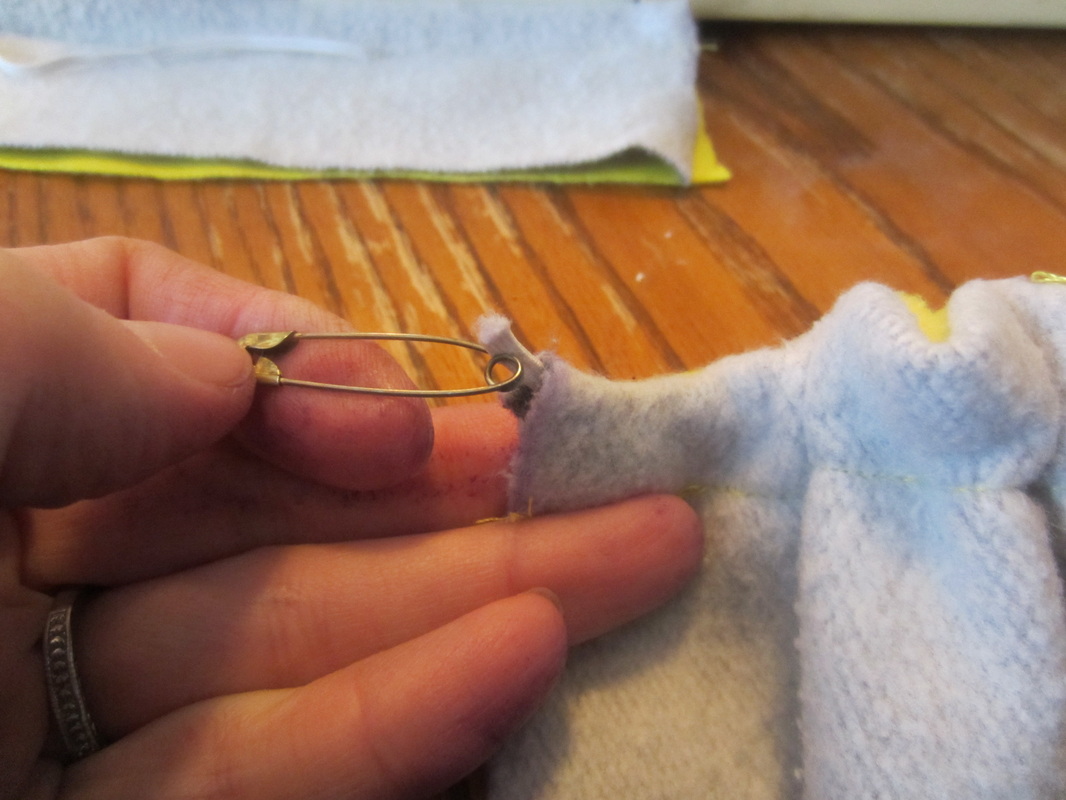
Attach a safety pin to one end of the elastic.
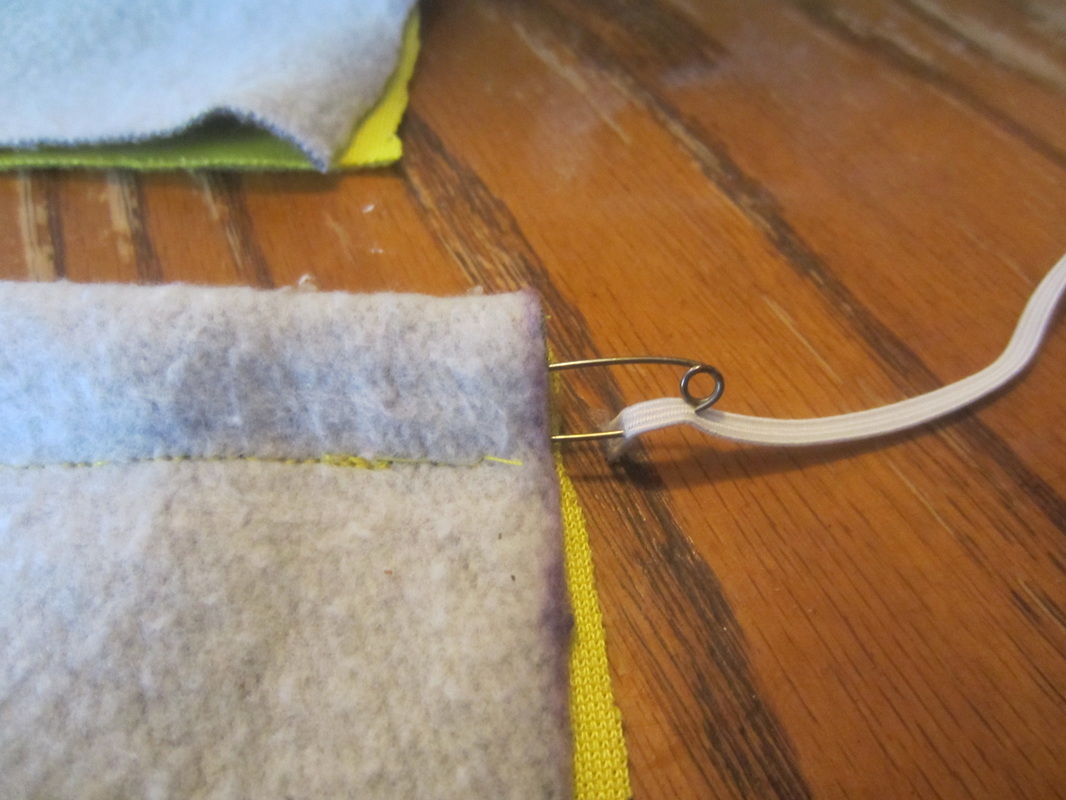
Start working the elastic through the little "tunnel" using the safety pin. Work the pin along the tunnel from outside.
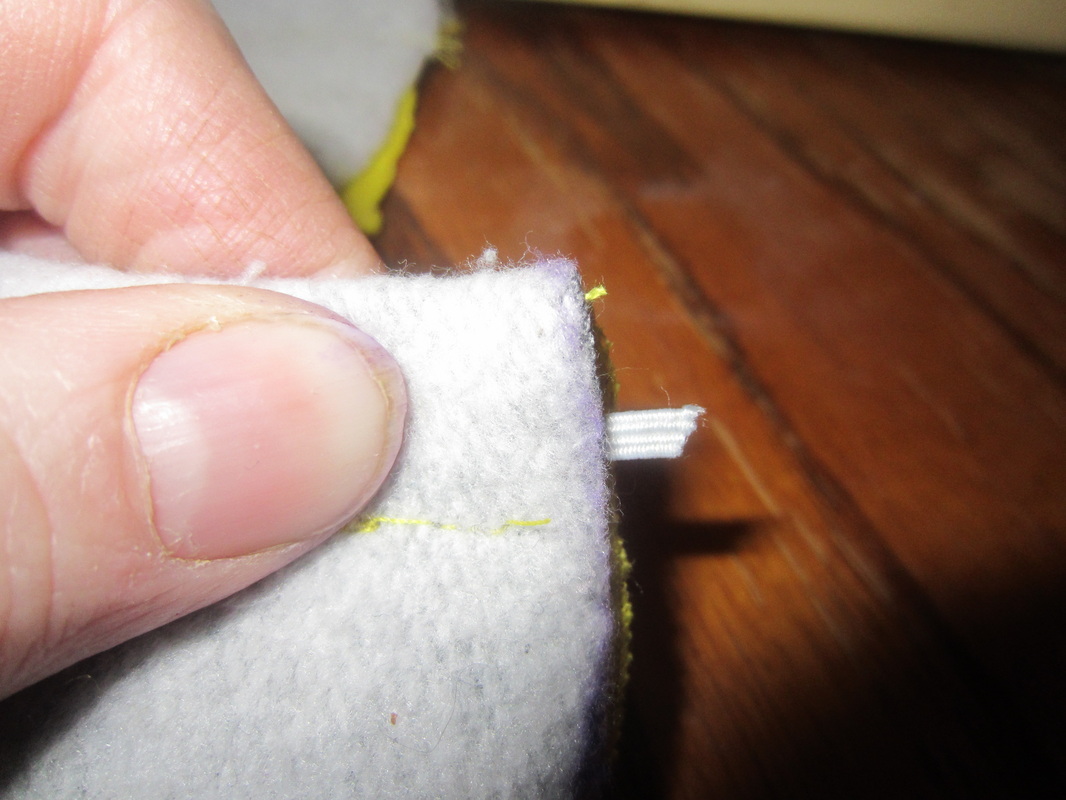
Before pulling the pin out the other side, stop short and sew the end into place.
Like so..
Continue pushing the pin along the tunnel, and sew it down to secure the elastic.
Like so..
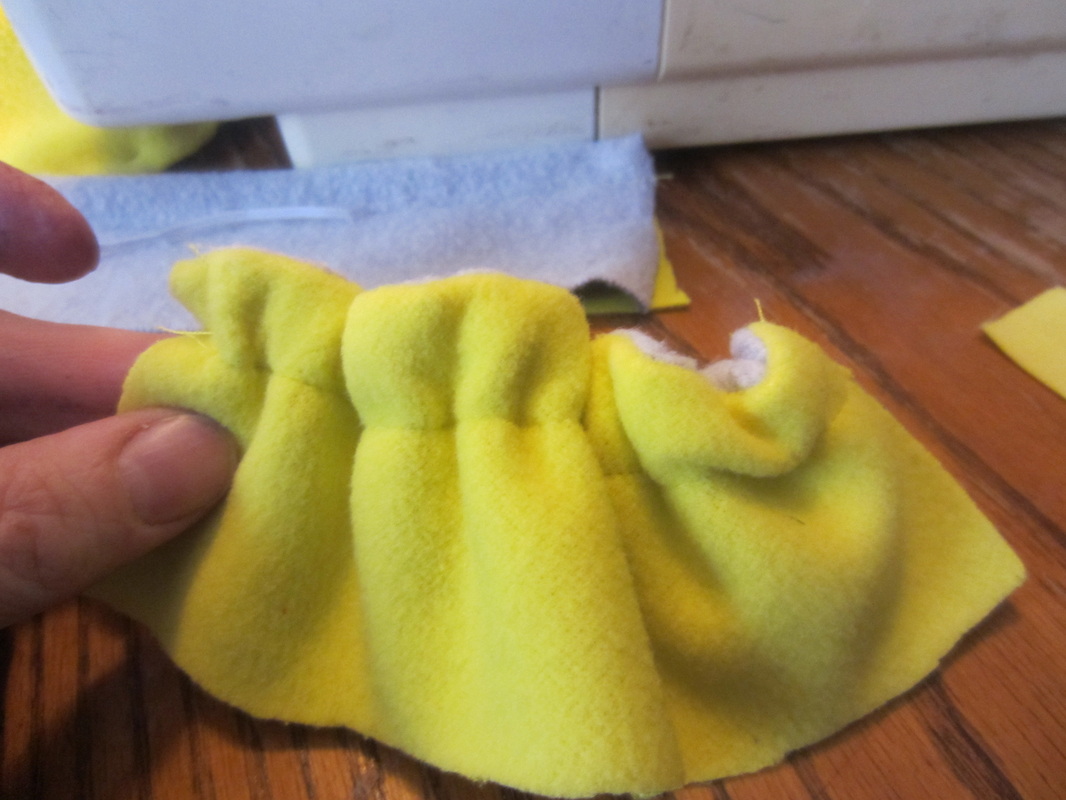
Fold the heel in half and pin to the middle of the heel to the back of the sole as shown.
Continue to pin the heel down to the sole.
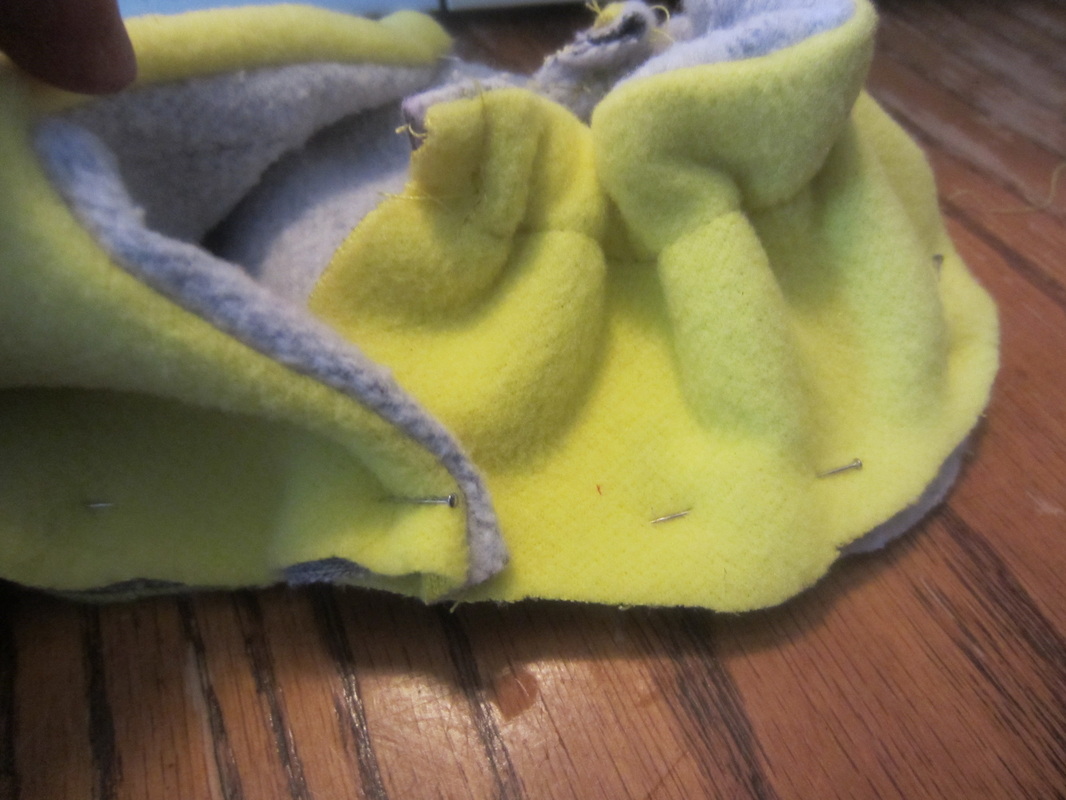
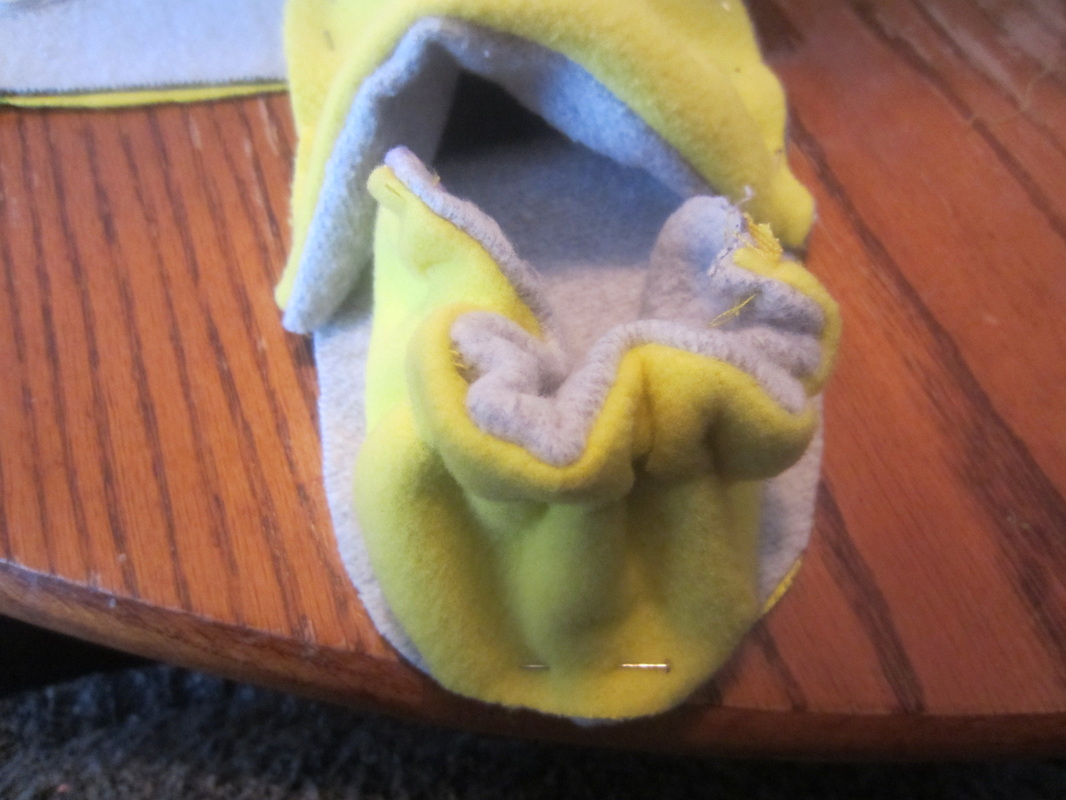
When you reach the toe section, wrap the heel under the end of the toe piece and pin. Do the same to both sides.
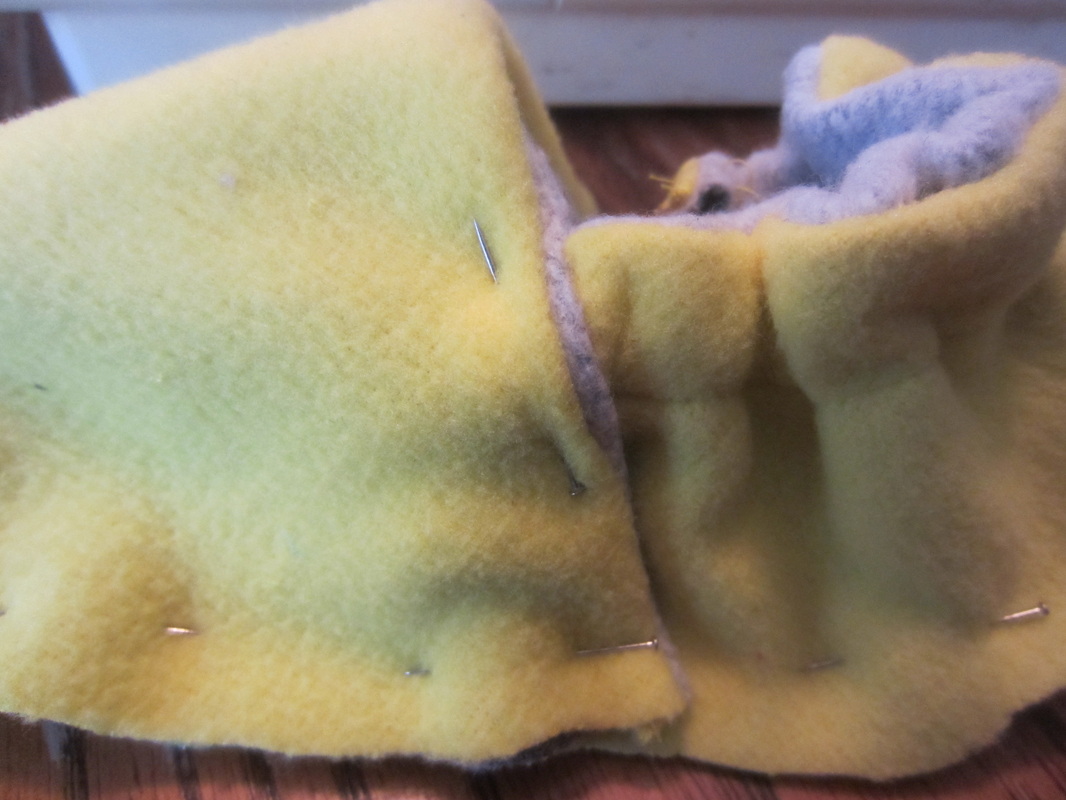
Connect the elastic to the toe section with a pin, same on the other side.
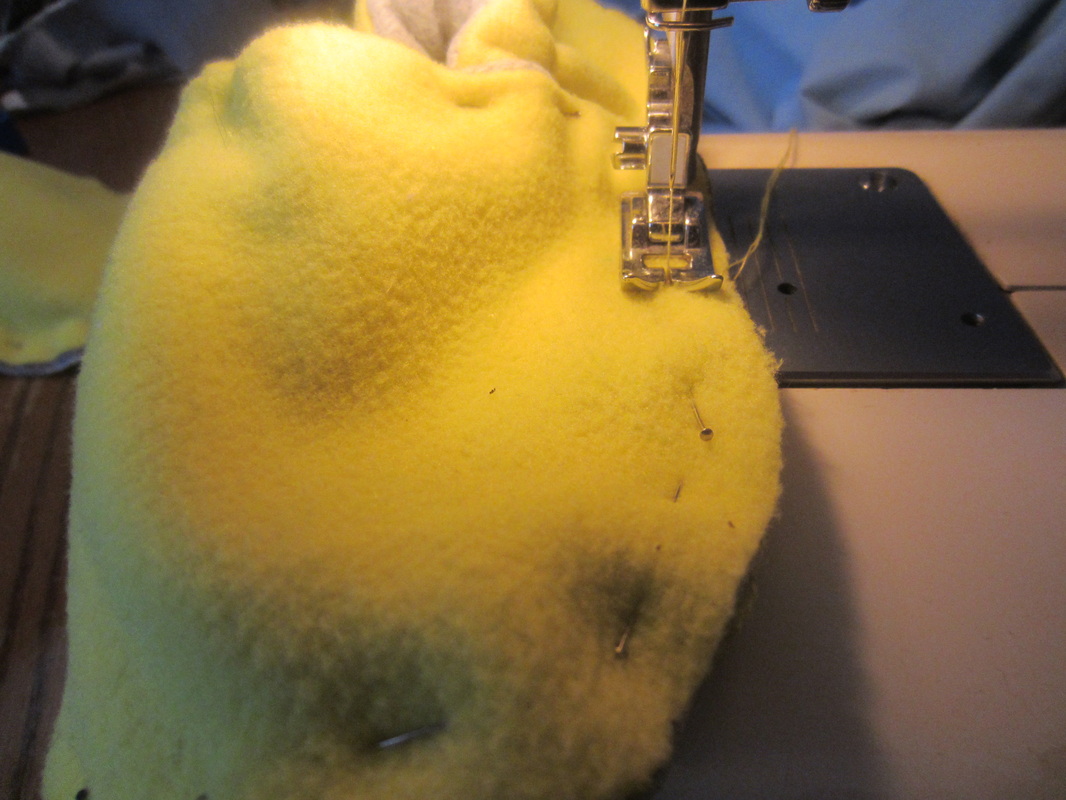
Time to start sewing them together. Sew all around the edge of the slipper. Be sure you remove the pins as you go.
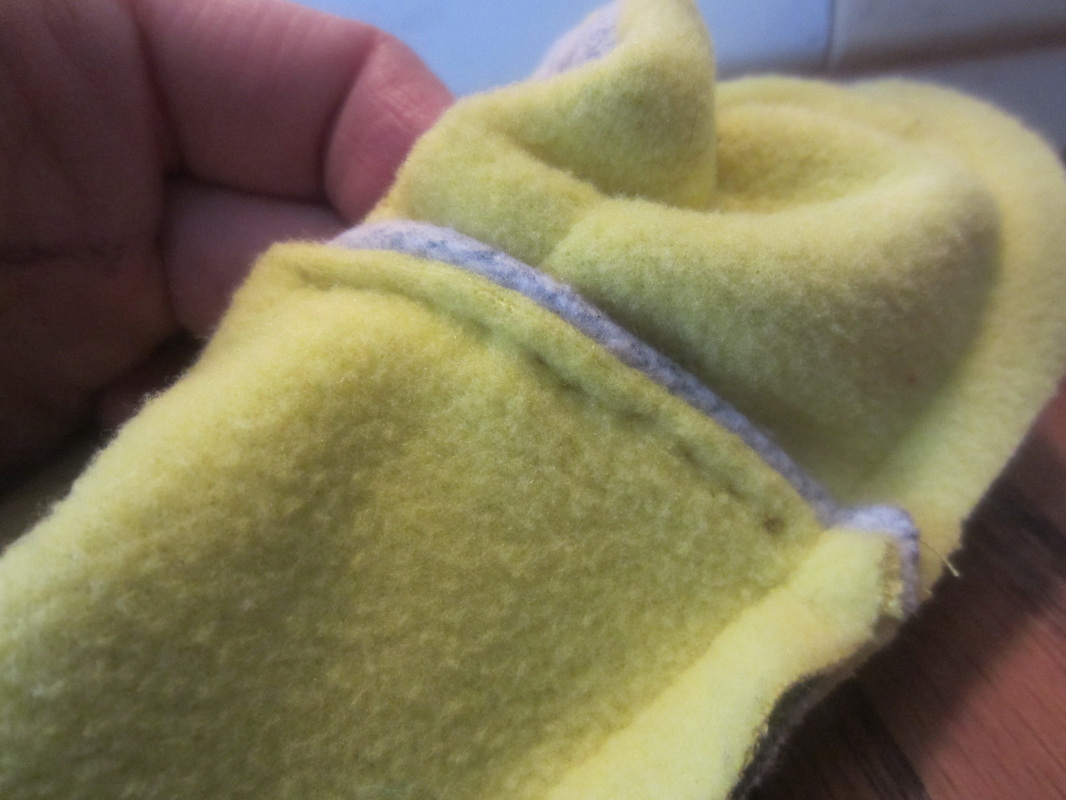
I sewed the heel section to the toe section by hand.
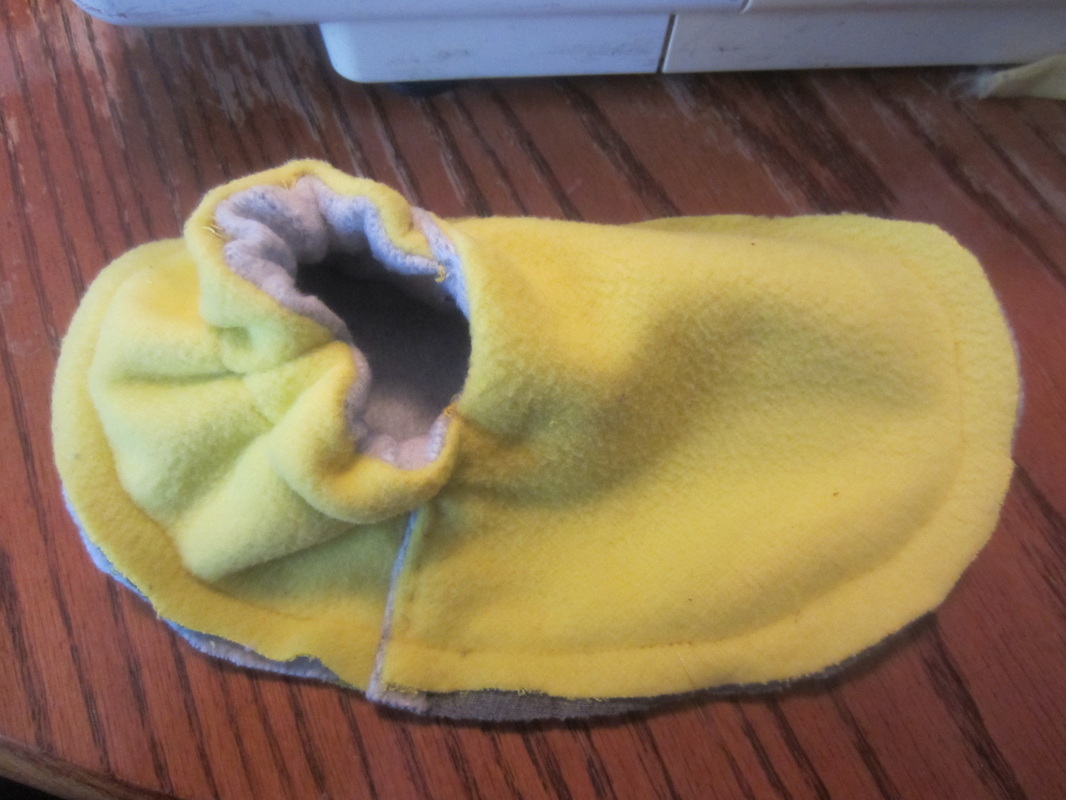
Sides are sewn, bottom sewn on... needs some fine tuning.
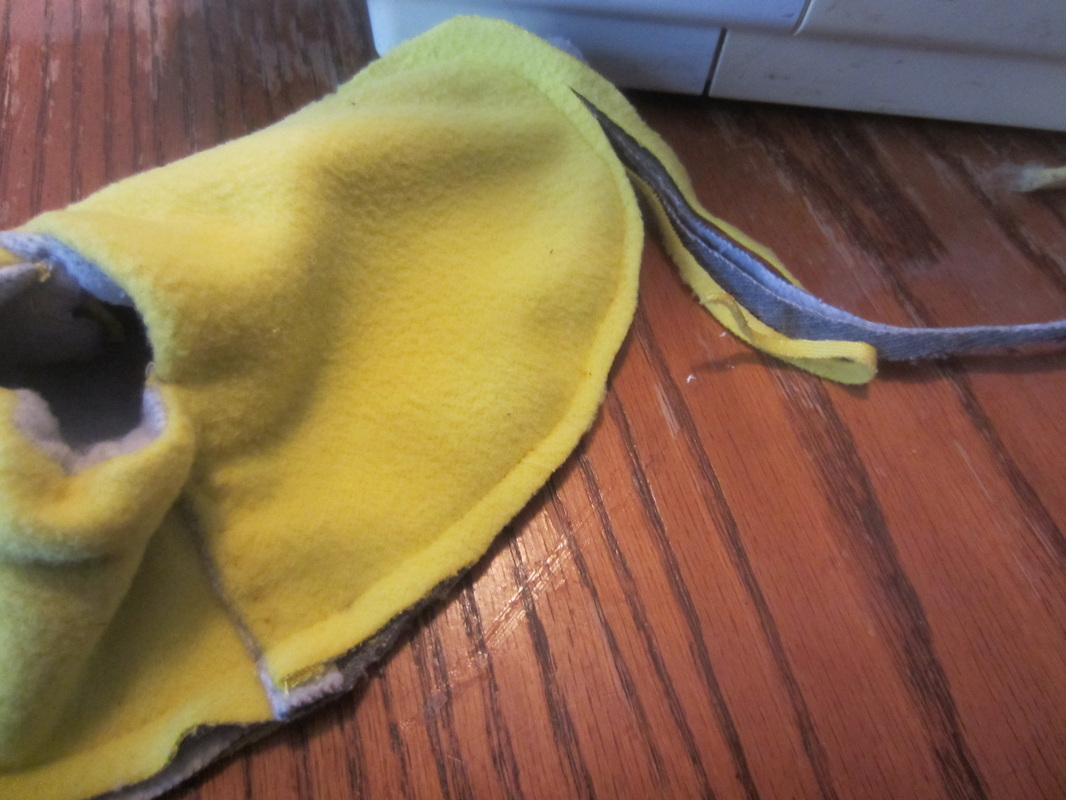
Trim some of the excess off to create a cleaner look.
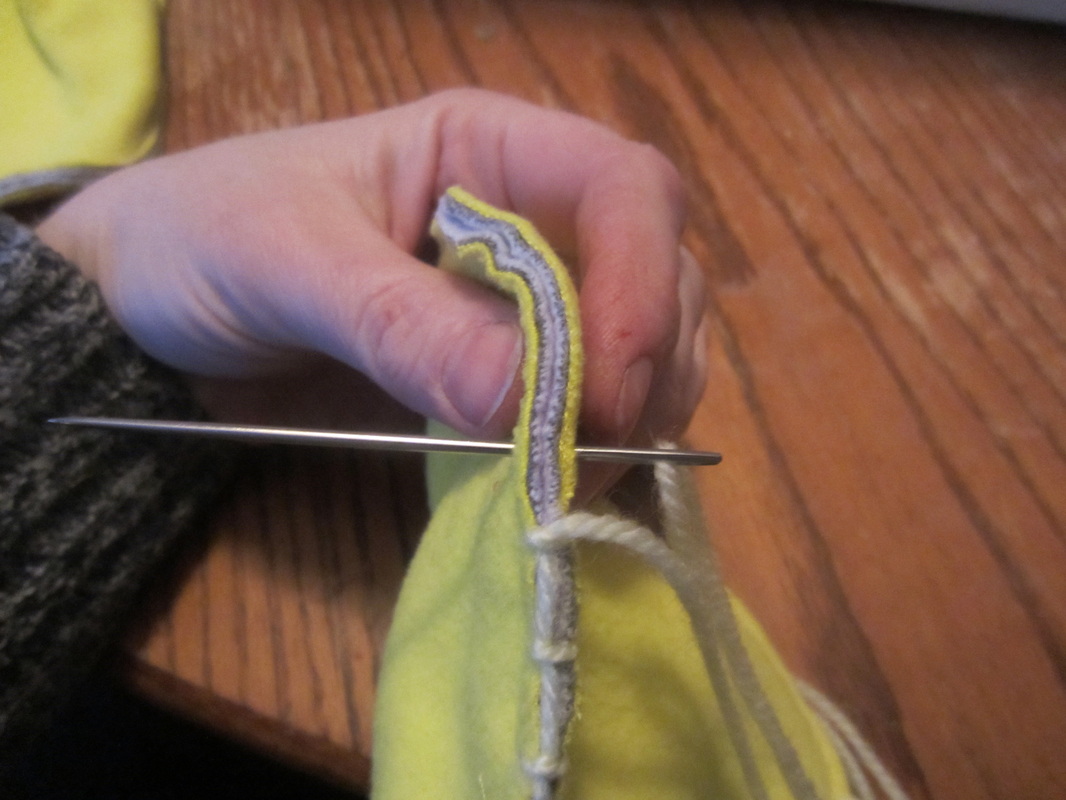
I used yarn to put a little decorative edge to it. Put the needle through from behind..
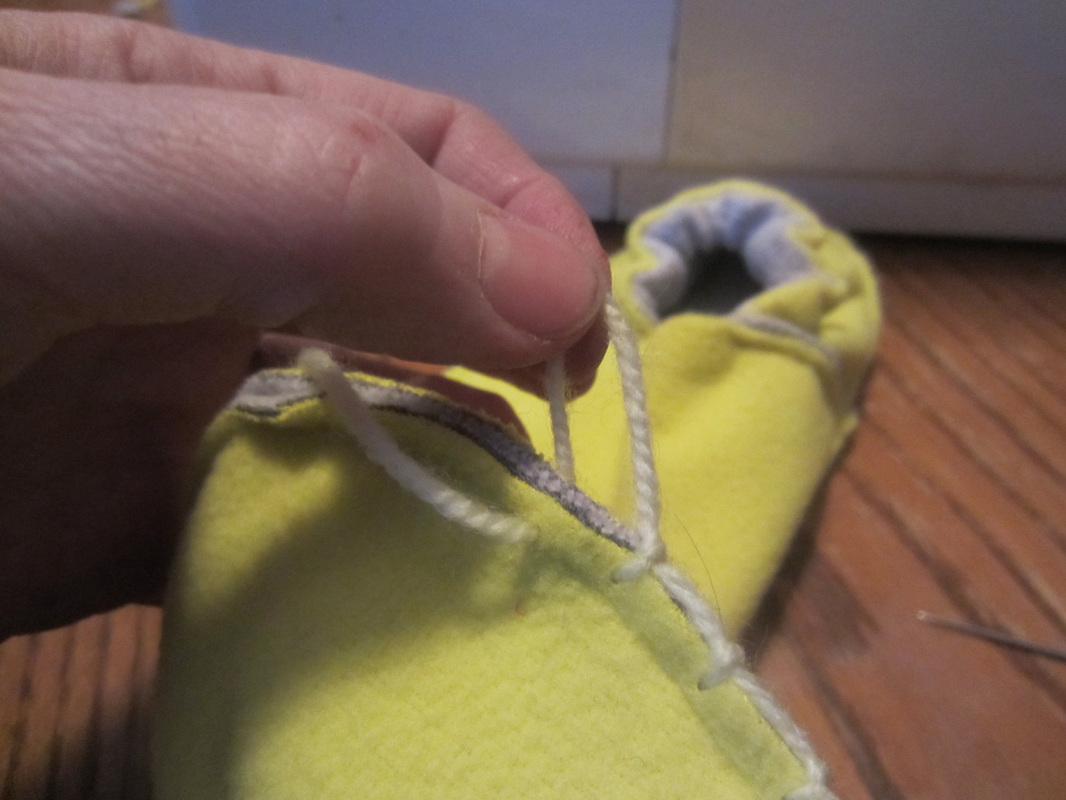
Pull the needle through but instead of pulling tight, leave a bit of slack, creates a loop.
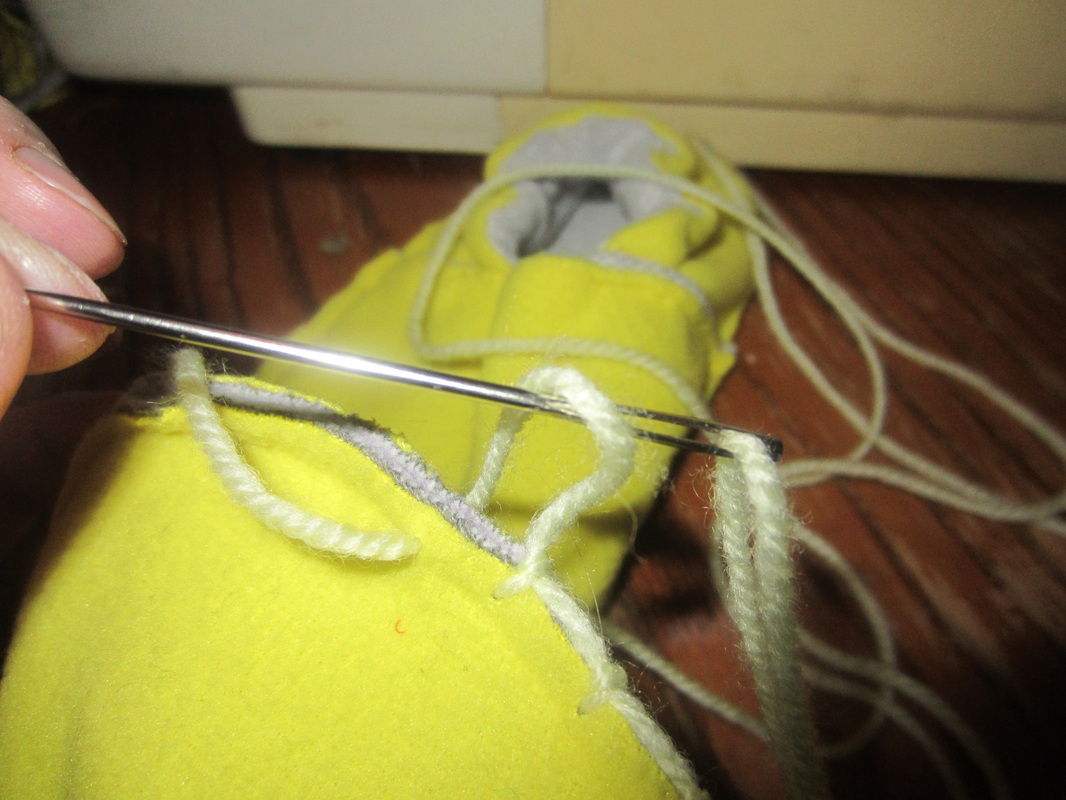
Thread the needle through the loop from behind.
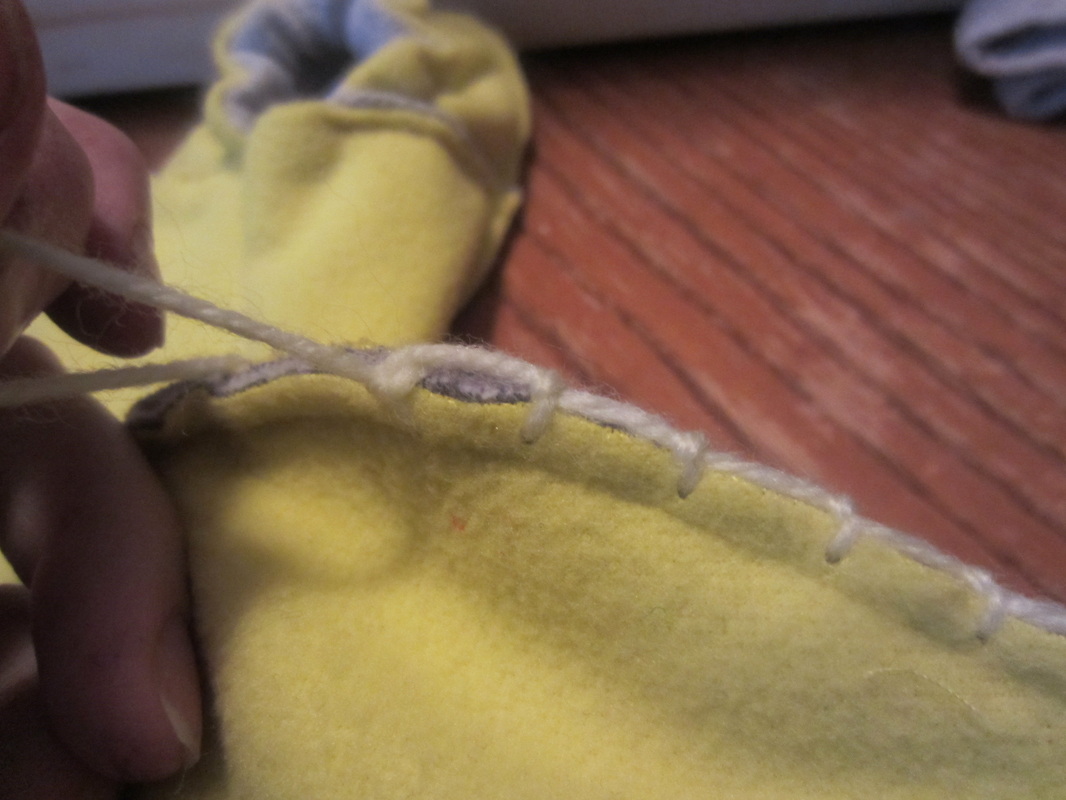
Pull tight. There are many other types of edges you can choose. Sewing machines have lots of neat choices, even a zig zag would look nice.
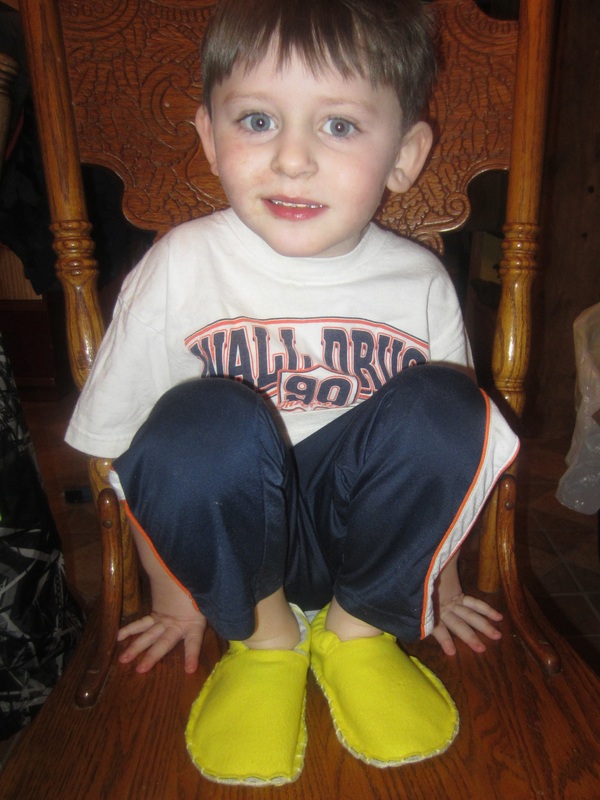
Here you have it, happy child, dirty face, warm feet. Doesn't get much better than that!
 RSS Feed
