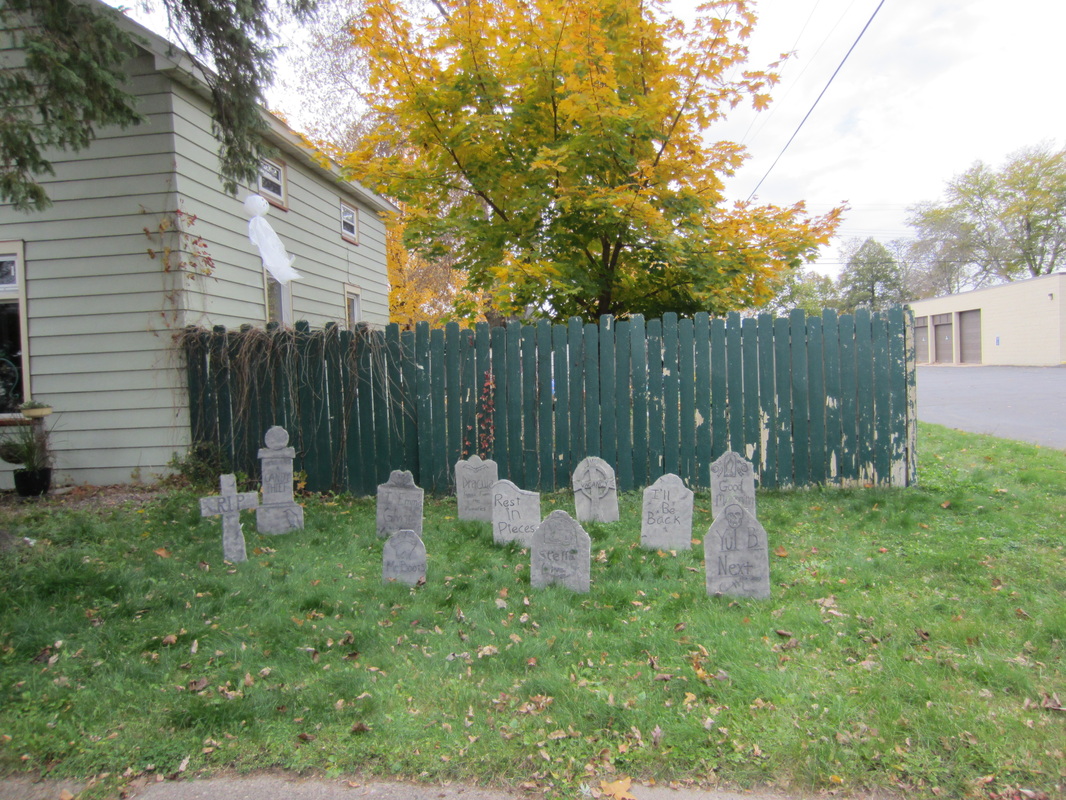
We had a great time creating these gravestones to make our yard looks scary for Halloween. There are great ideas all over the internet, we picked and chose the materials from things we already had, or things that were inexpensive.
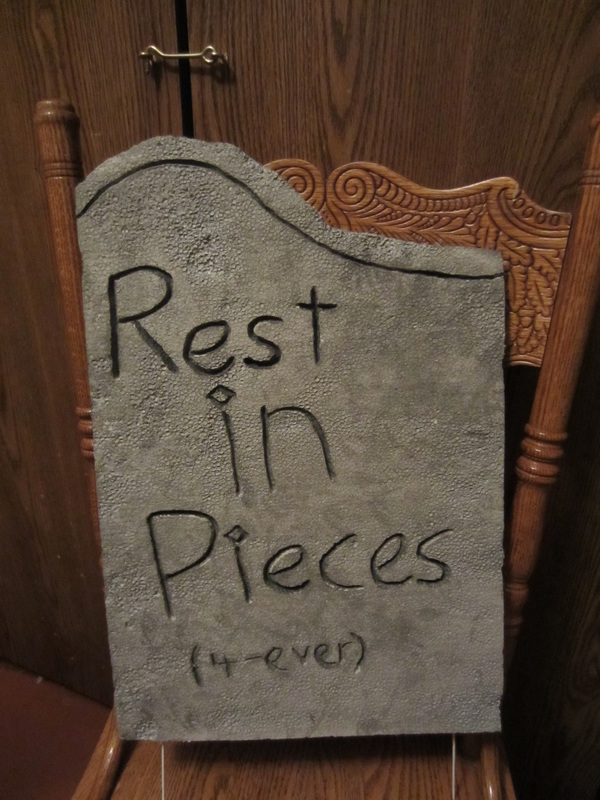
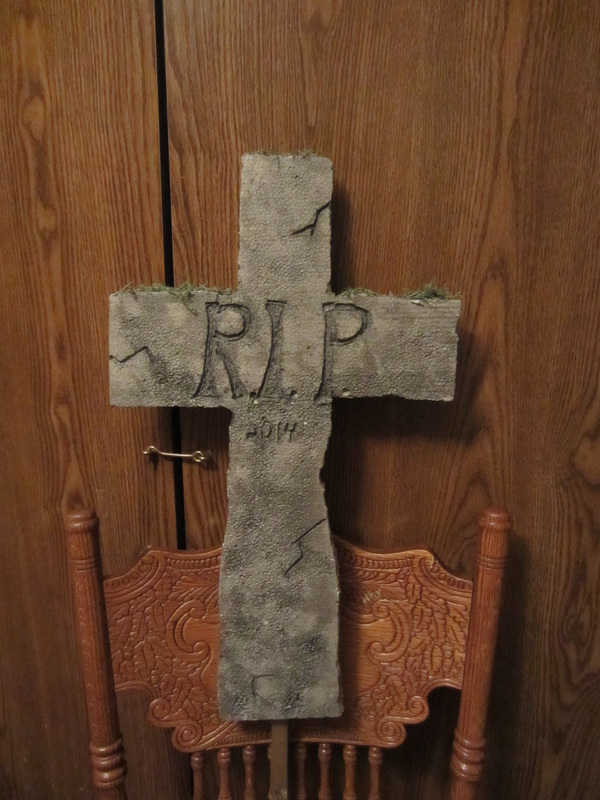
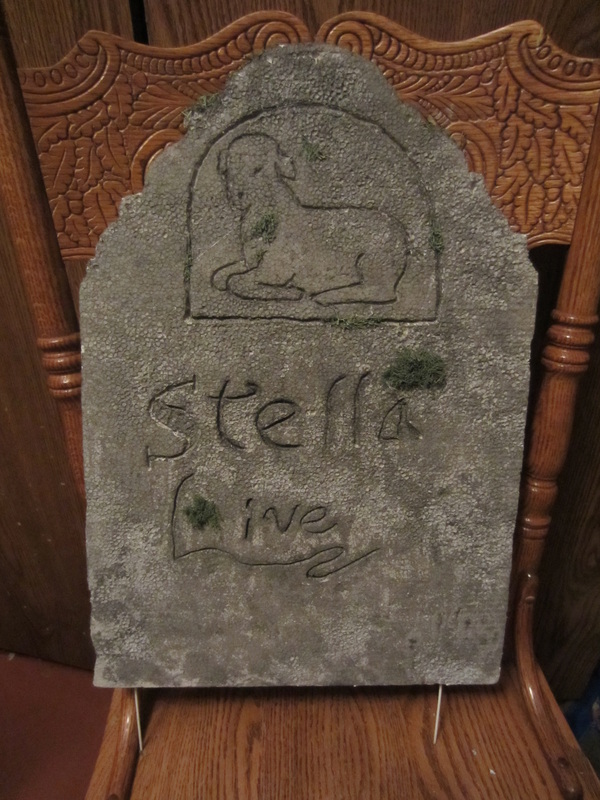
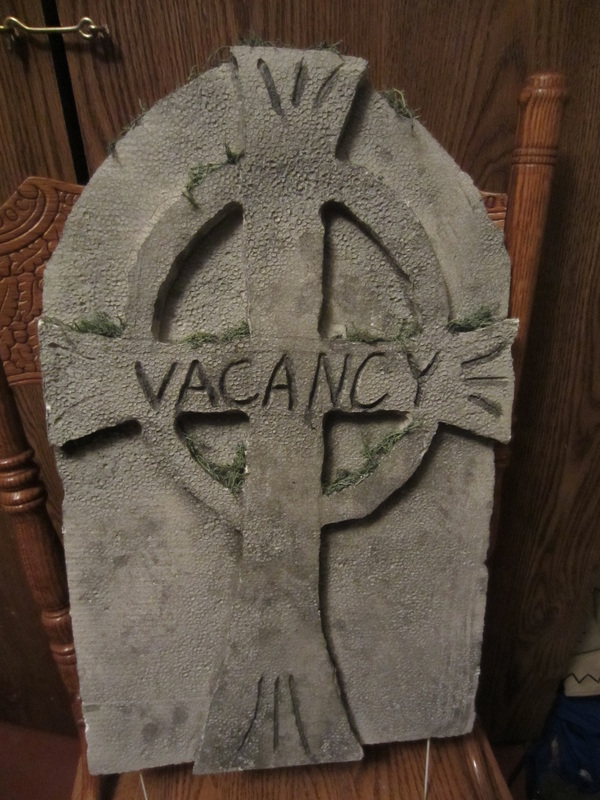
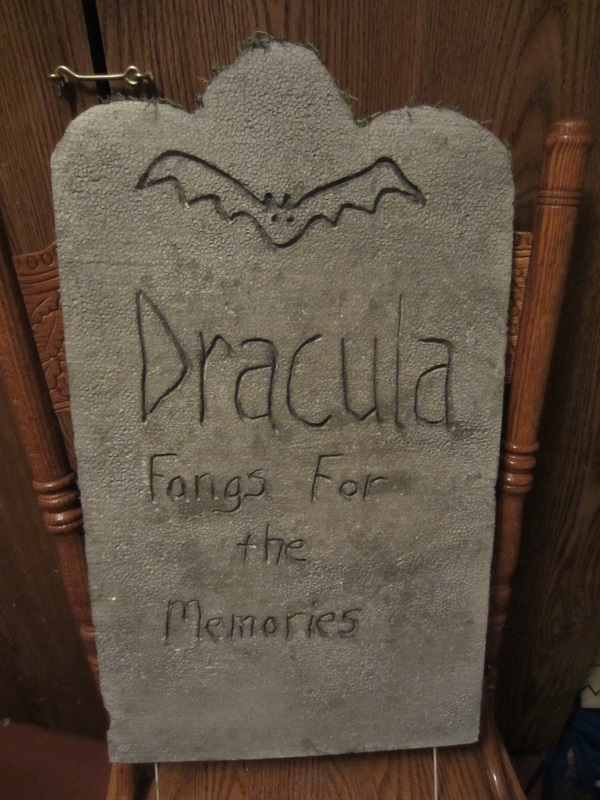
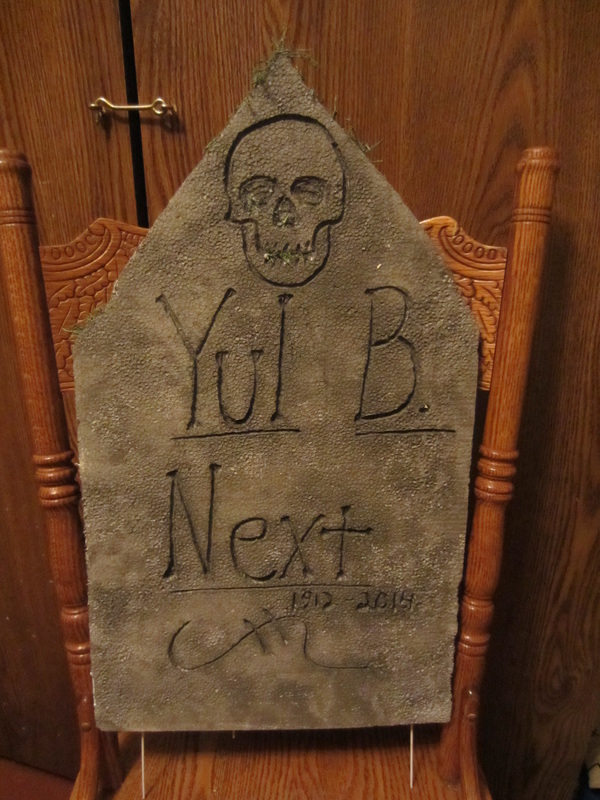
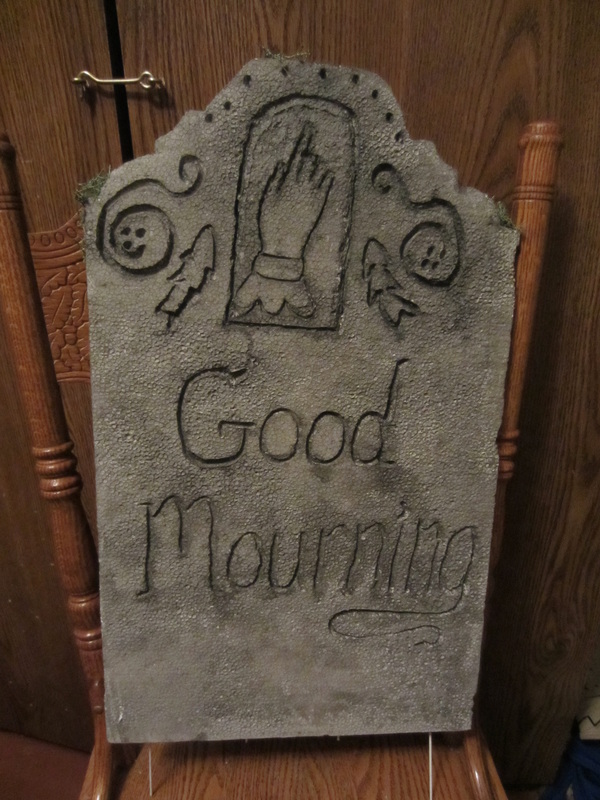
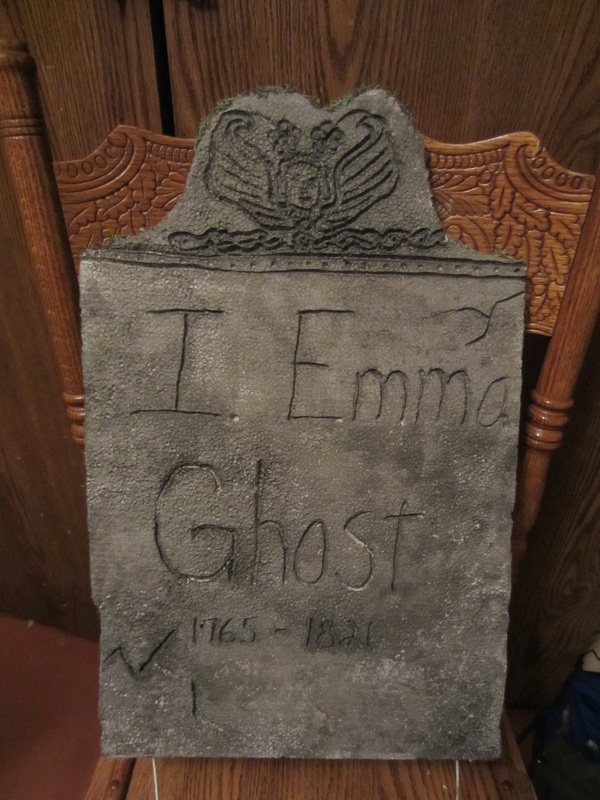
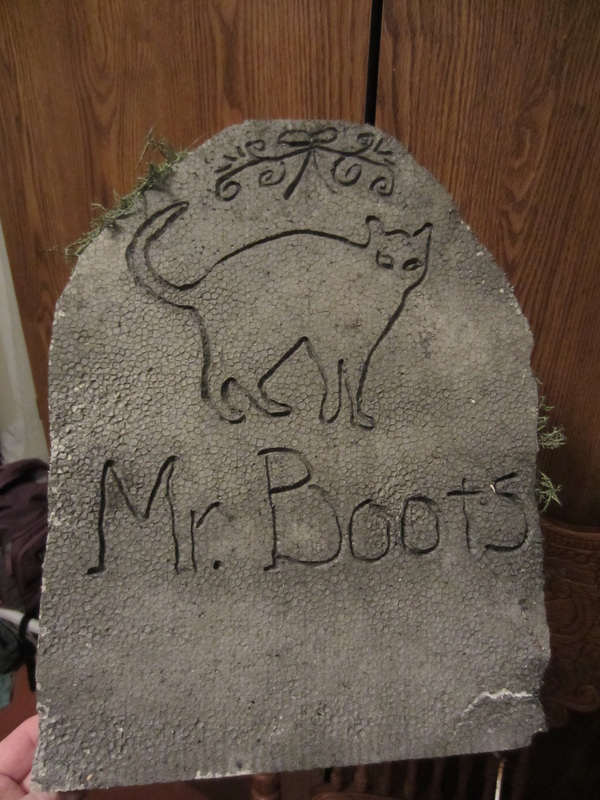
The graves themselves are made from Styrofoam that we bought on sale for $5.99. It is about an inch thick, in hindsight I think I would have gotten the thicker stuff, 2 inches would be stronger, but overall I'm happy with it. We looked up grave stone shapes online and then used a serrated knife to cut them. It's kind of a messy job, but it vacuums up easily. We also searched for what to write for the epitaphs. There are tons of ideas out there. Once we chose ours we wrote them out in pencil first and used a wood burner to carve the details. To get the patterns we searched for pictures we liked and printed them. We laid them on the foam and used a pencil to poke holes all along the shape outlines. It makes the pattern transfer to the foam, and then we used the wood burner to carve deeper. I have seen some amazing artwork out there, but this being my first time, ours is pretty basic. Let me mention though that you should do the engraving with the wood burner in a well ventilated area. Also, Styrofoam melts fast, so practice a little on some scraps first.
Once they were all carved we spray painted them with a basic matte gray spray paint. The spray paint will actually melt the foam if sprayed with high concentration, so make sure to hold the can at least 12 inches away and make swiping movements.
Next we black washed them. To make a black wash use 1 part black acrylic craft paint to 2 parts water. Use a broad brush to saturate the front of the "stone" and then use a rag to blot off the excess. The black will settle into the engraved parts, and the rag will leave color variations on the gray creating a stone like appearance.
We used hot glue to add some moss from the dollar store to the top to make them look old. We used an old garden fence to stake them to the ground as is seen here: http://www.halloweenforum.com/attachments/halloween-props/184183d1383343451-securing-your-styrofoam-headstones-sdc17004.jpg (We chose the option on the right, secured with hot glue, and lots of it.)
I'm happy with the results, and I spent less than $12 because I already had the old fencing lying around. It was a fun weekend project, and I hope they last many years. Only time will tell. Happy haunting!


 RSS Feed
