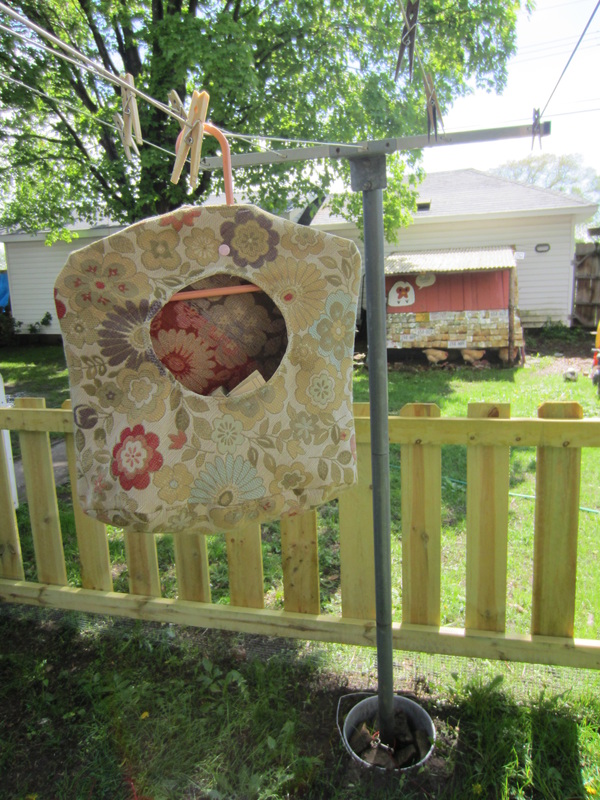
I made this clothespin holder from some scrap fabric I had left from another project.
You will need:
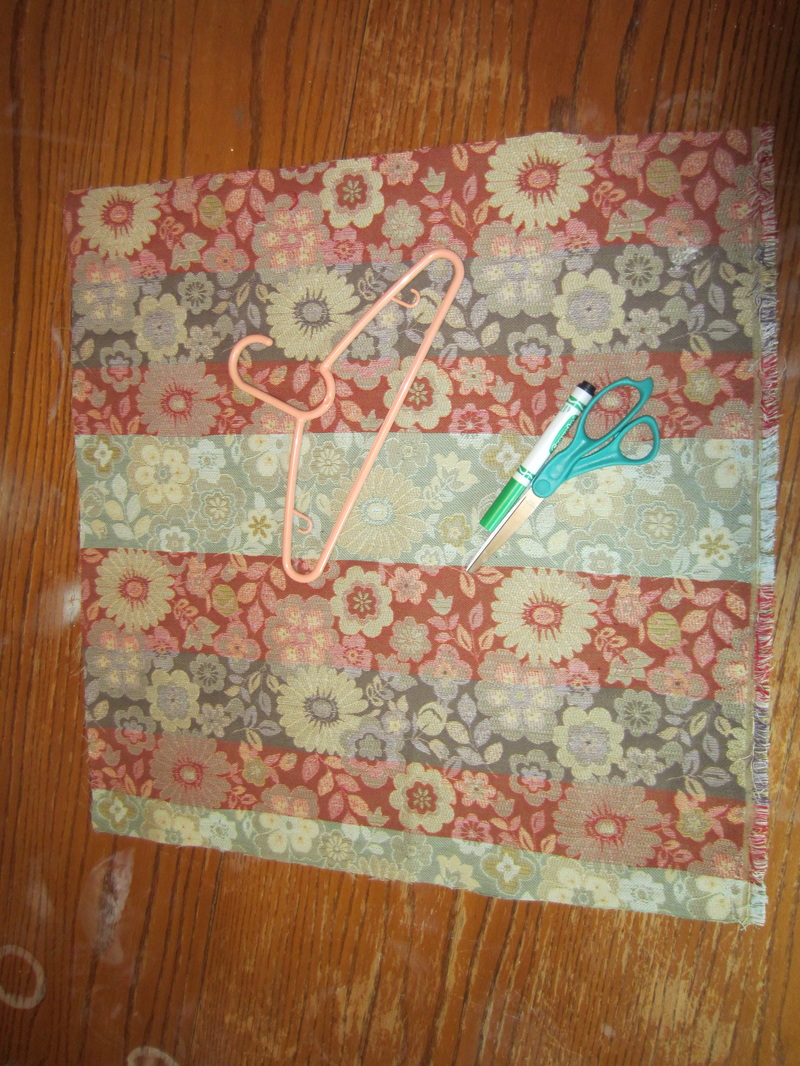
1. clothes hanger (I used a toddler size)
2. a nice size piece of fabric (about a 3ft. x3ft. square)
3. thread
4. some ribbon or a strip of scrap fabric, 2ft or so.
5. optional, snap or button
tools:
1. sewing machine (or needle if going old school)
2. scissors
3. pencil or marker
You will need:
1. clothes hanger (I used a toddler size)
2. a nice size piece of fabric (about a 3ft. x3ft. square)
3. thread
4. some ribbon or a strip of scrap fabric, 2ft or so.
5. optional, snap or button
tools:
1. sewing machine (or needle if going old school)
2. scissors
3. pencil or marker
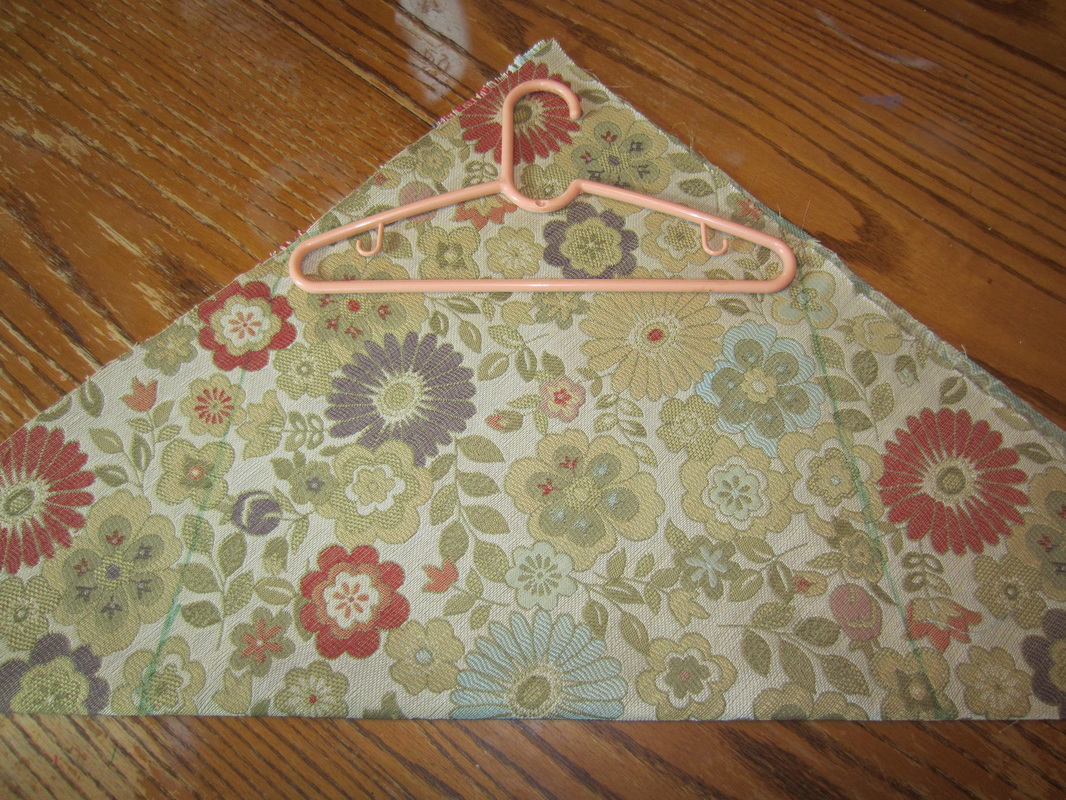
1. Fold the fabric in half kitty-corner to form a triangle.
2. Place the hanger in the corner of the triangle (fold at the bottom) making sure the "shoulder" of the hanger is on the fabric with about a quarter to a half inch space between the shoulder and edge, and making sure the bottom of the hanger is horizontal to the fold.
3. Use a marker or pencil to trace the shoulders of the hanger. Draw lines from the end of the shoulders down to the fold as pictured above. Also, mark where the hanger hook falls along the shoulder so you can create a hole near the top for it to fit through.
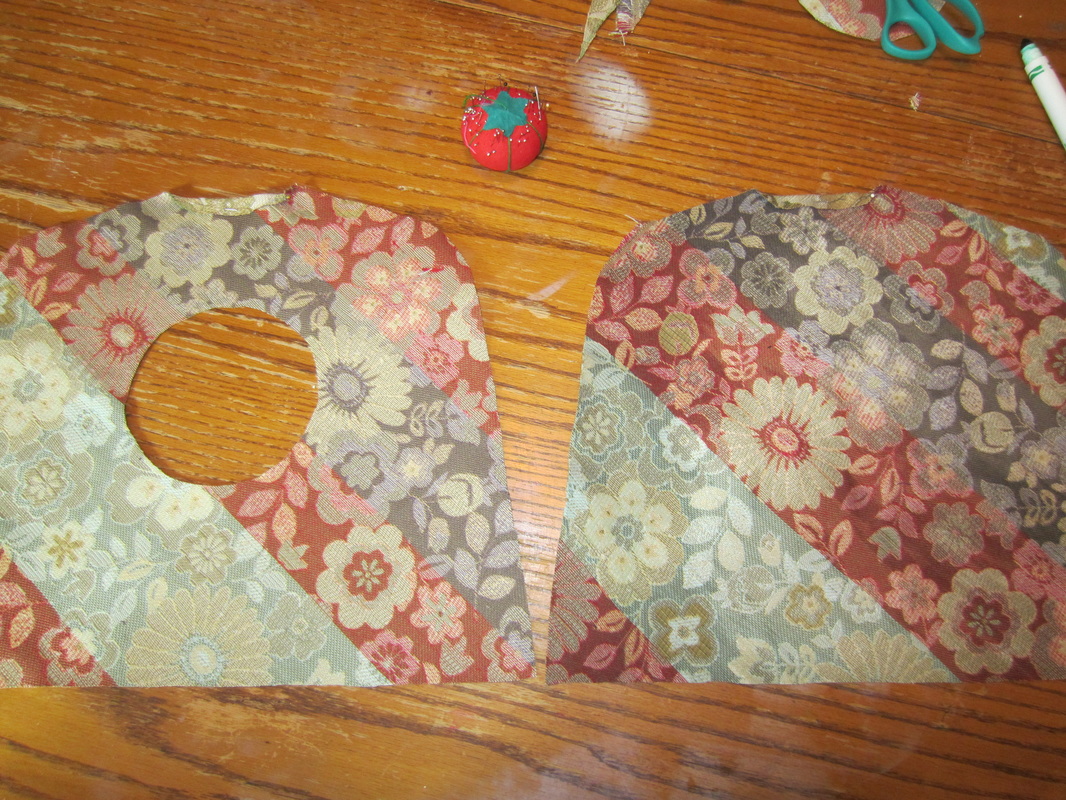
4. Cut along the marks you made, keeping the fabric folded.
5. Cut along the fold to separate the pieces.
6. Trace an object such as a bowl or a glass (large enough for you to fit your hand through) an inch below the hanger bottom in the center of one side of the fabric.
5. Cut along the fold to separate the pieces.
6. Trace an object such as a bowl or a glass (large enough for you to fit your hand through) an inch below the hanger bottom in the center of one side of the fabric.

7. Putting the pieces right down, fold down the small edge where the hanger hook would pop out according to your markings. If you look closely below you can see the pins. Sew it.
8. Cut out the circle you traced to create the hole.
8. Cut out the circle you traced to create the hole.
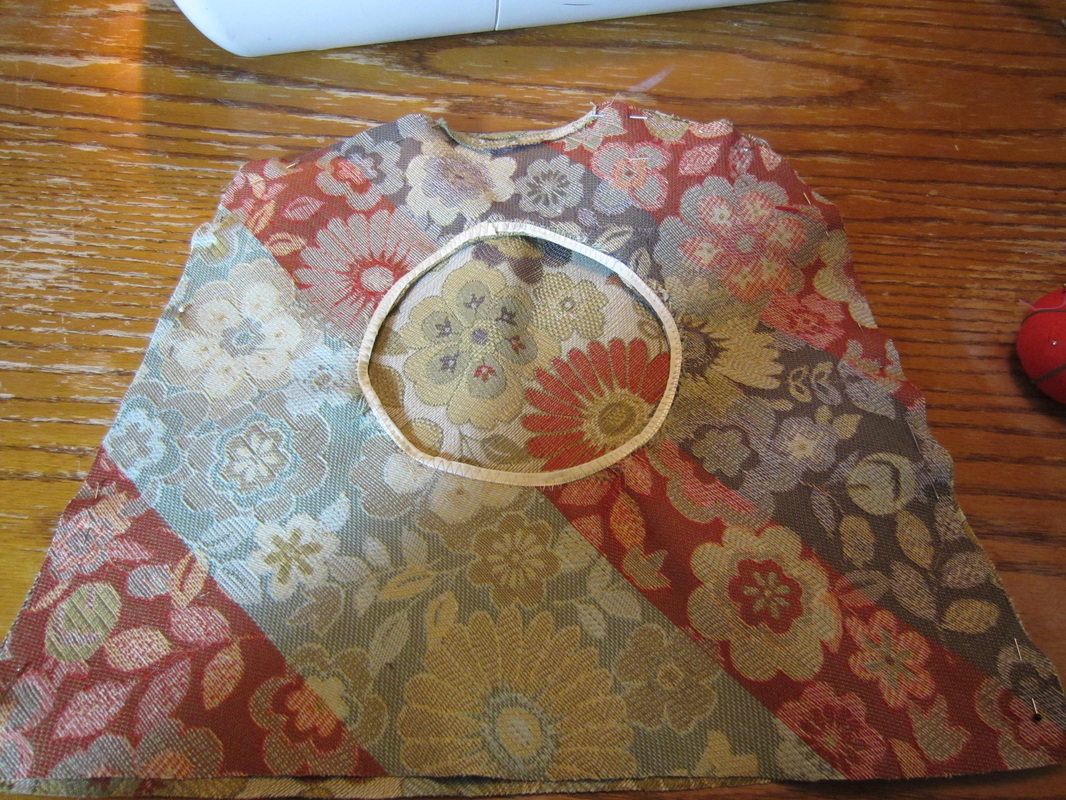
8. To reinforce the hole use some ribbon or any strip of fabric. With fabric facing right side up, sew the ribbon or strip right to the outside of the hole as shown.
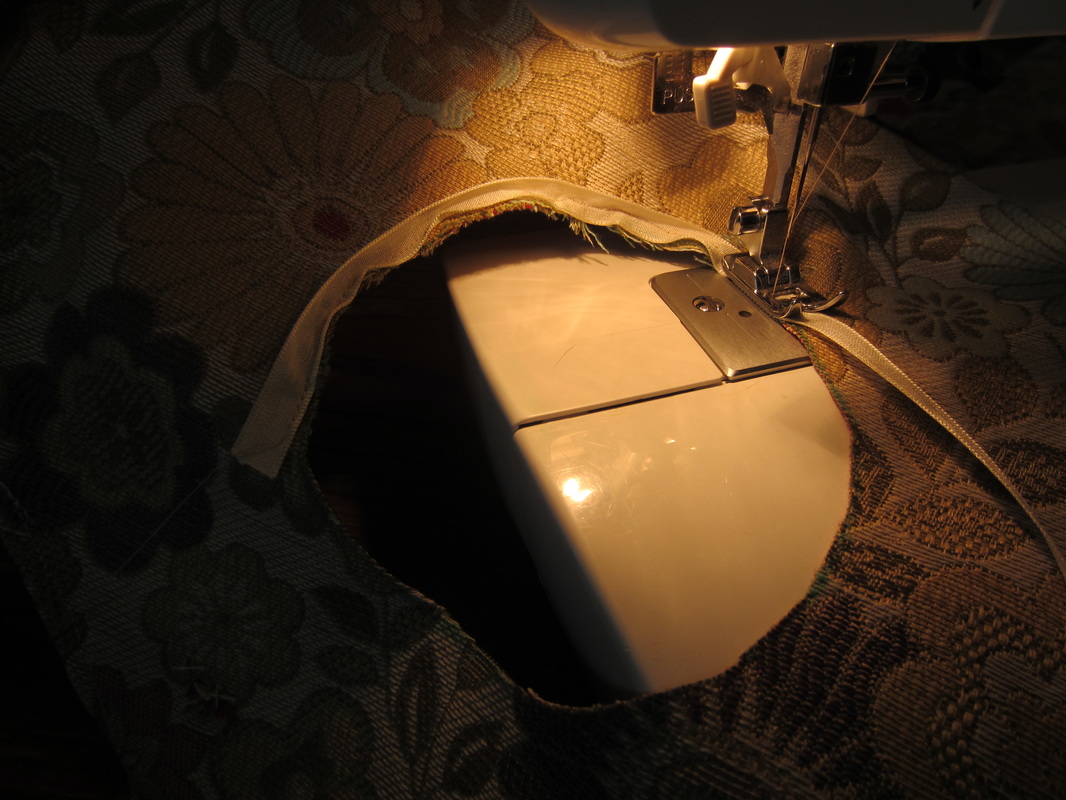
Below: how it will look sewn on.
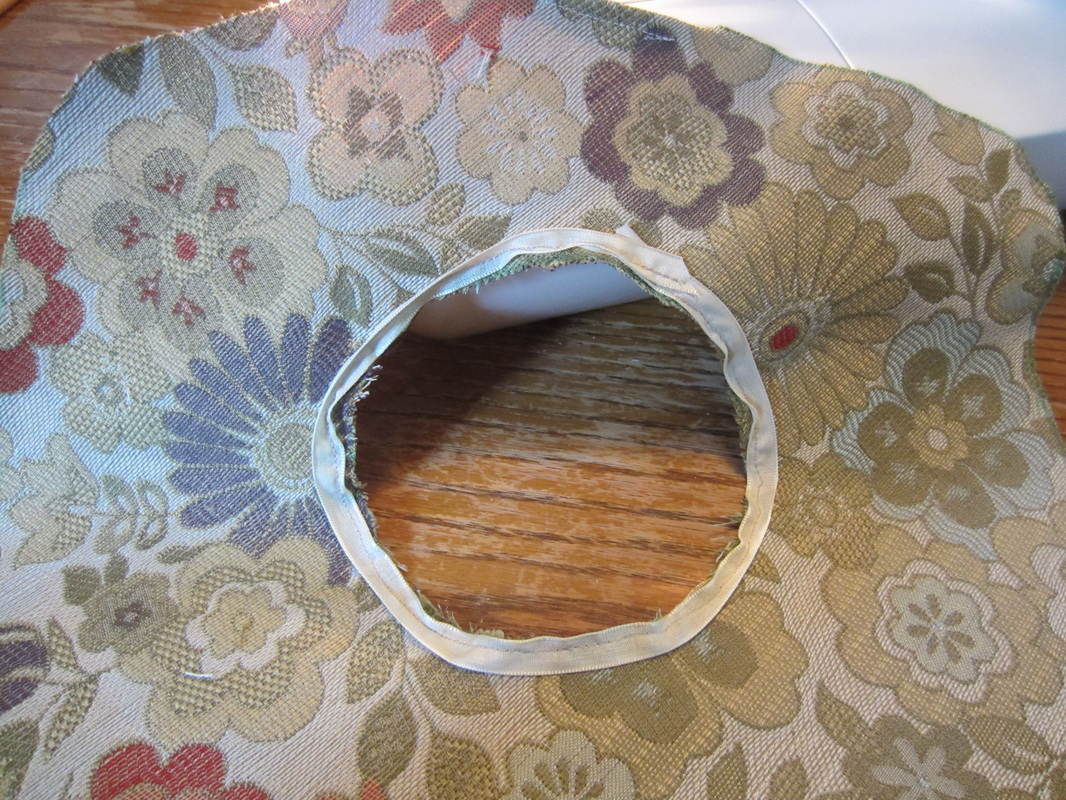
9. Flip the fabric wrong side up and fold the hole fabric back revealing the ribbon. Sew it down securing the ribbon to the backside of the hole as shown below.
Below: how it will look after the last step.
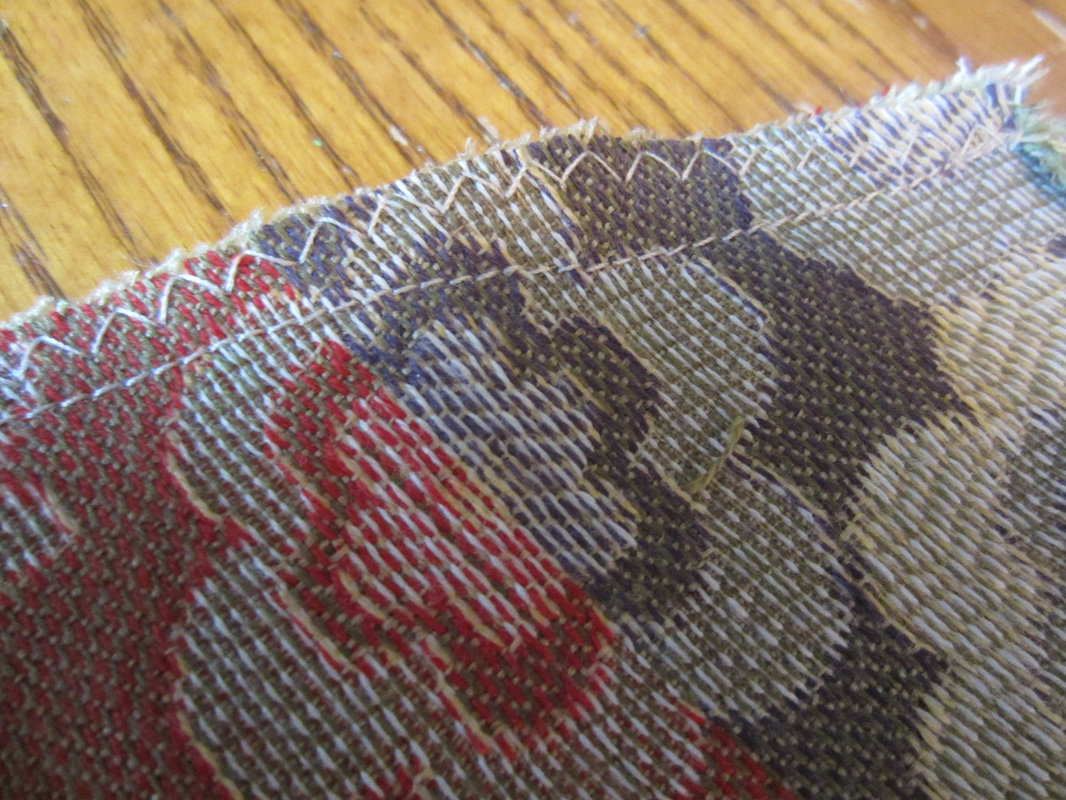
10. Place the two pieces back together, right sides in, exposing the wrong sides. Pin the top and sides (except for the hook hole you created earlier) and sew it up. Leave the bottom open.
Below: I use a straight stitch to make the seam, but follow it up with the zig-zag stitch to keep it from fraying over time, wear and tear.
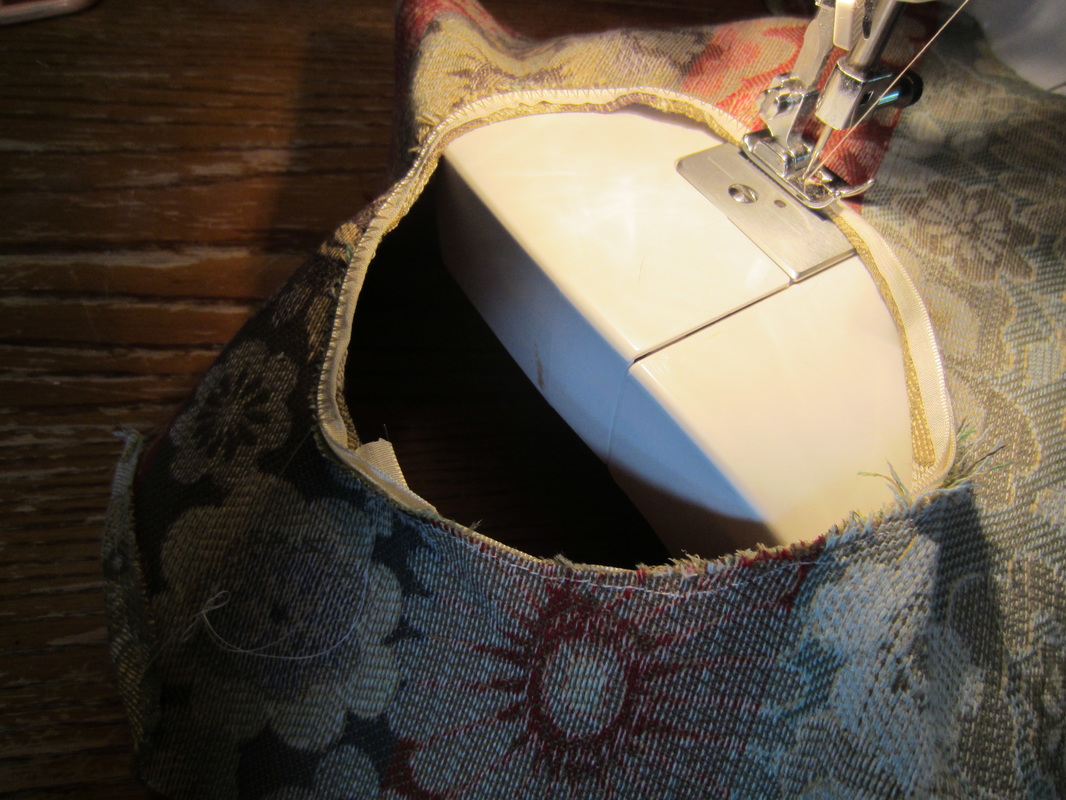
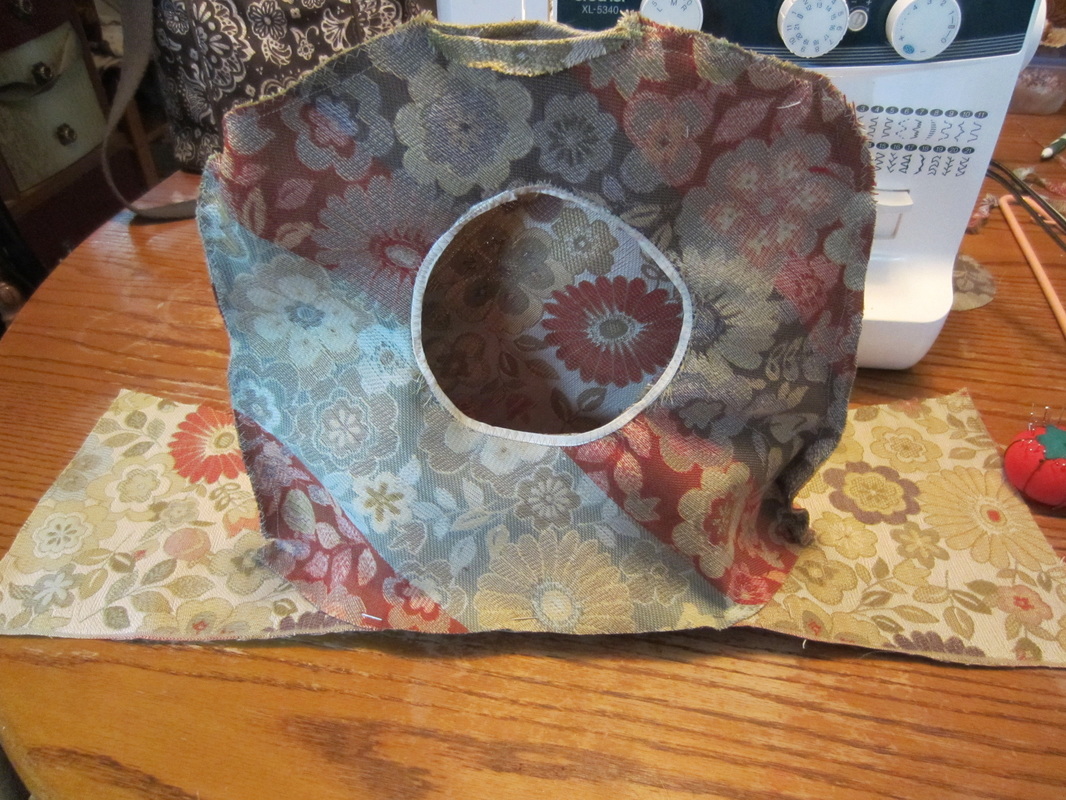
11. Imagine the bottom of the bag is one of those sucker fishes you see at the pet store stuck to the side of the fish tank. this is how you can imagine the bottom of your clothespin holder! With the wrong side still out, place the hole over a piece of fabric (right side up) and pin them together. Try to keep the shape of the bottom as even on both sides as you can. (If you're shooting for a circle, try to make it symmetrical. Same for oval or square.) This is the easiest way to be sure the bottom has a custom fit without a bunch of cutting and then re-cutting.
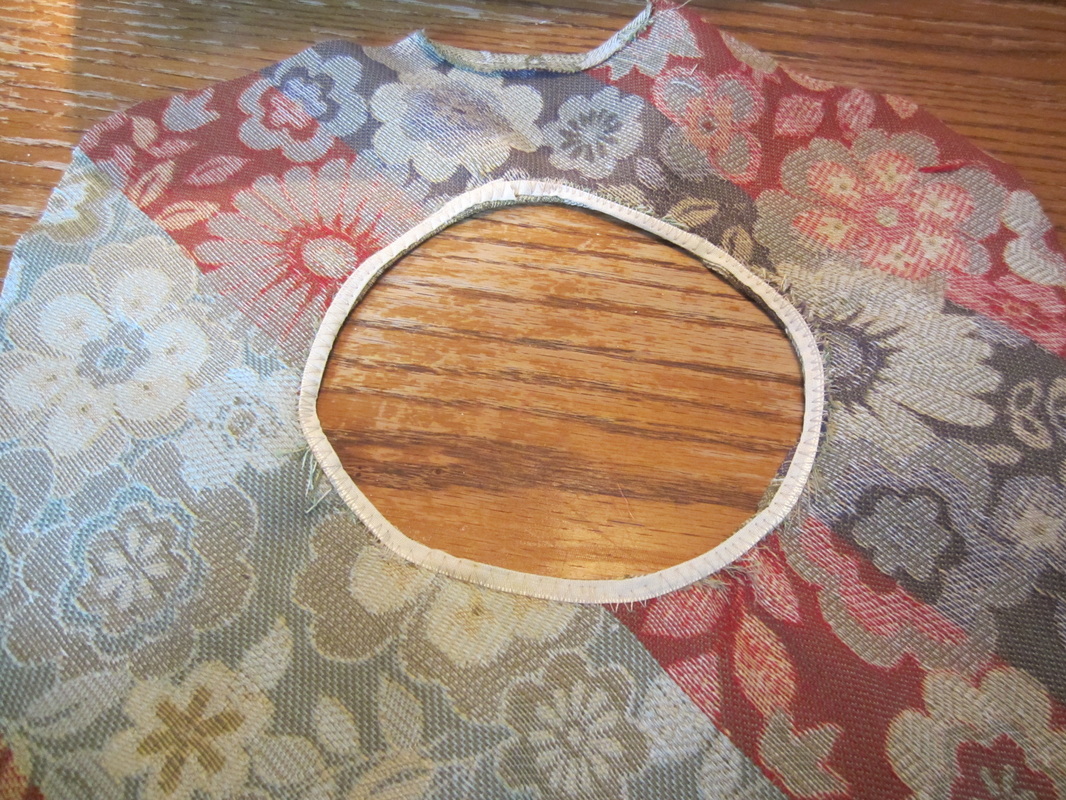
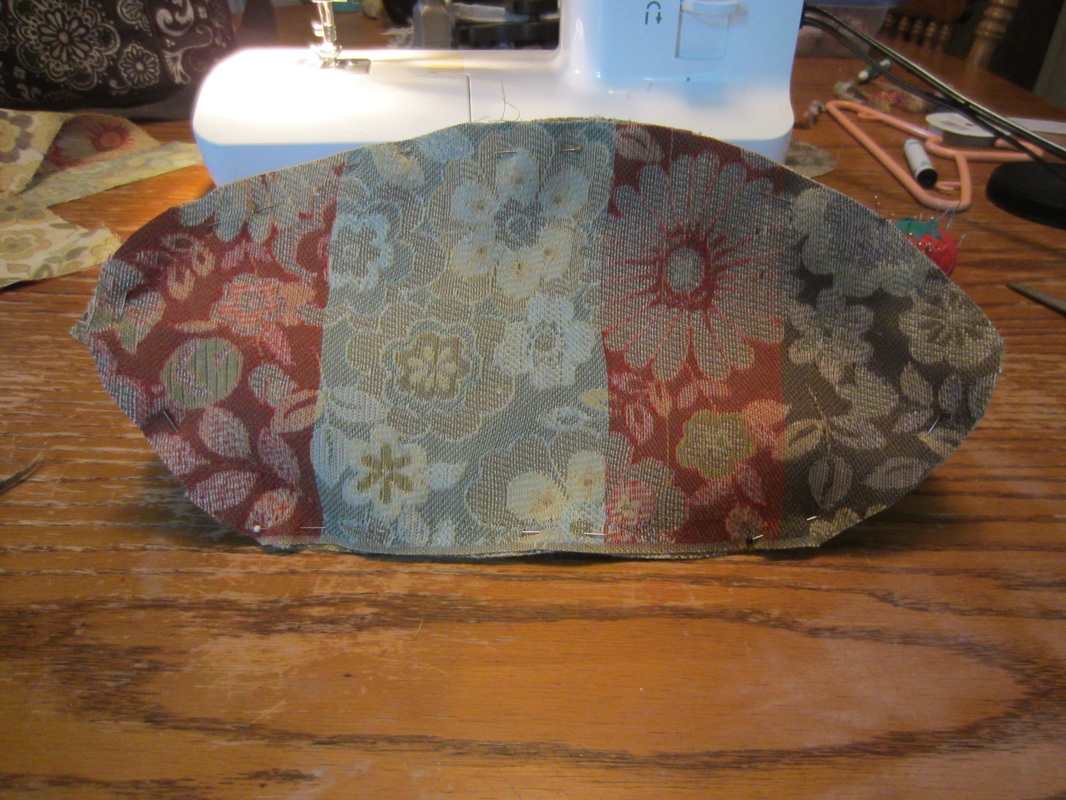
12. Tip the bag over (below, view is from the bottom) trim off the excess fabric leaving the pins in place.
13. Sew the bottom on.
13. Sew the bottom on.
14. Make sure you removed all the pins.
15. Turn the bag inside out.
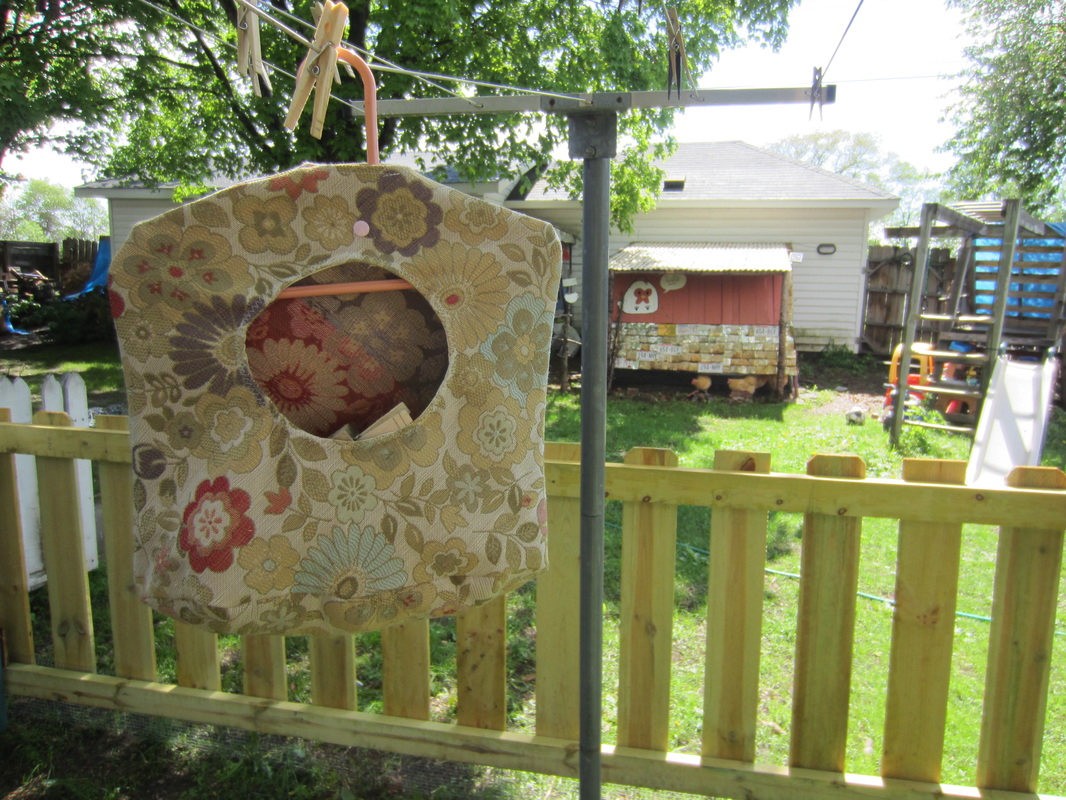
16. Place the hanger into the hole and the hook up through the hole your created in the top. This can take some creative finagling but you will get it! Worse comes to worse and you really can't get it in, you may have to try a smaller hanger or cut a seam, put the hanger in, and then re-sew it shut.
17. Optional: I added a little snap to mine to hold the hanger in place. You could use a button, some string, or some velcro or a safety pin- you could probably get by with nothing at all, but it's something I chose to do!
15. Turn the bag inside out.
16. Place the hanger into the hole and the hook up through the hole your created in the top. This can take some creative finagling but you will get it! Worse comes to worse and you really can't get it in, you may have to try a smaller hanger or cut a seam, put the hanger in, and then re-sew it shut.
17. Optional: I added a little snap to mine to hold the hanger in place. You could use a button, some string, or some velcro or a safety pin- you could probably get by with nothing at all, but it's something I chose to do!
Happy Laundry!
 RSS Feed
