Egg shells are comprised of mostly calcium and other minerals, and they are great for your chickens, and you too! It's an easy cost effective way to supplement your chickens diet, or add some to a smoothie for a calcium boost for yourself.
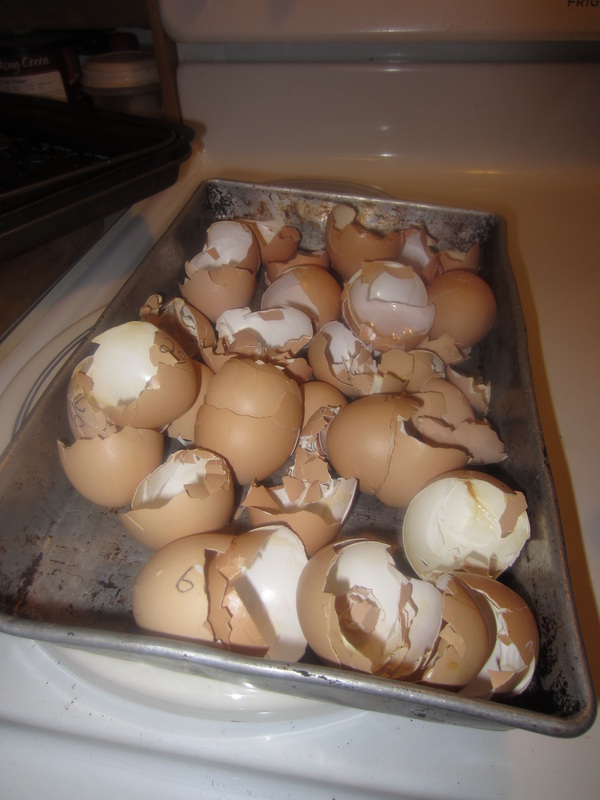
-Simply wash and bake your egg shells for 5-10 minutes at 350 degrees. (I write the days the eggs were laid on them with a wax marking pen that is non-toxic. It doesn't wash off, but I don't worry about it.)
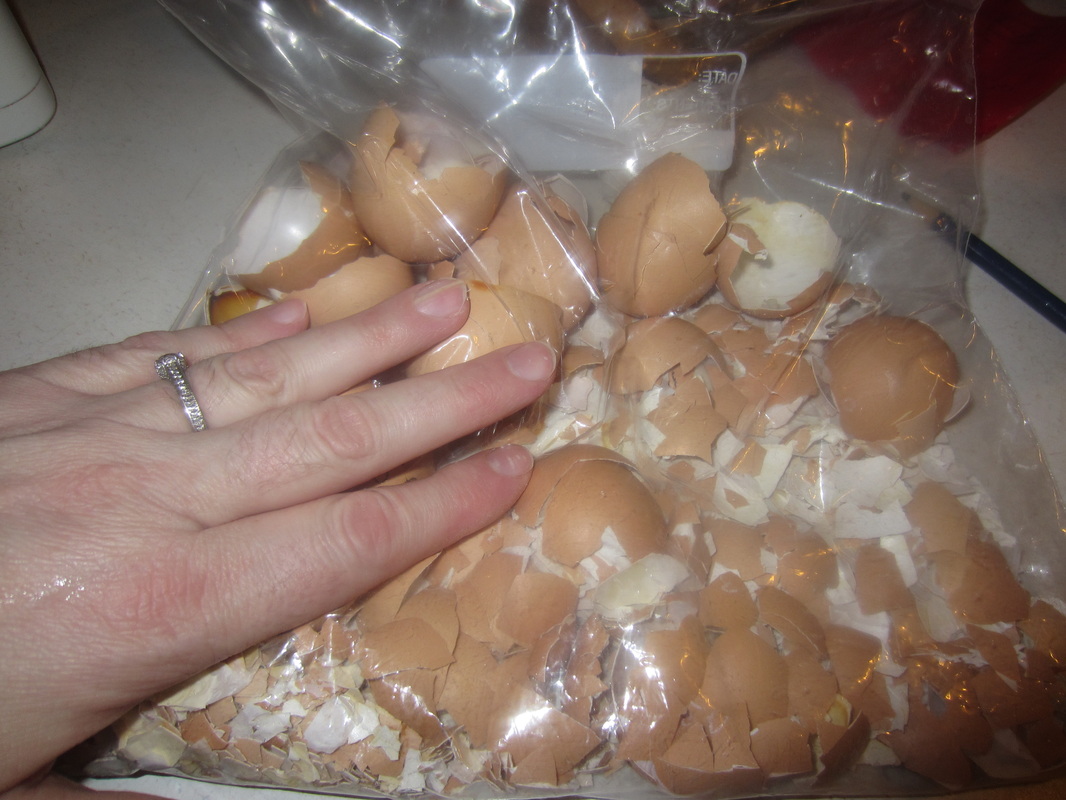
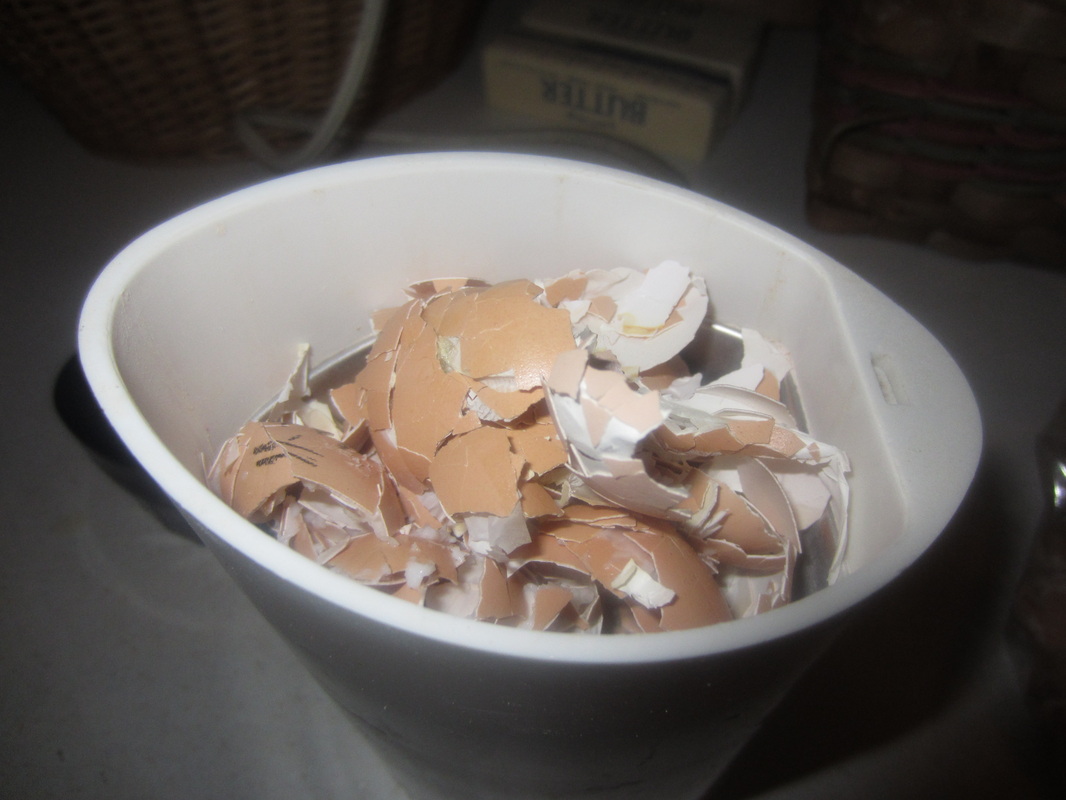
-After they are cool, put them in a plastic bag and crush them up.
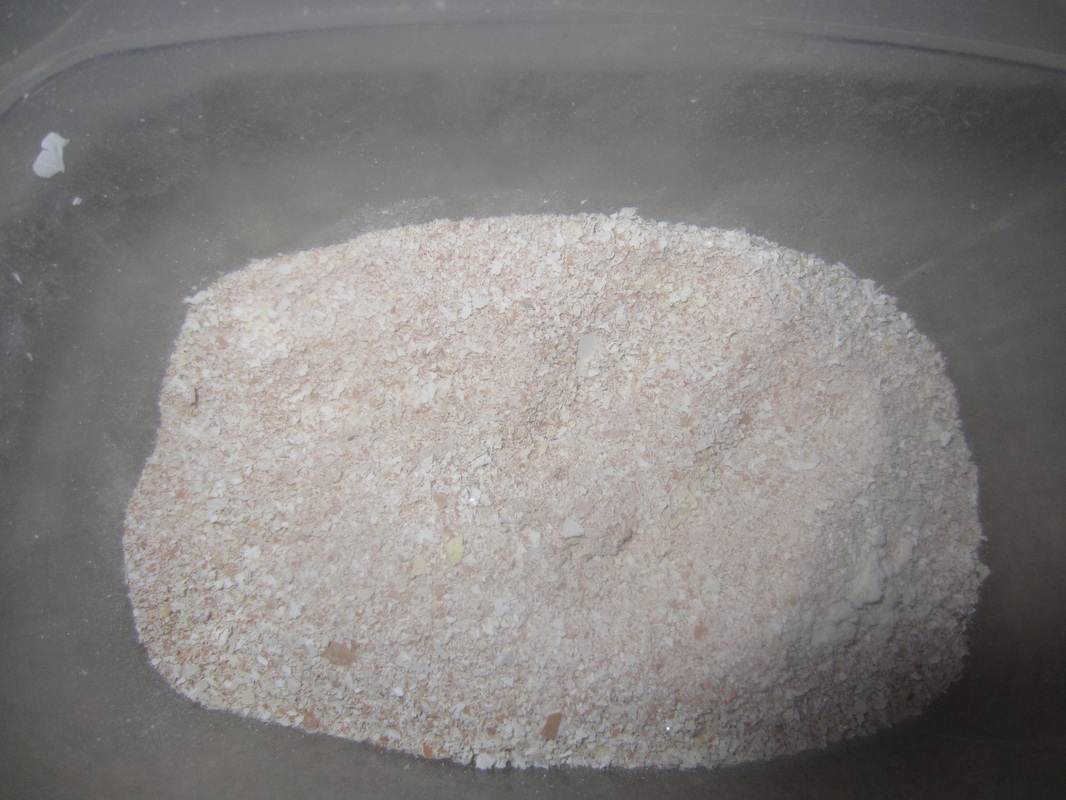
-Put the crushed pieces in the coffee grinder, and grind away.
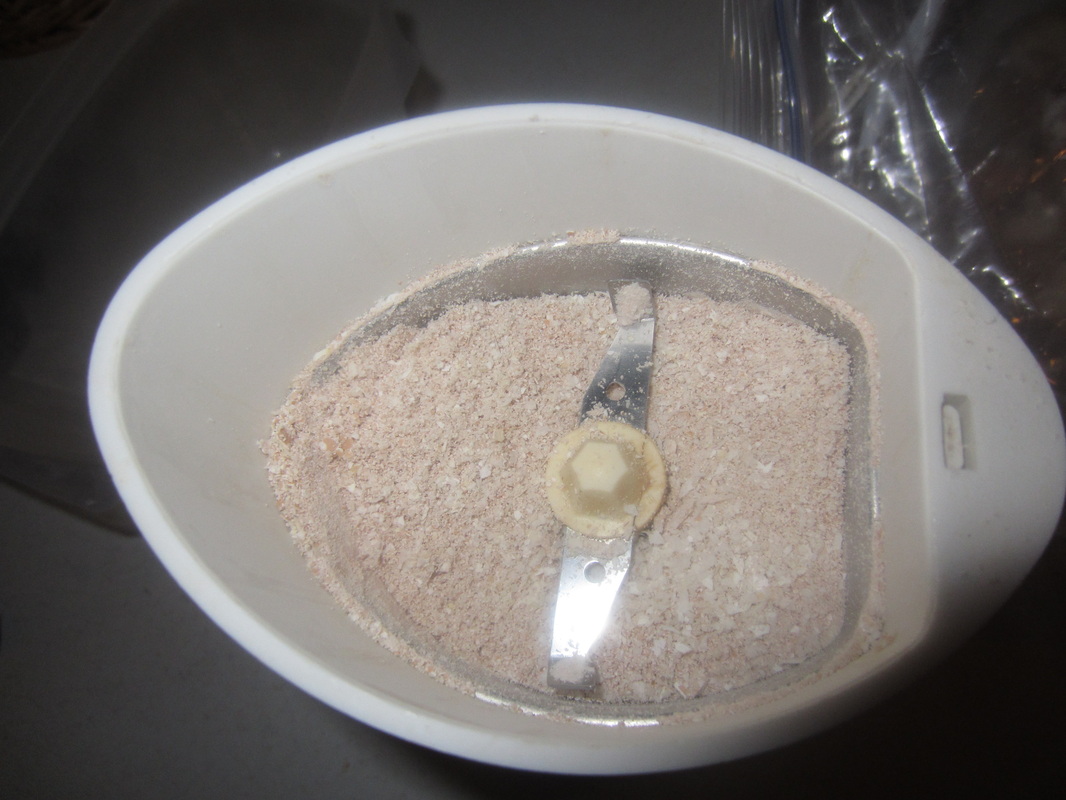
This batch I left a little grainy so it would mix well with the chicken feed. If I was making this batch for myself, I would have ground it more finely so it would mix well in liquids.
Waste not, want not!
Waste not, want not!


 RSS Feed
